
Transport & Engineering Diary 2026 February Part 1
The third post from January, looking at the Armstrong Whitworth car and stationary engine, is on-hold for a week or so whilst some more content is prepared, meanwhile, there is already sufficient content for Part 1 of the February diary to be published, and which covers the latest on Samson’s overhaul and some of the considerable work taking place on the Tramway infrastructure this winter.
Samson
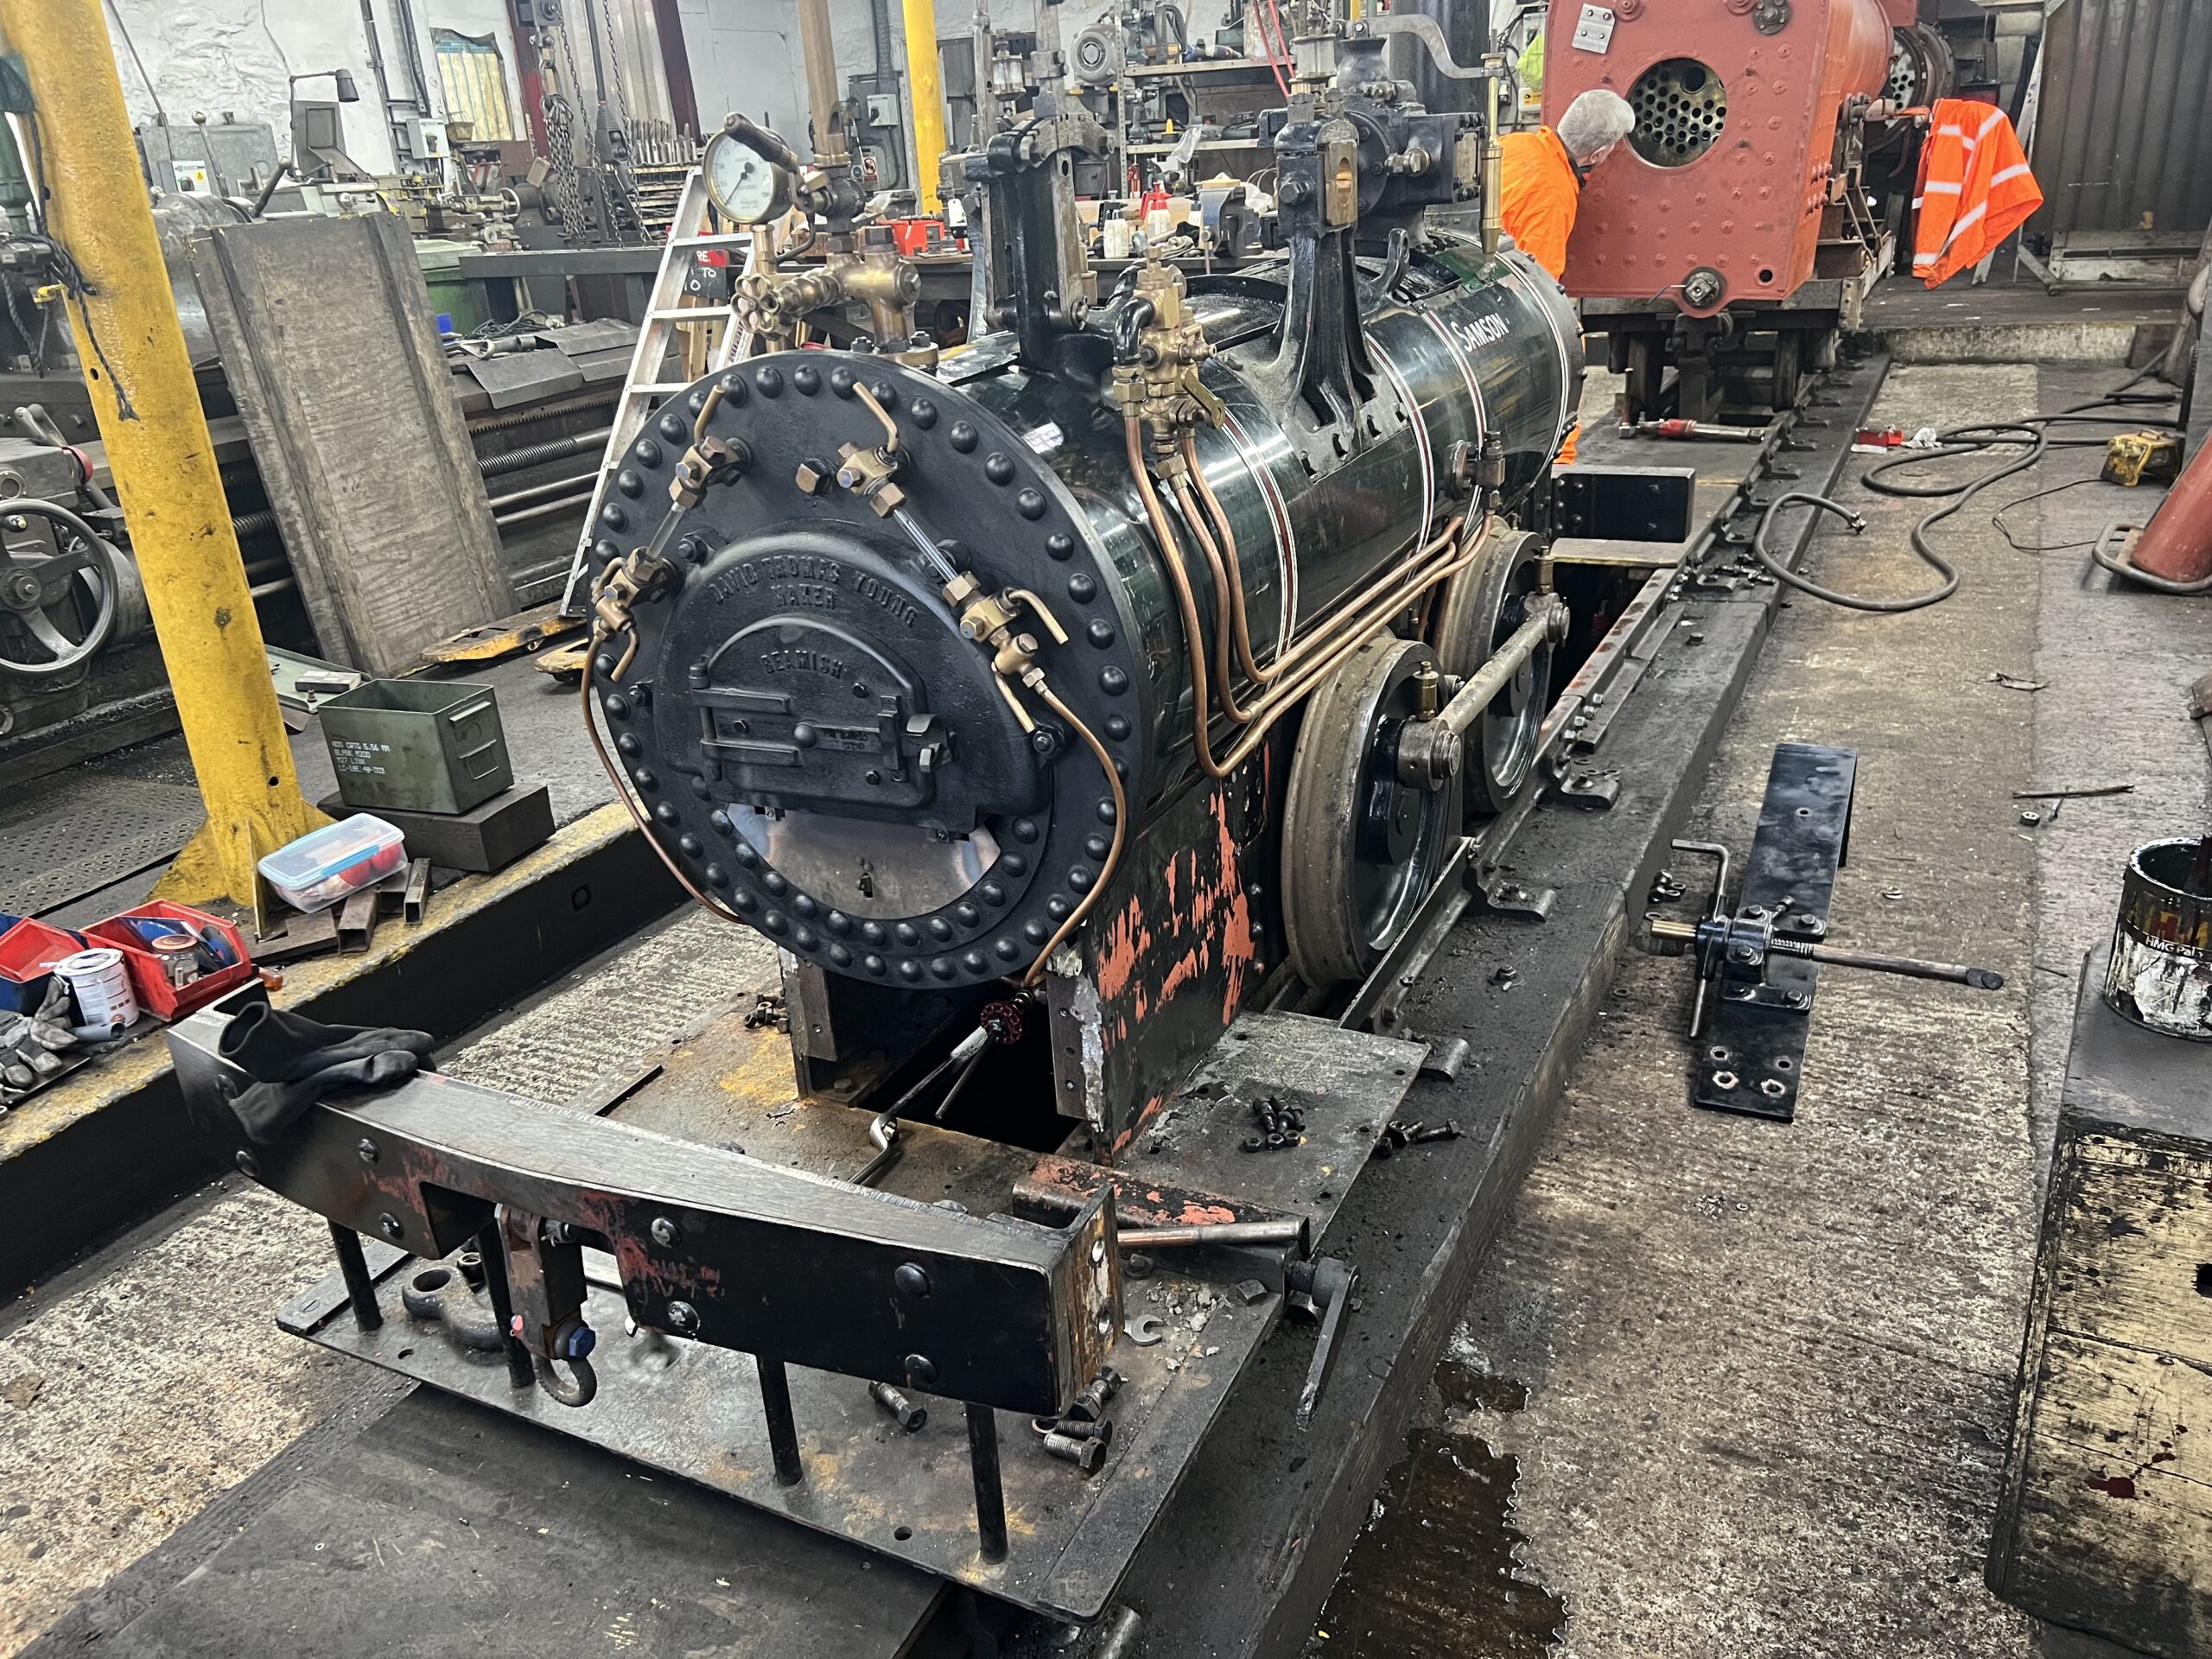
We kick off with another update from Matt at Boston Lodge:
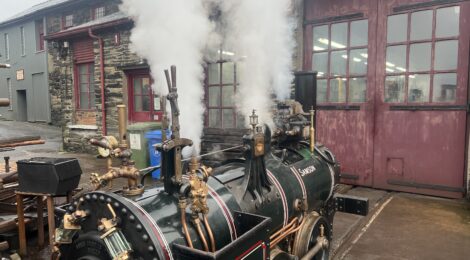
Below: The rear of the frames with the new plate in place, showing the spindle extensions for the blow down (top) and injector water valve (bottom).
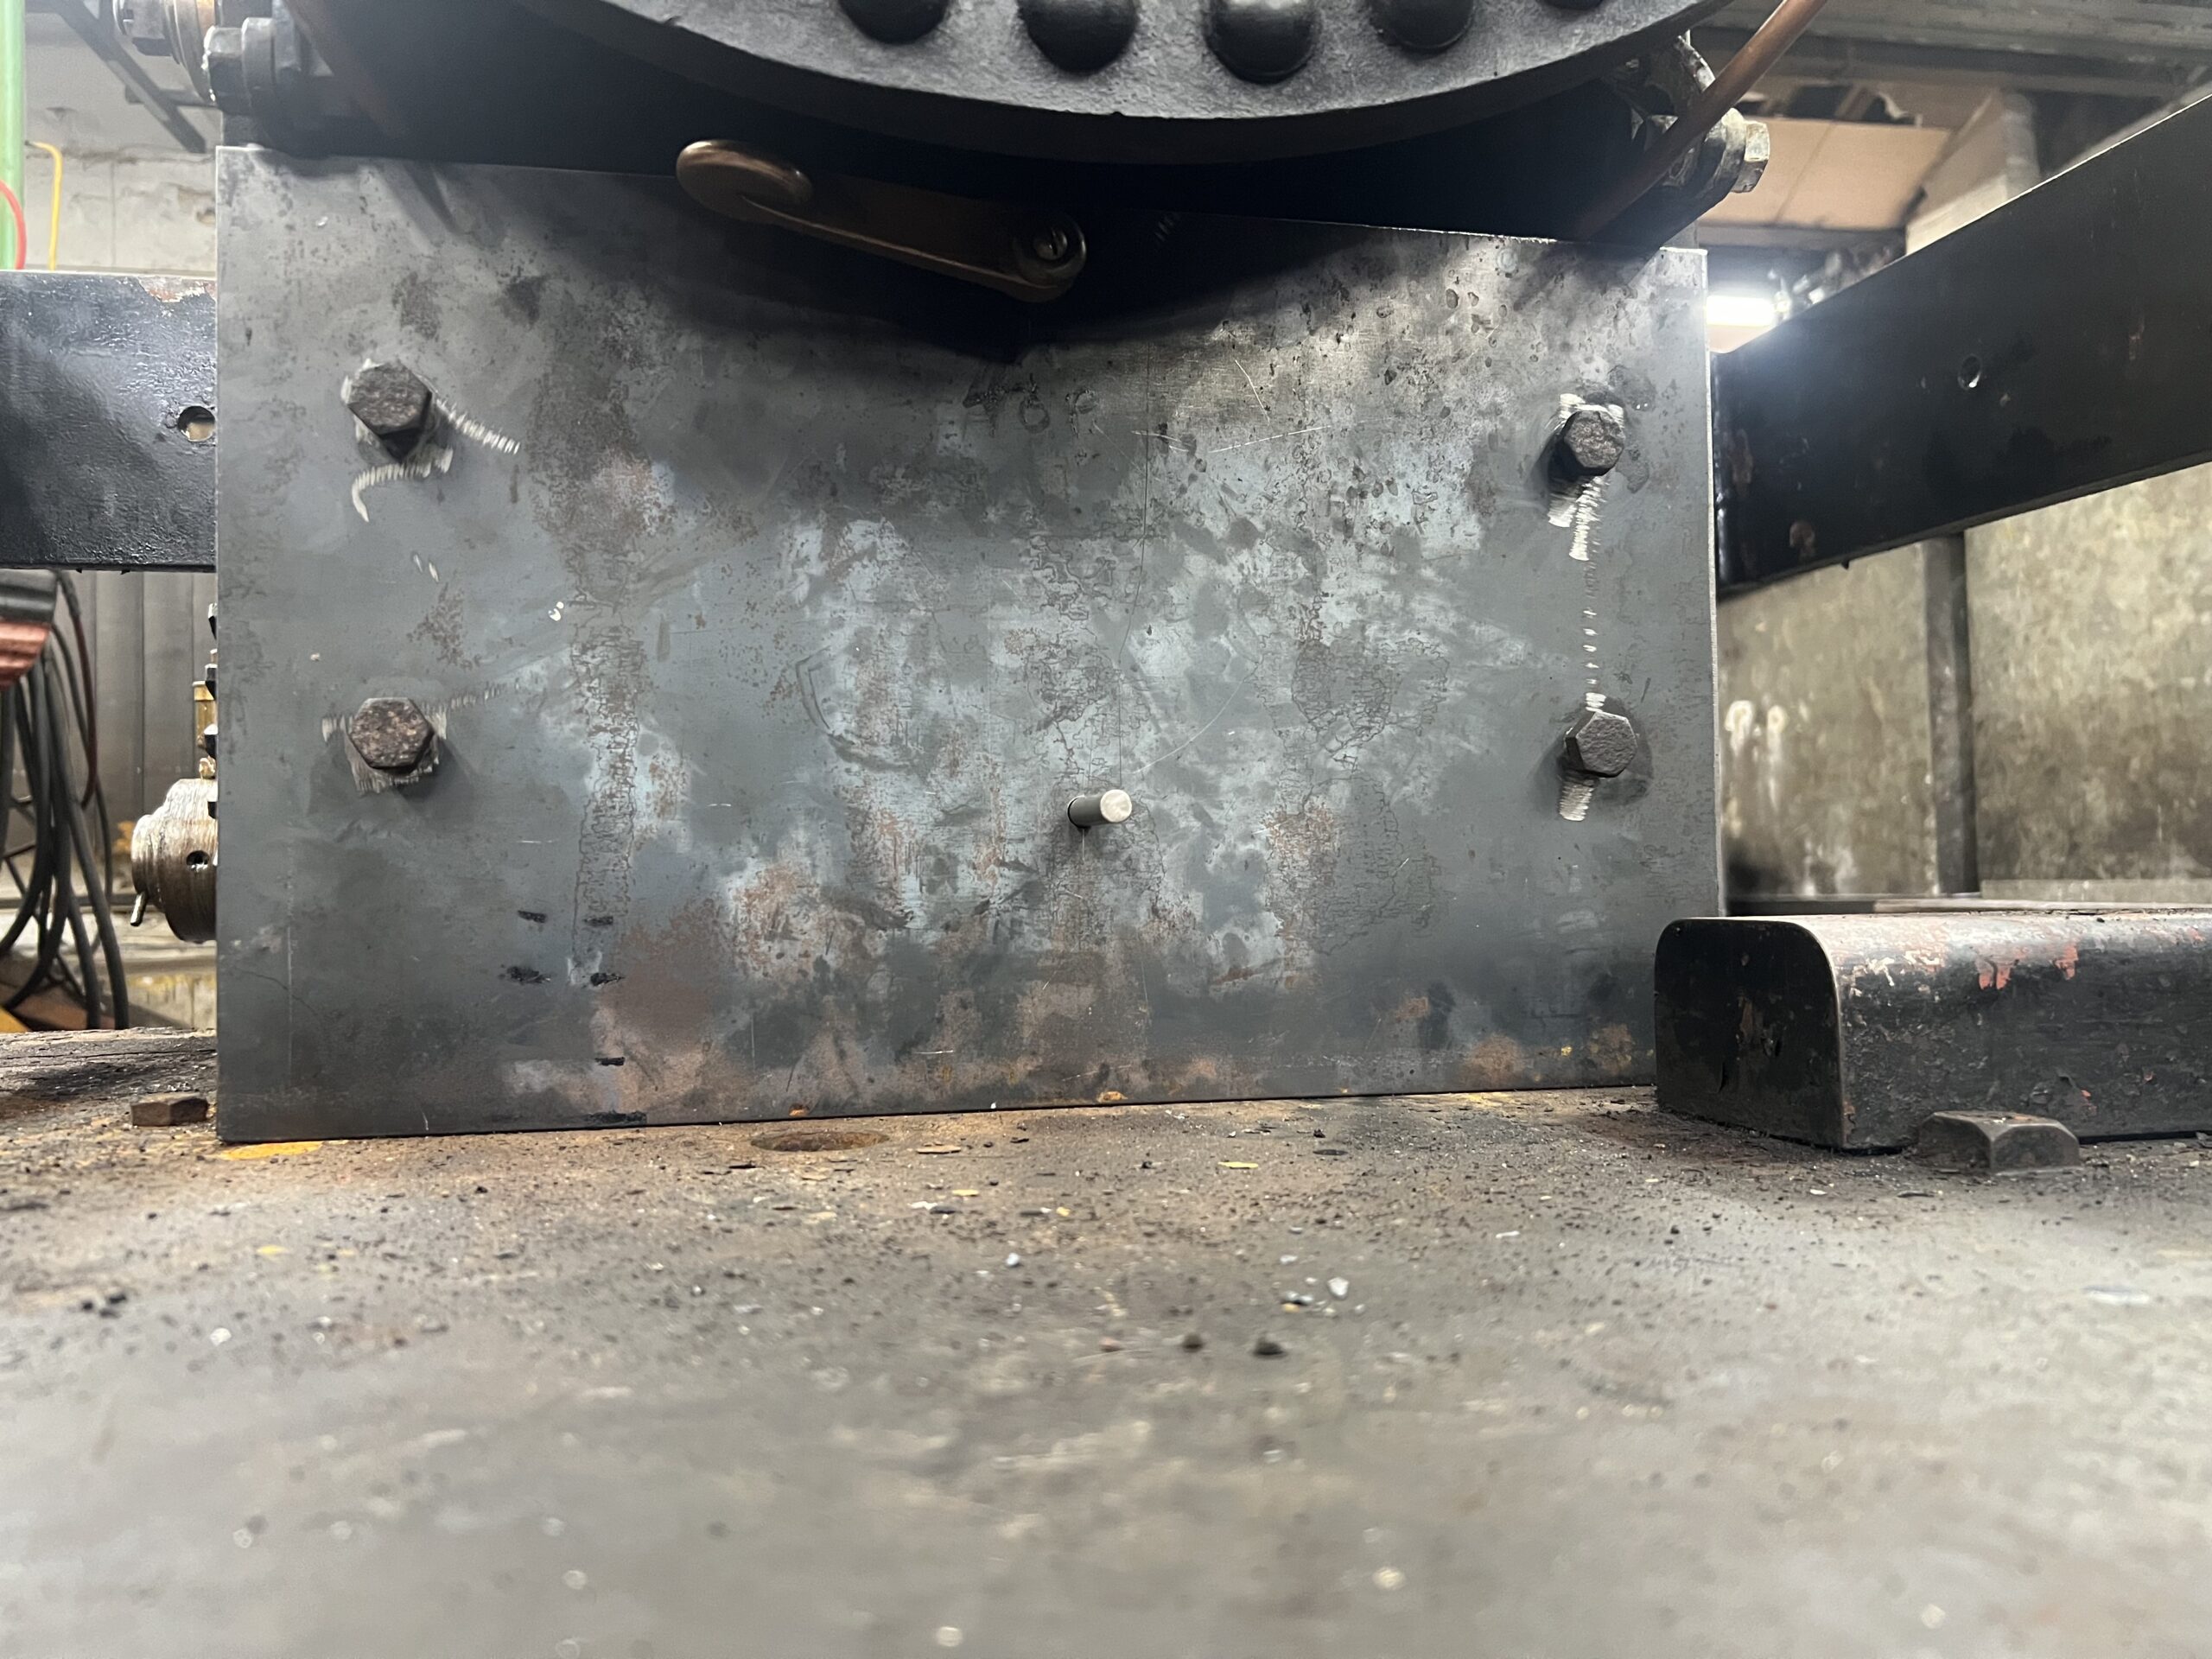
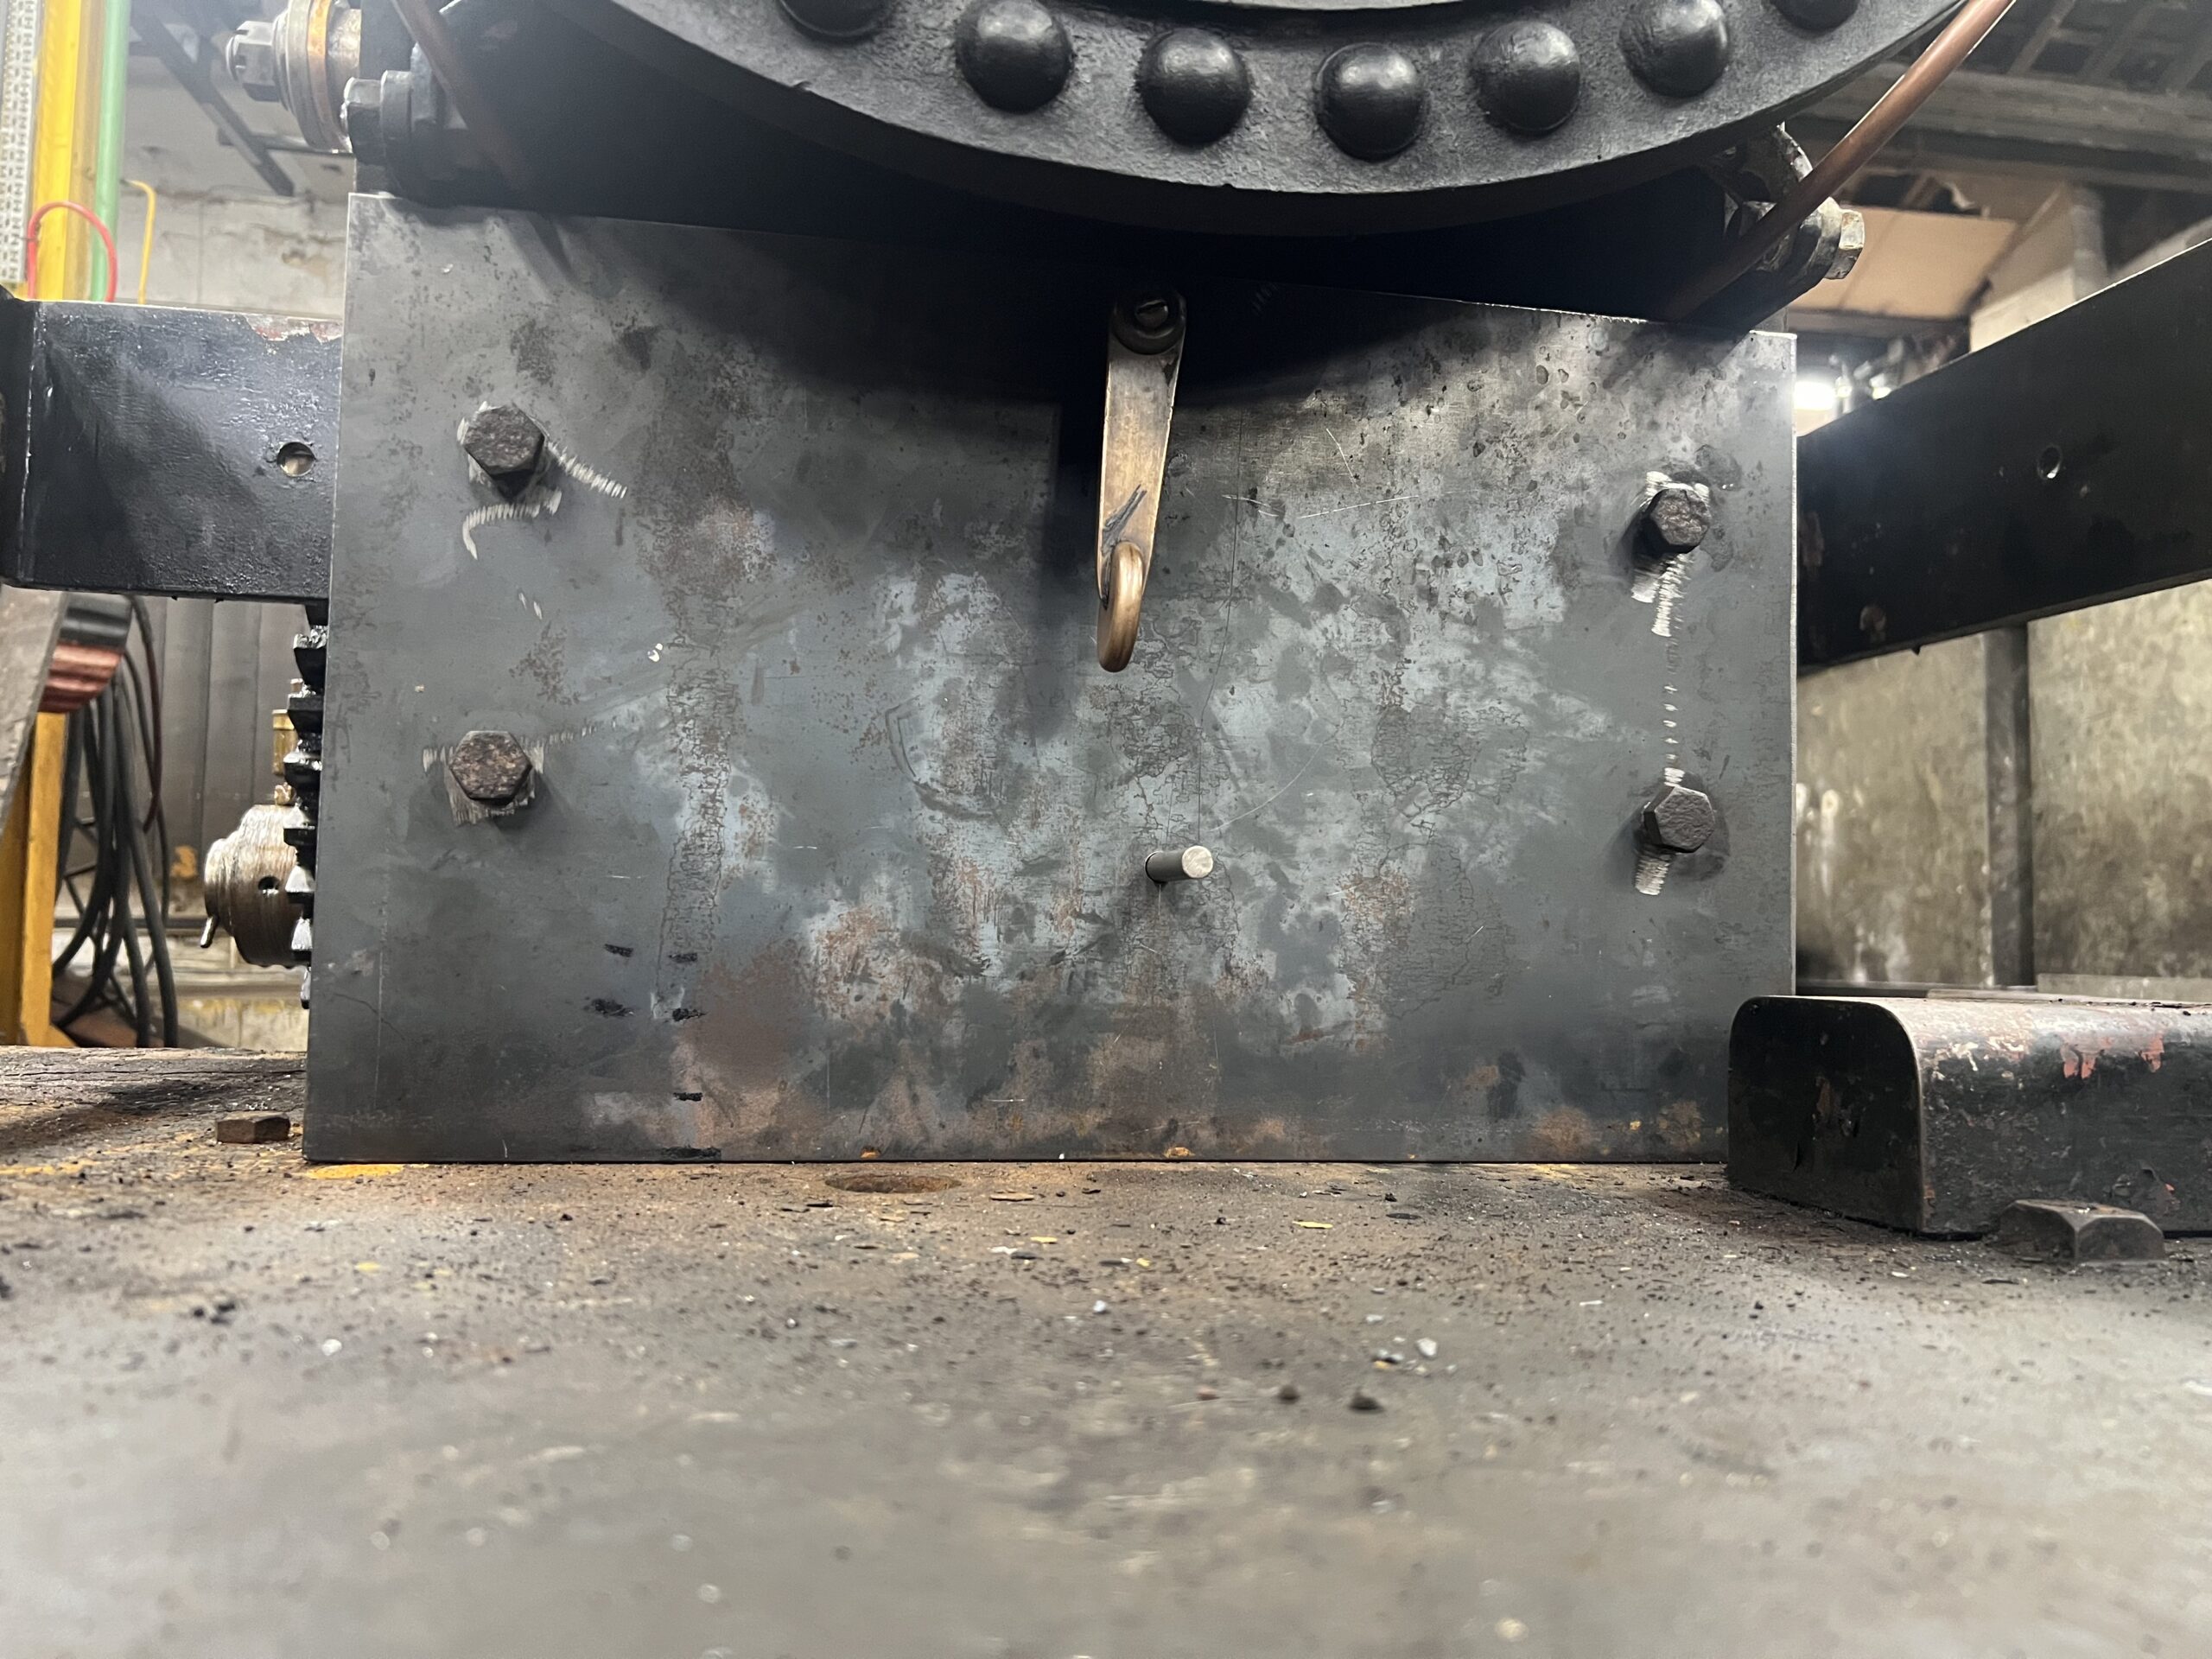
Below: The old injector water valve handle has been repurposed for the blowdown handle. I’d originally thought that it would be best to use a spanner on a square. A cautionary tale involving coffee pot blowing down once with the spanner being removed mid blow down, plus proximity to the firebox on Samson, suggested this may not be ideal! The height of the blow down spindle actually put the handle when closed nicely tucked under the backhead, so unlikely to accidentally get knocked open.
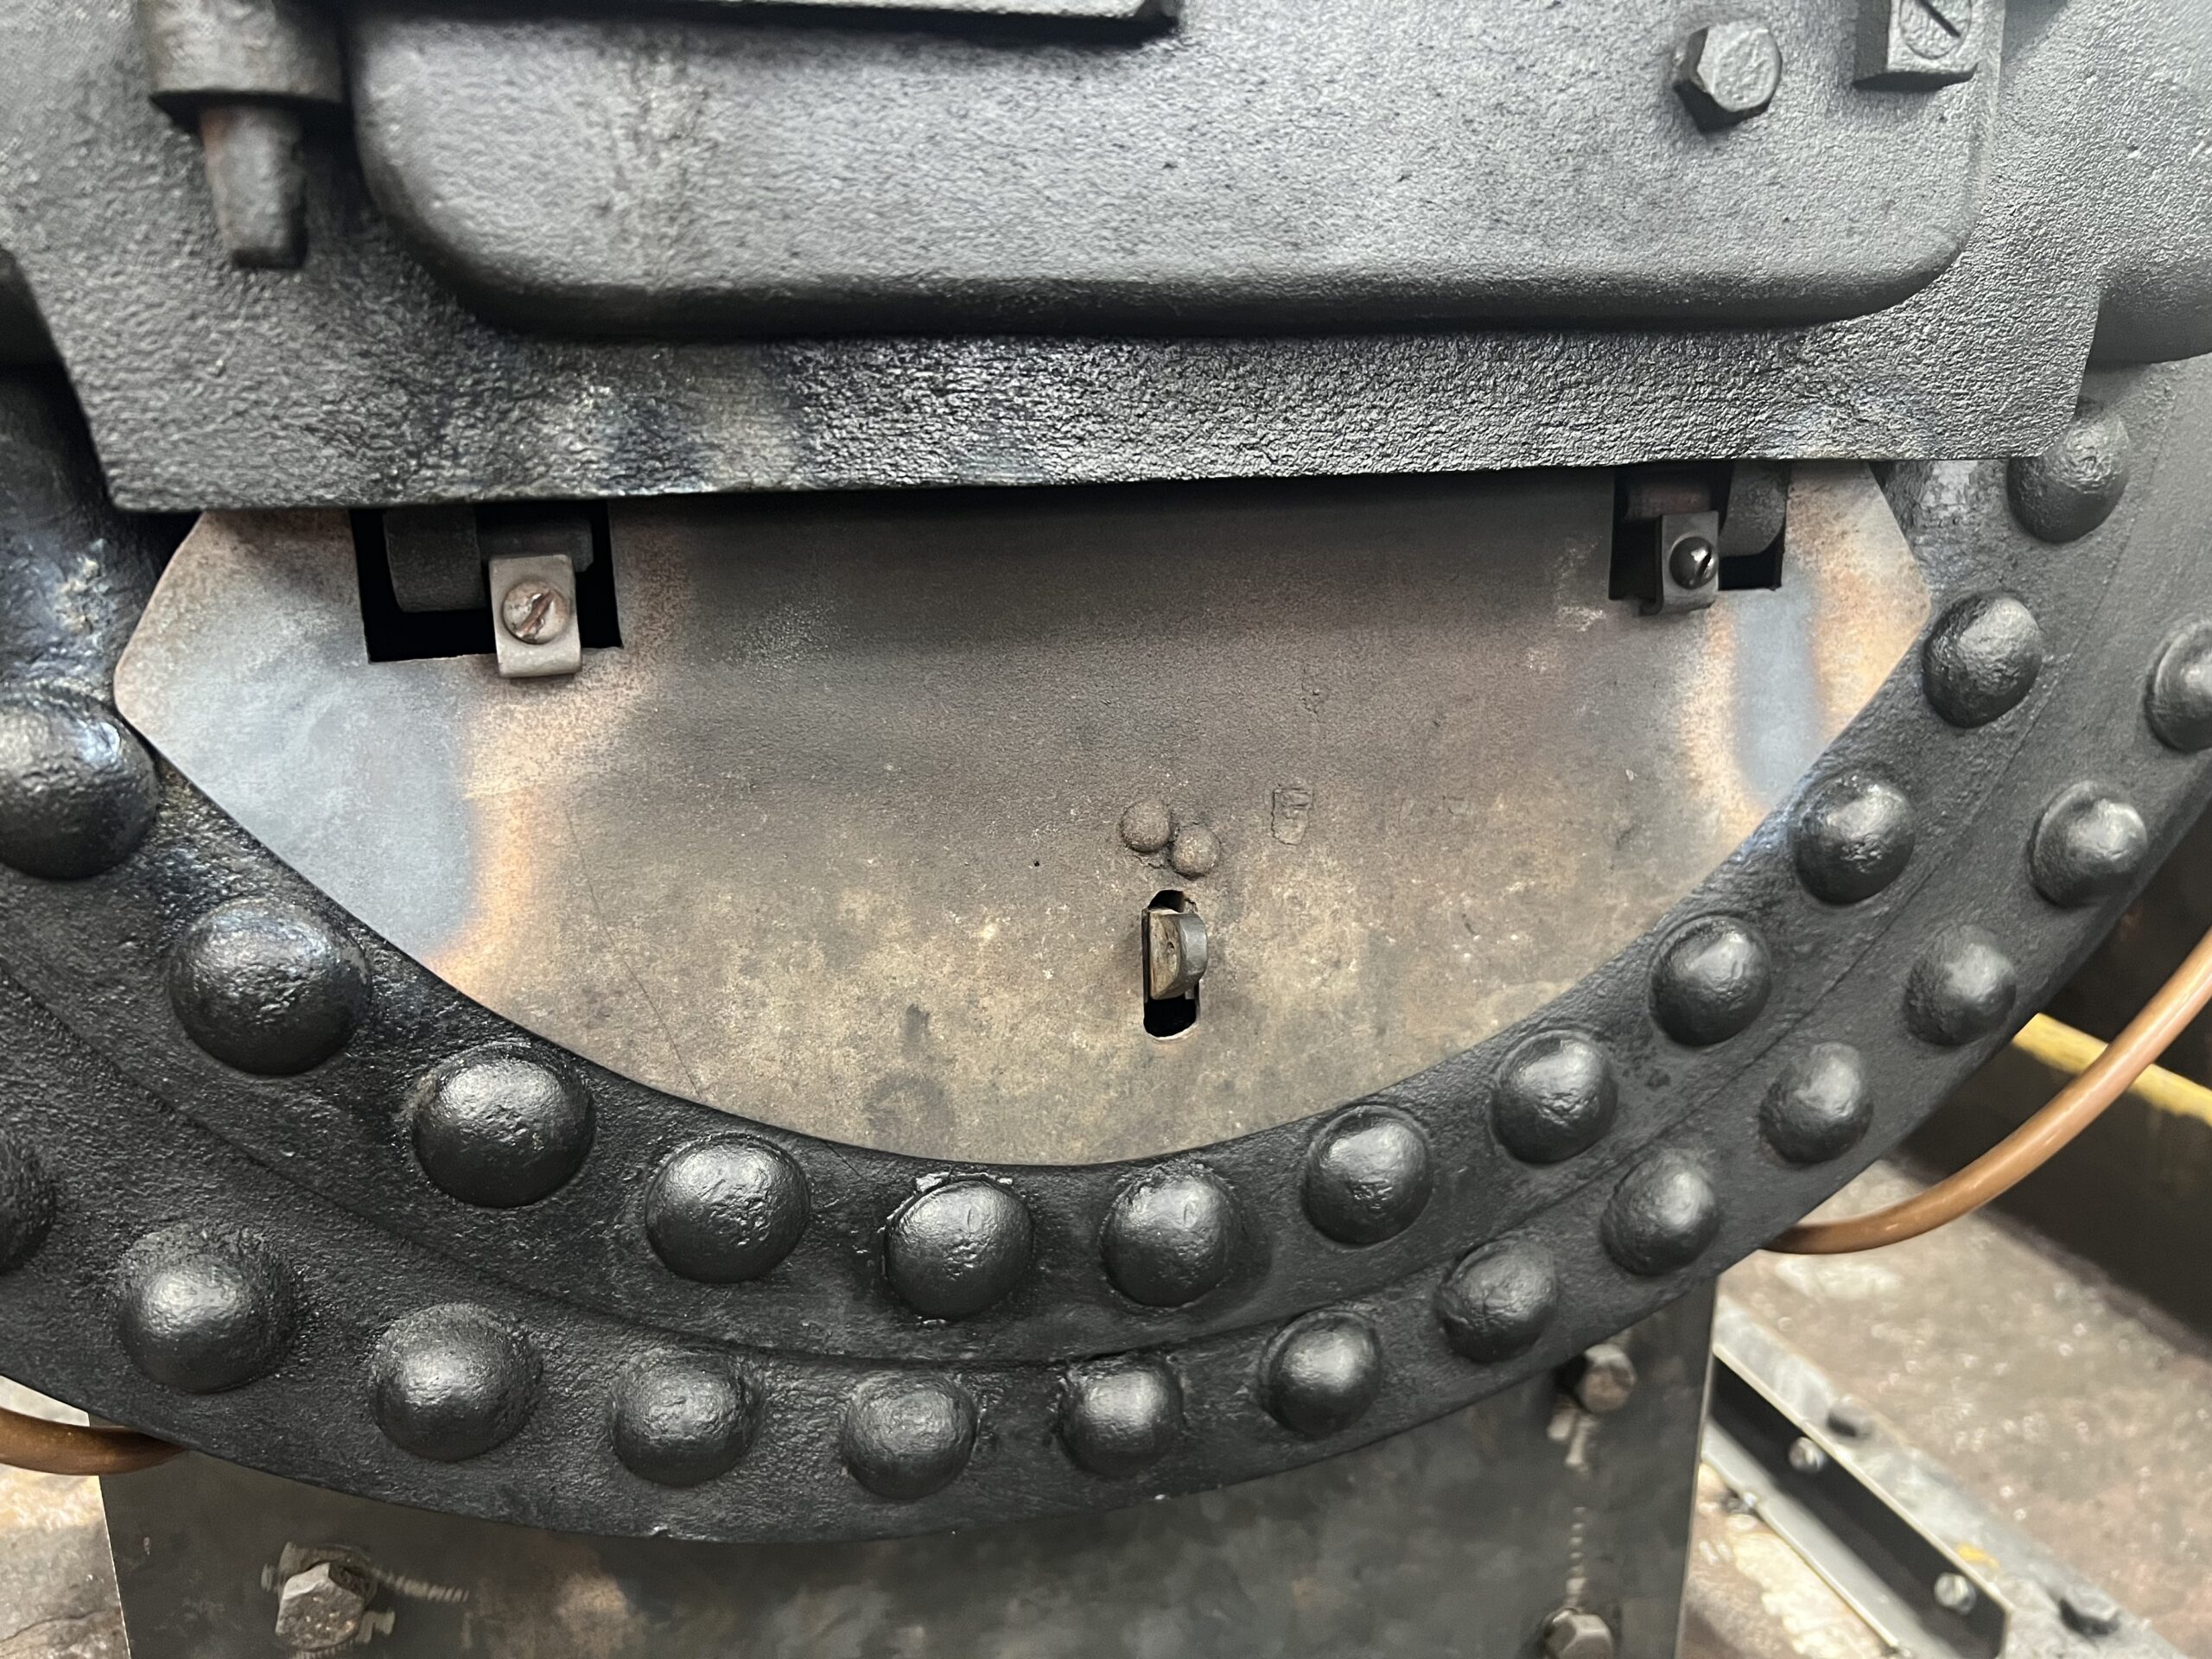
Below: The ash shuttle handle had become a very funny shape given its exposure to hot ash and the bottom of the fire. It caused the damper prop to catch on it and was actually becoming very difficult to remove. It’s been reshaped to cure these issues, for now until it ages again! Whilst the gas [oxy-propane bottles] was out, the sides of the damper were warmed and the damper pressed shut. This bent the sides so that they sit nicely against the firetube with the damper quite firmly shut. A job that’s been on the to do list for a long while but near the gas took all of 5 minutes to complete.
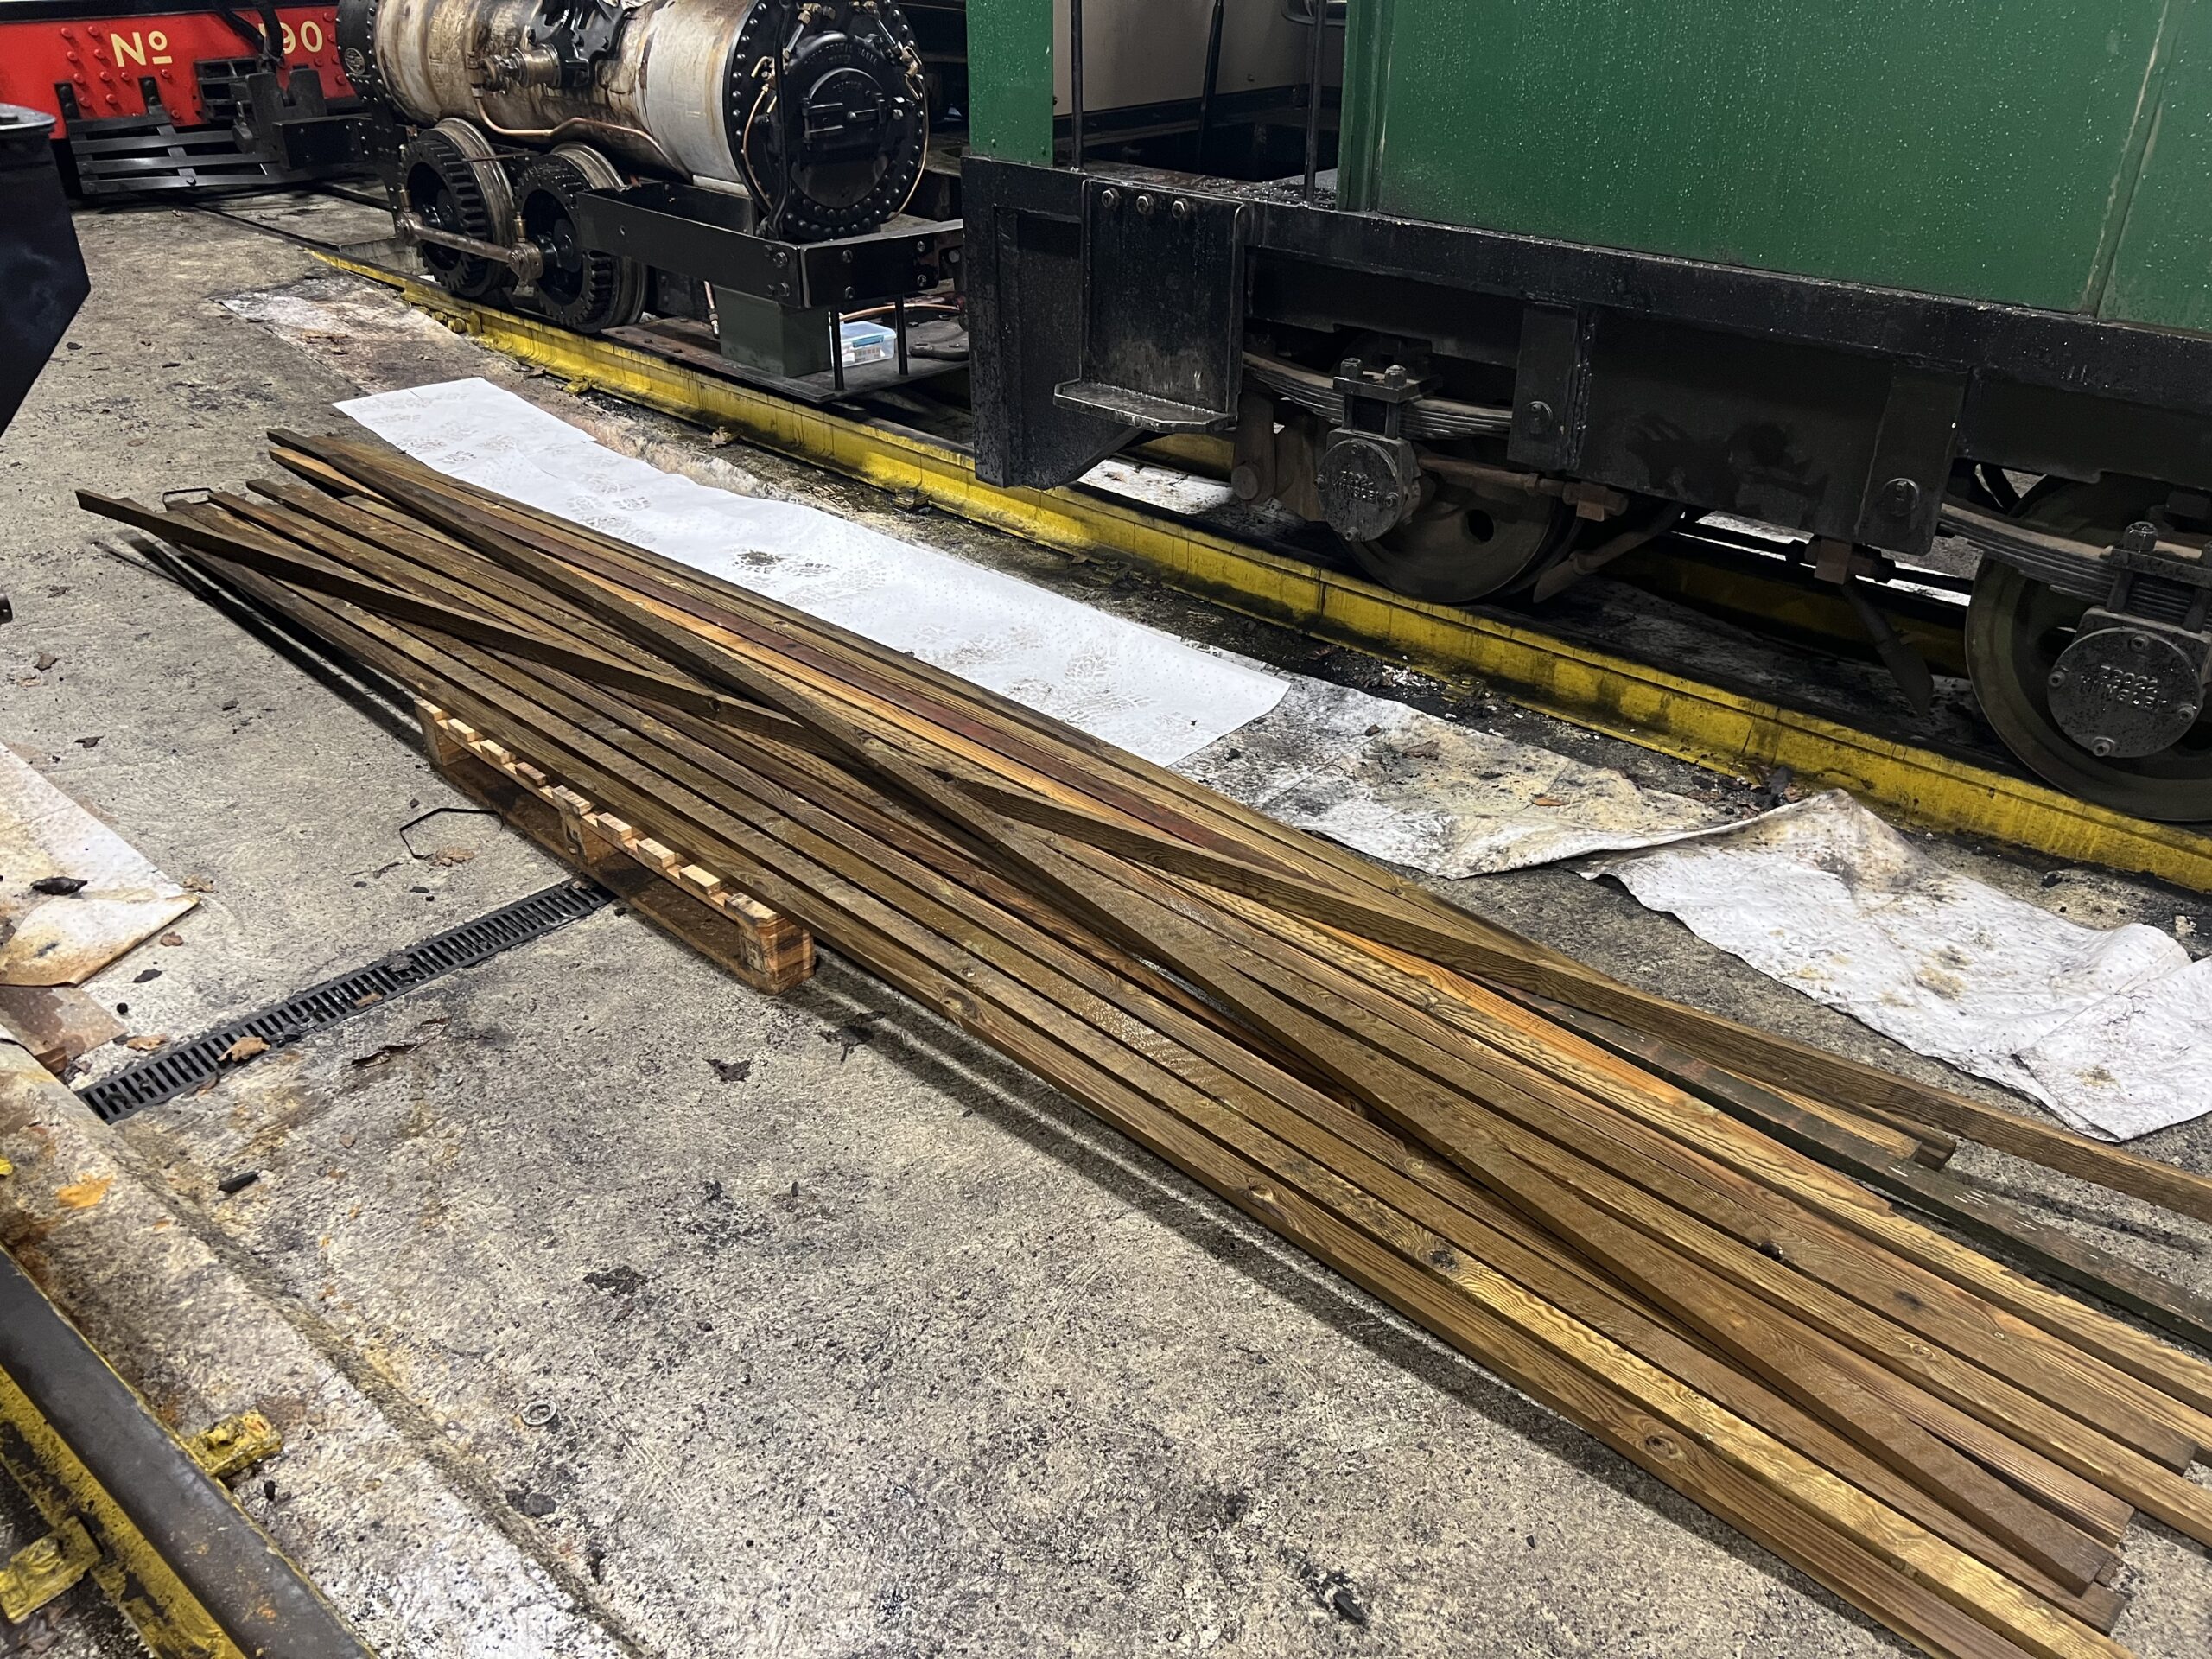
Below: The new boiler “lagging” drying out after buying from the outdoor store at the builders merchants. Fitting to follow shortly [it has been decide to use timber lagging on Samson to accommodate the various protrusions and mountings on the boiler as well as support the cladding sheets].
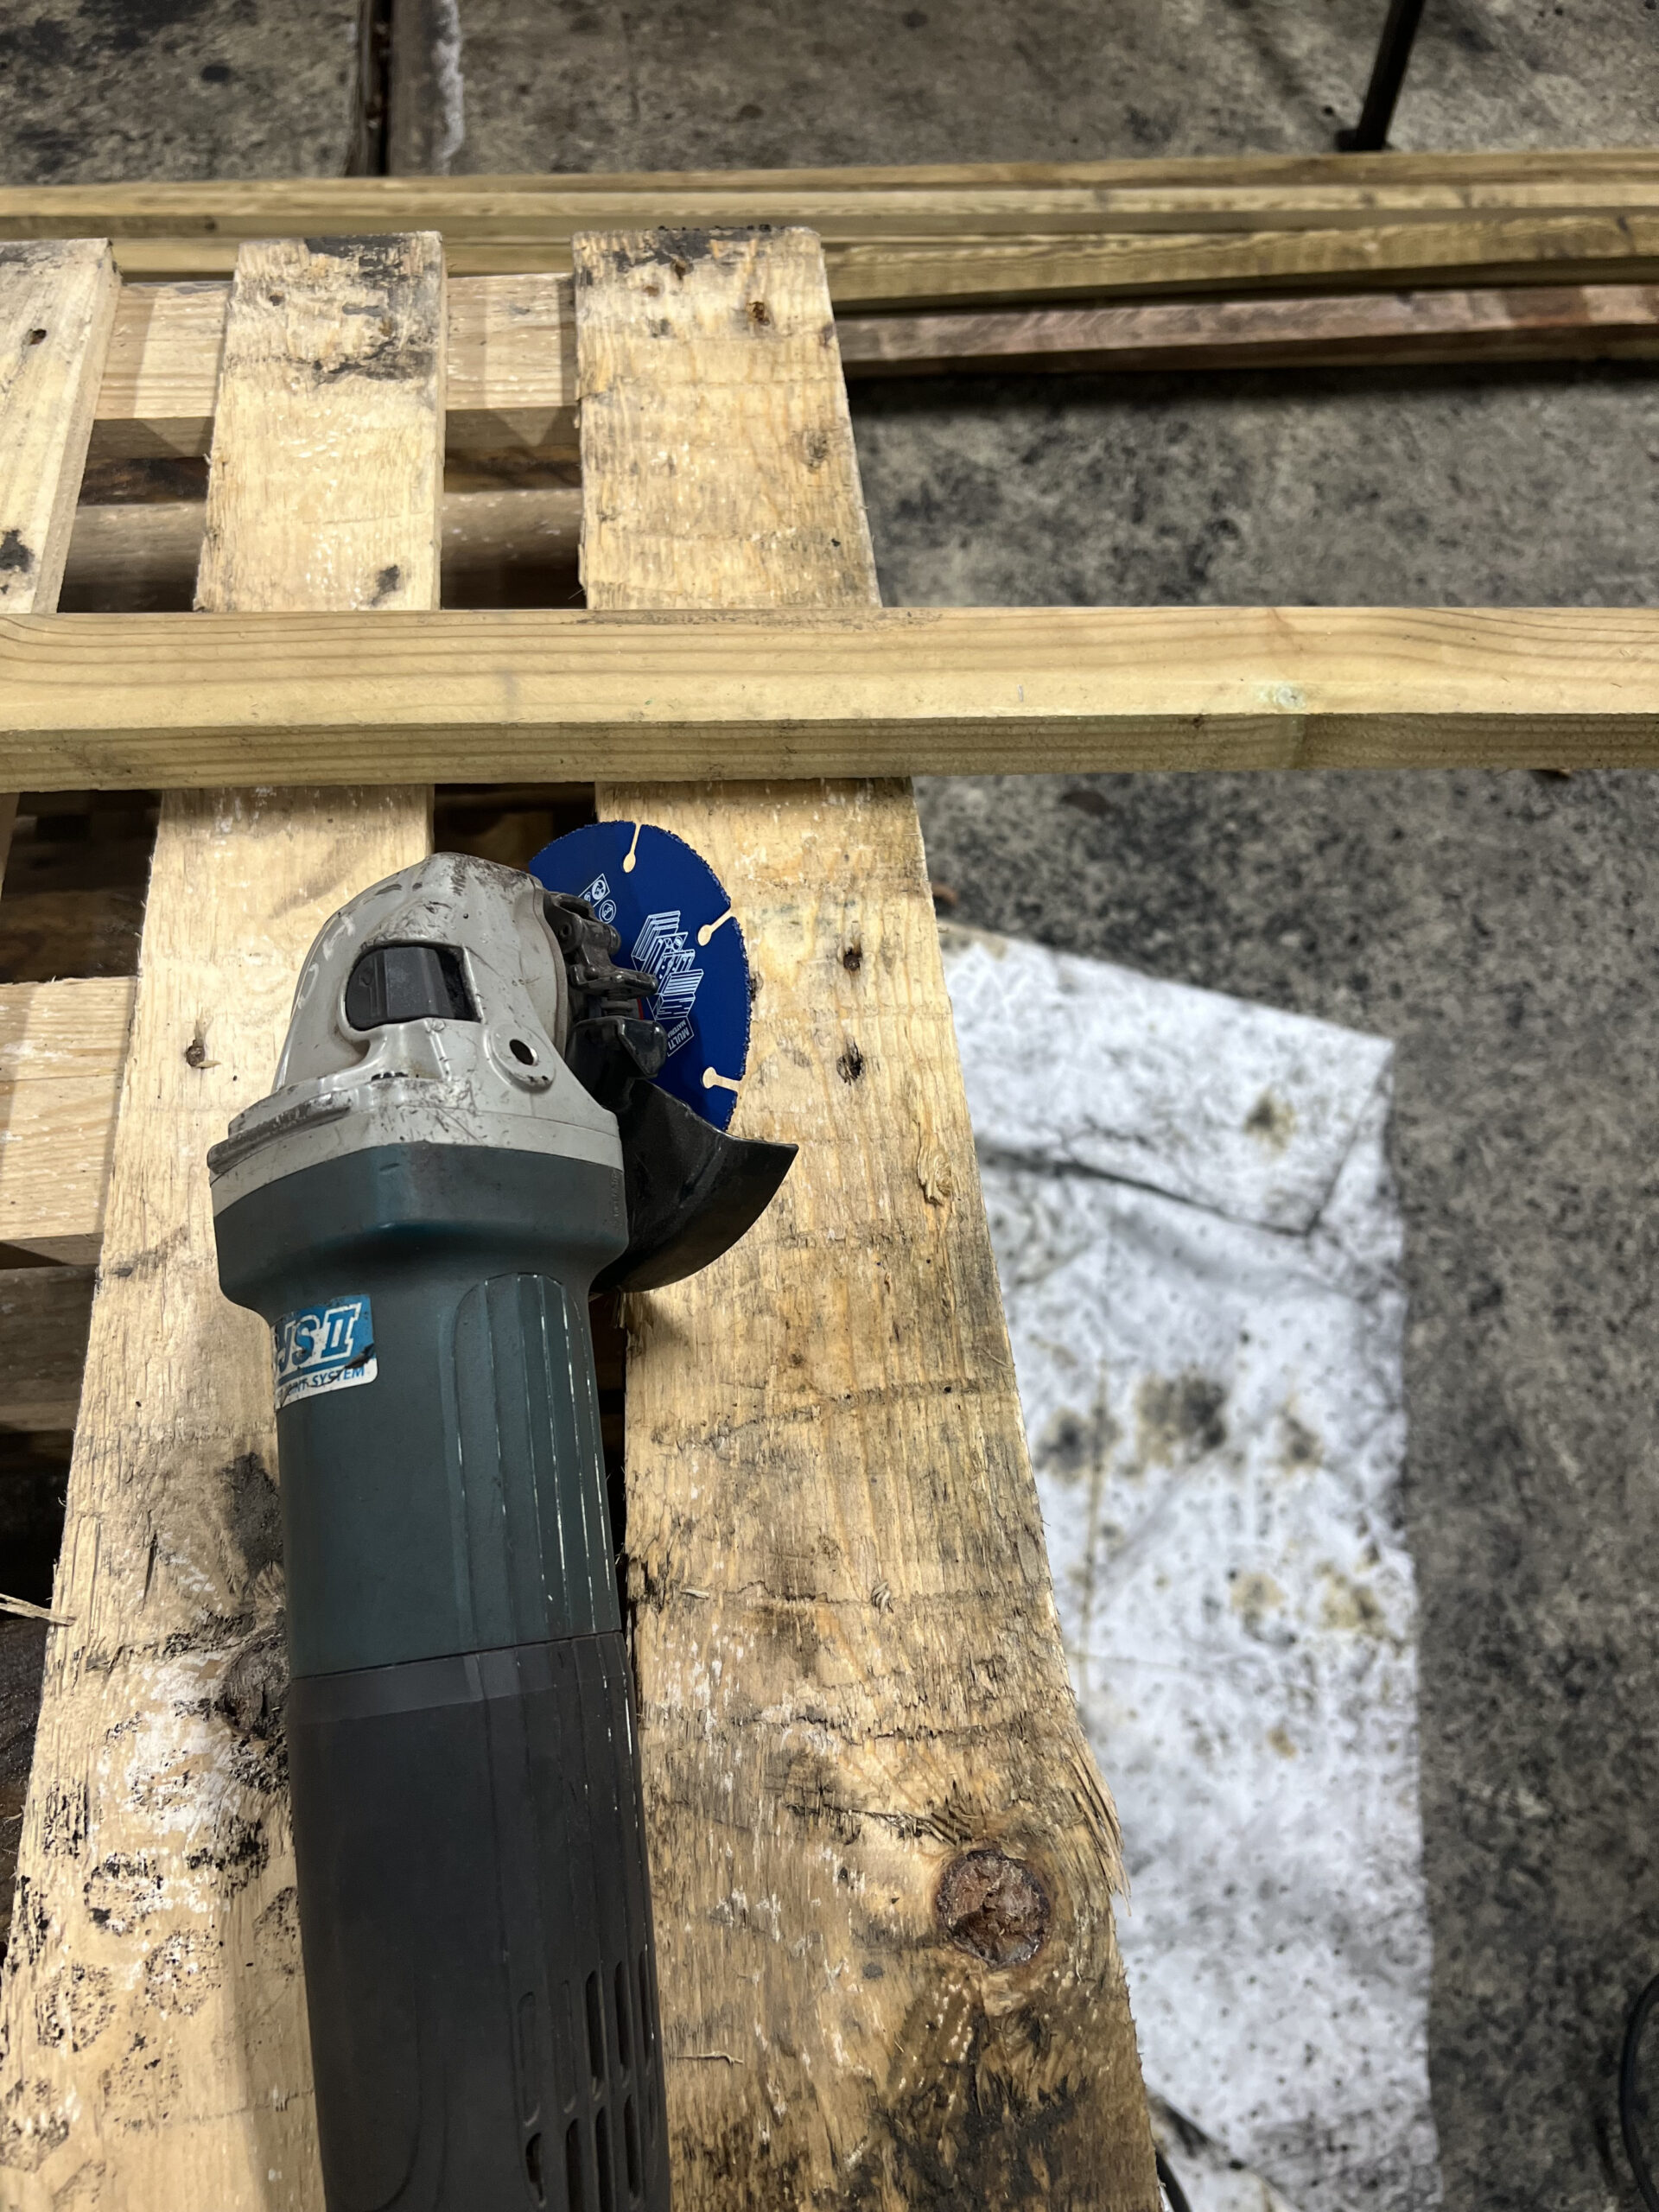
Below: This is the best tool for rapid wood working…
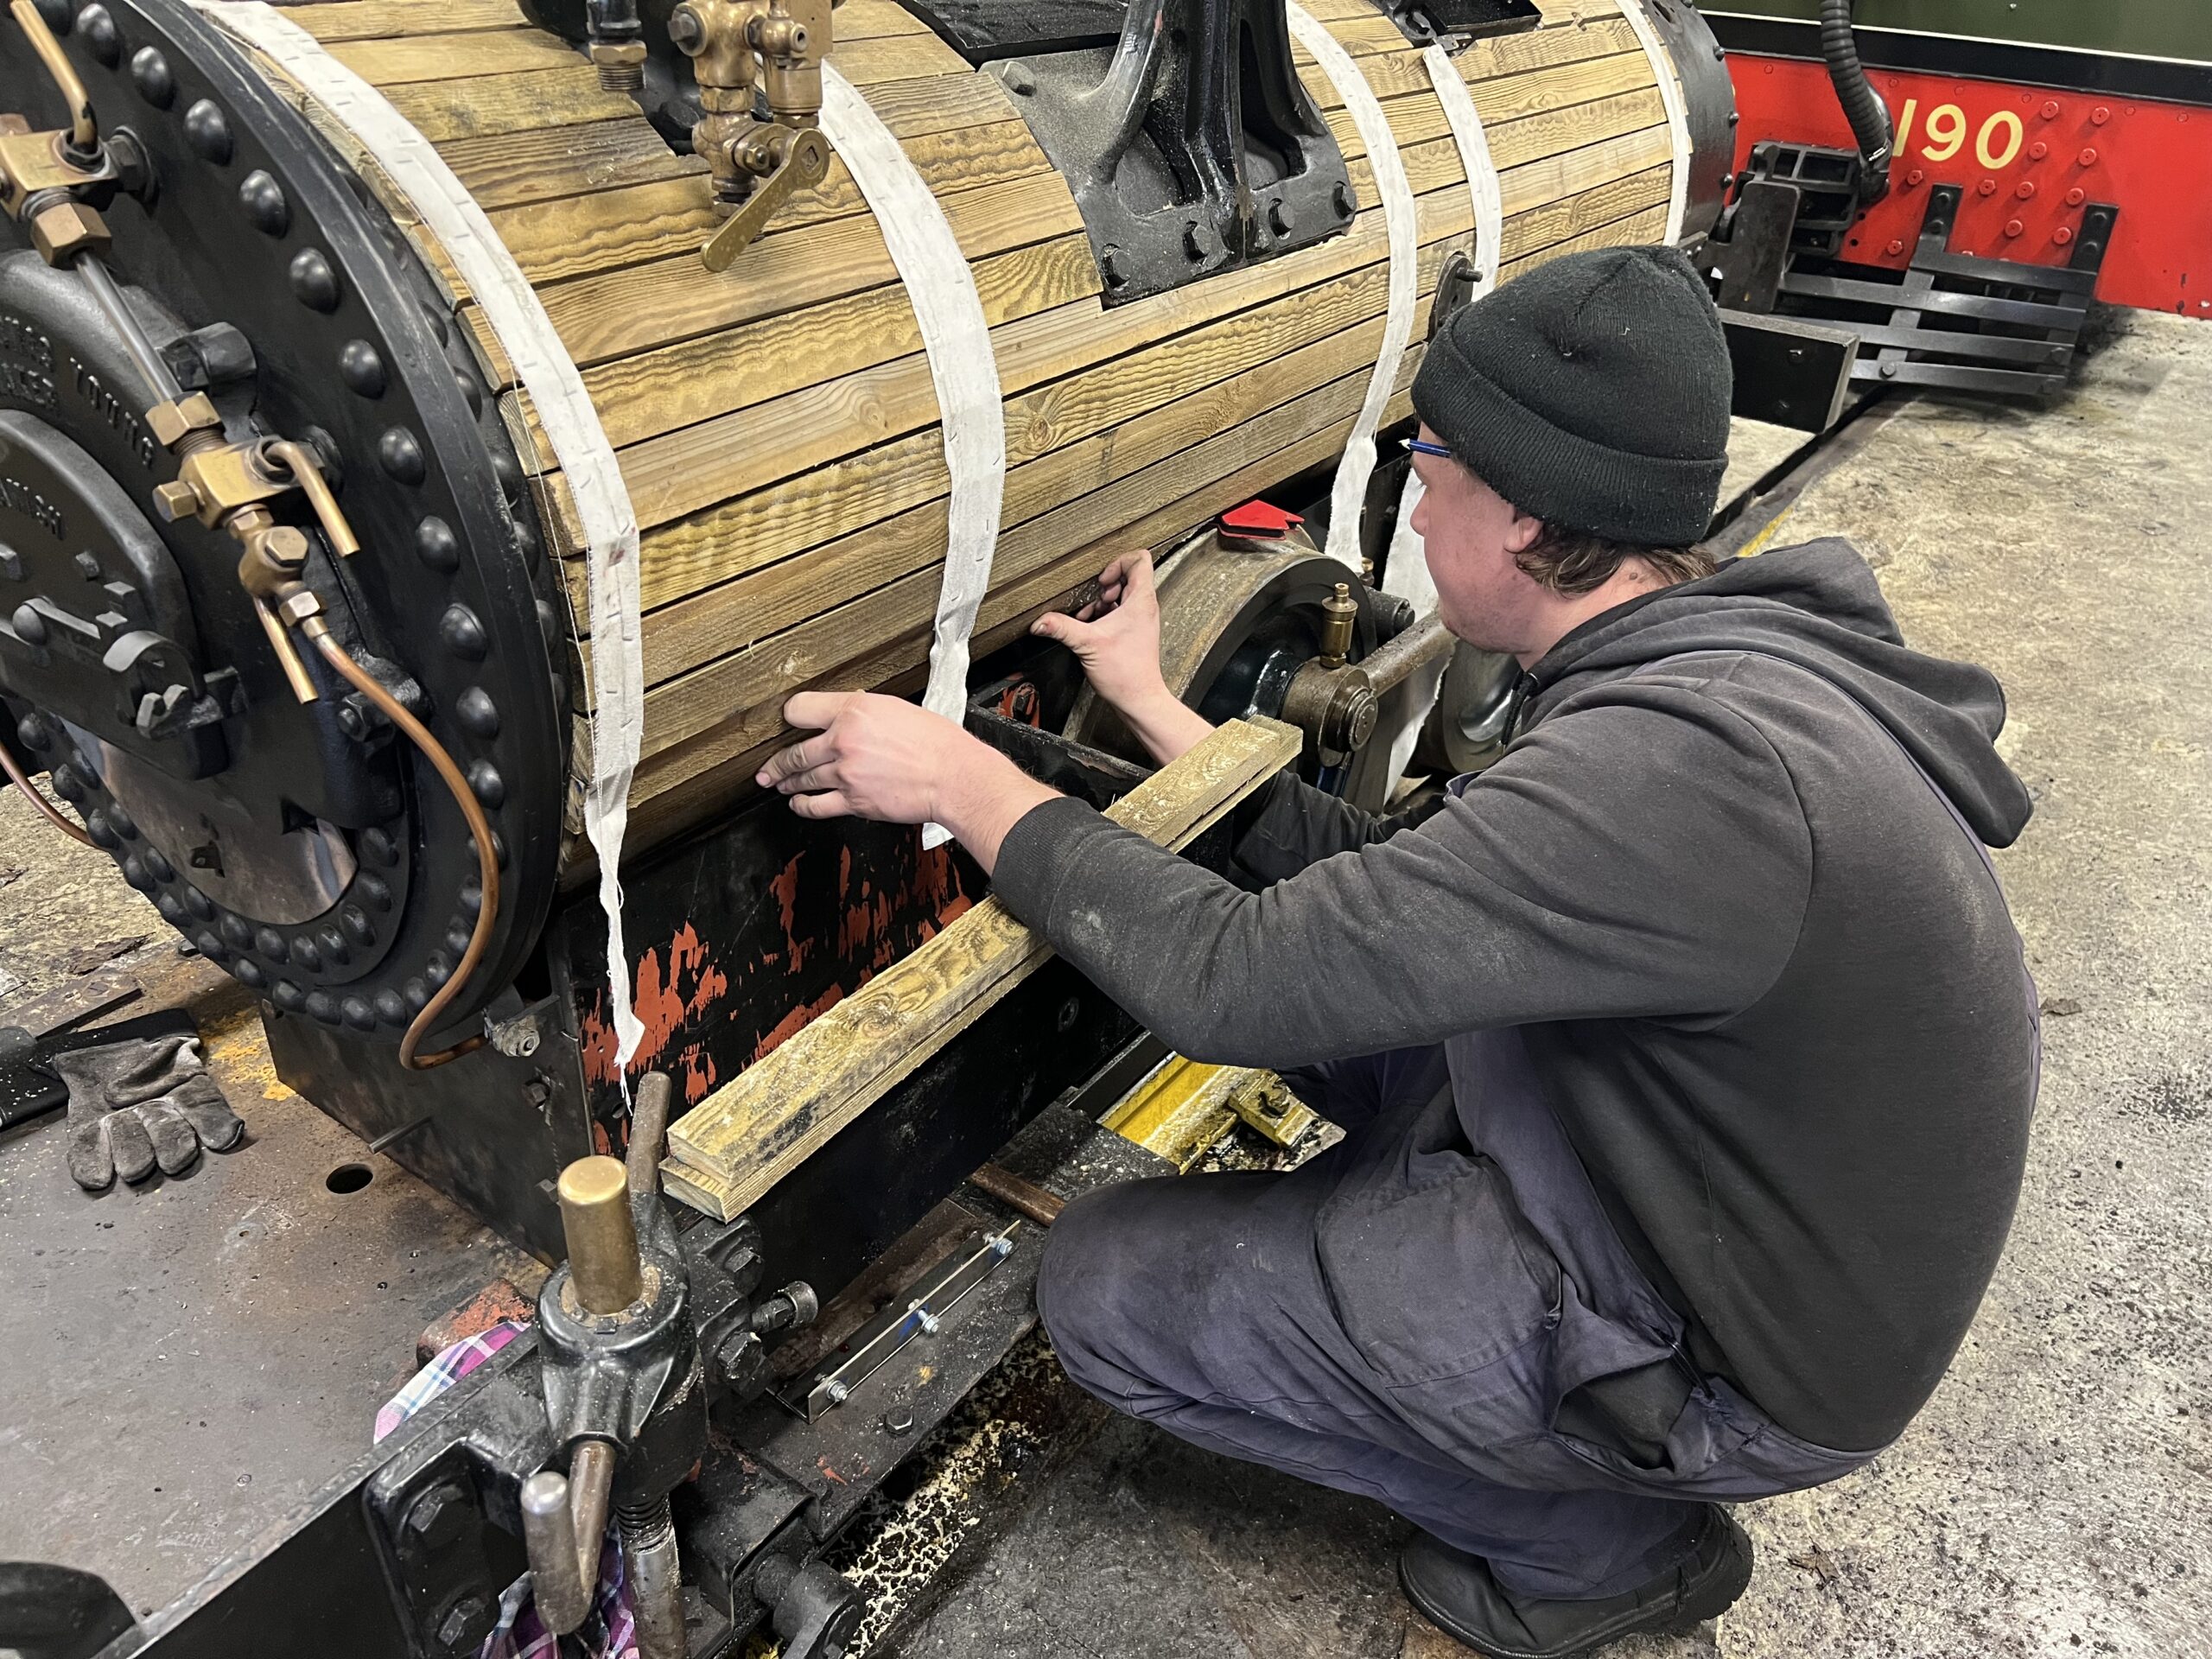
Below: Initial progress – with the oil trays refitted and the first of the wooden lagging strips cut to length and fitted. The strips of rag are stapled to each strip of wood to hold them together temporarily.

Below: There was quick progress in places, slower in others where the strips require cutting to fit around brackets and boiler fittings.
Below: By the end of the day, the cladding sheets were all refitted, holding all the wood in place. A thorough clean was to follow. Note the repainted panel, in FR green, only to build the coats up before top coating, though we think it would suit FR green with the crests on the bunkers…..
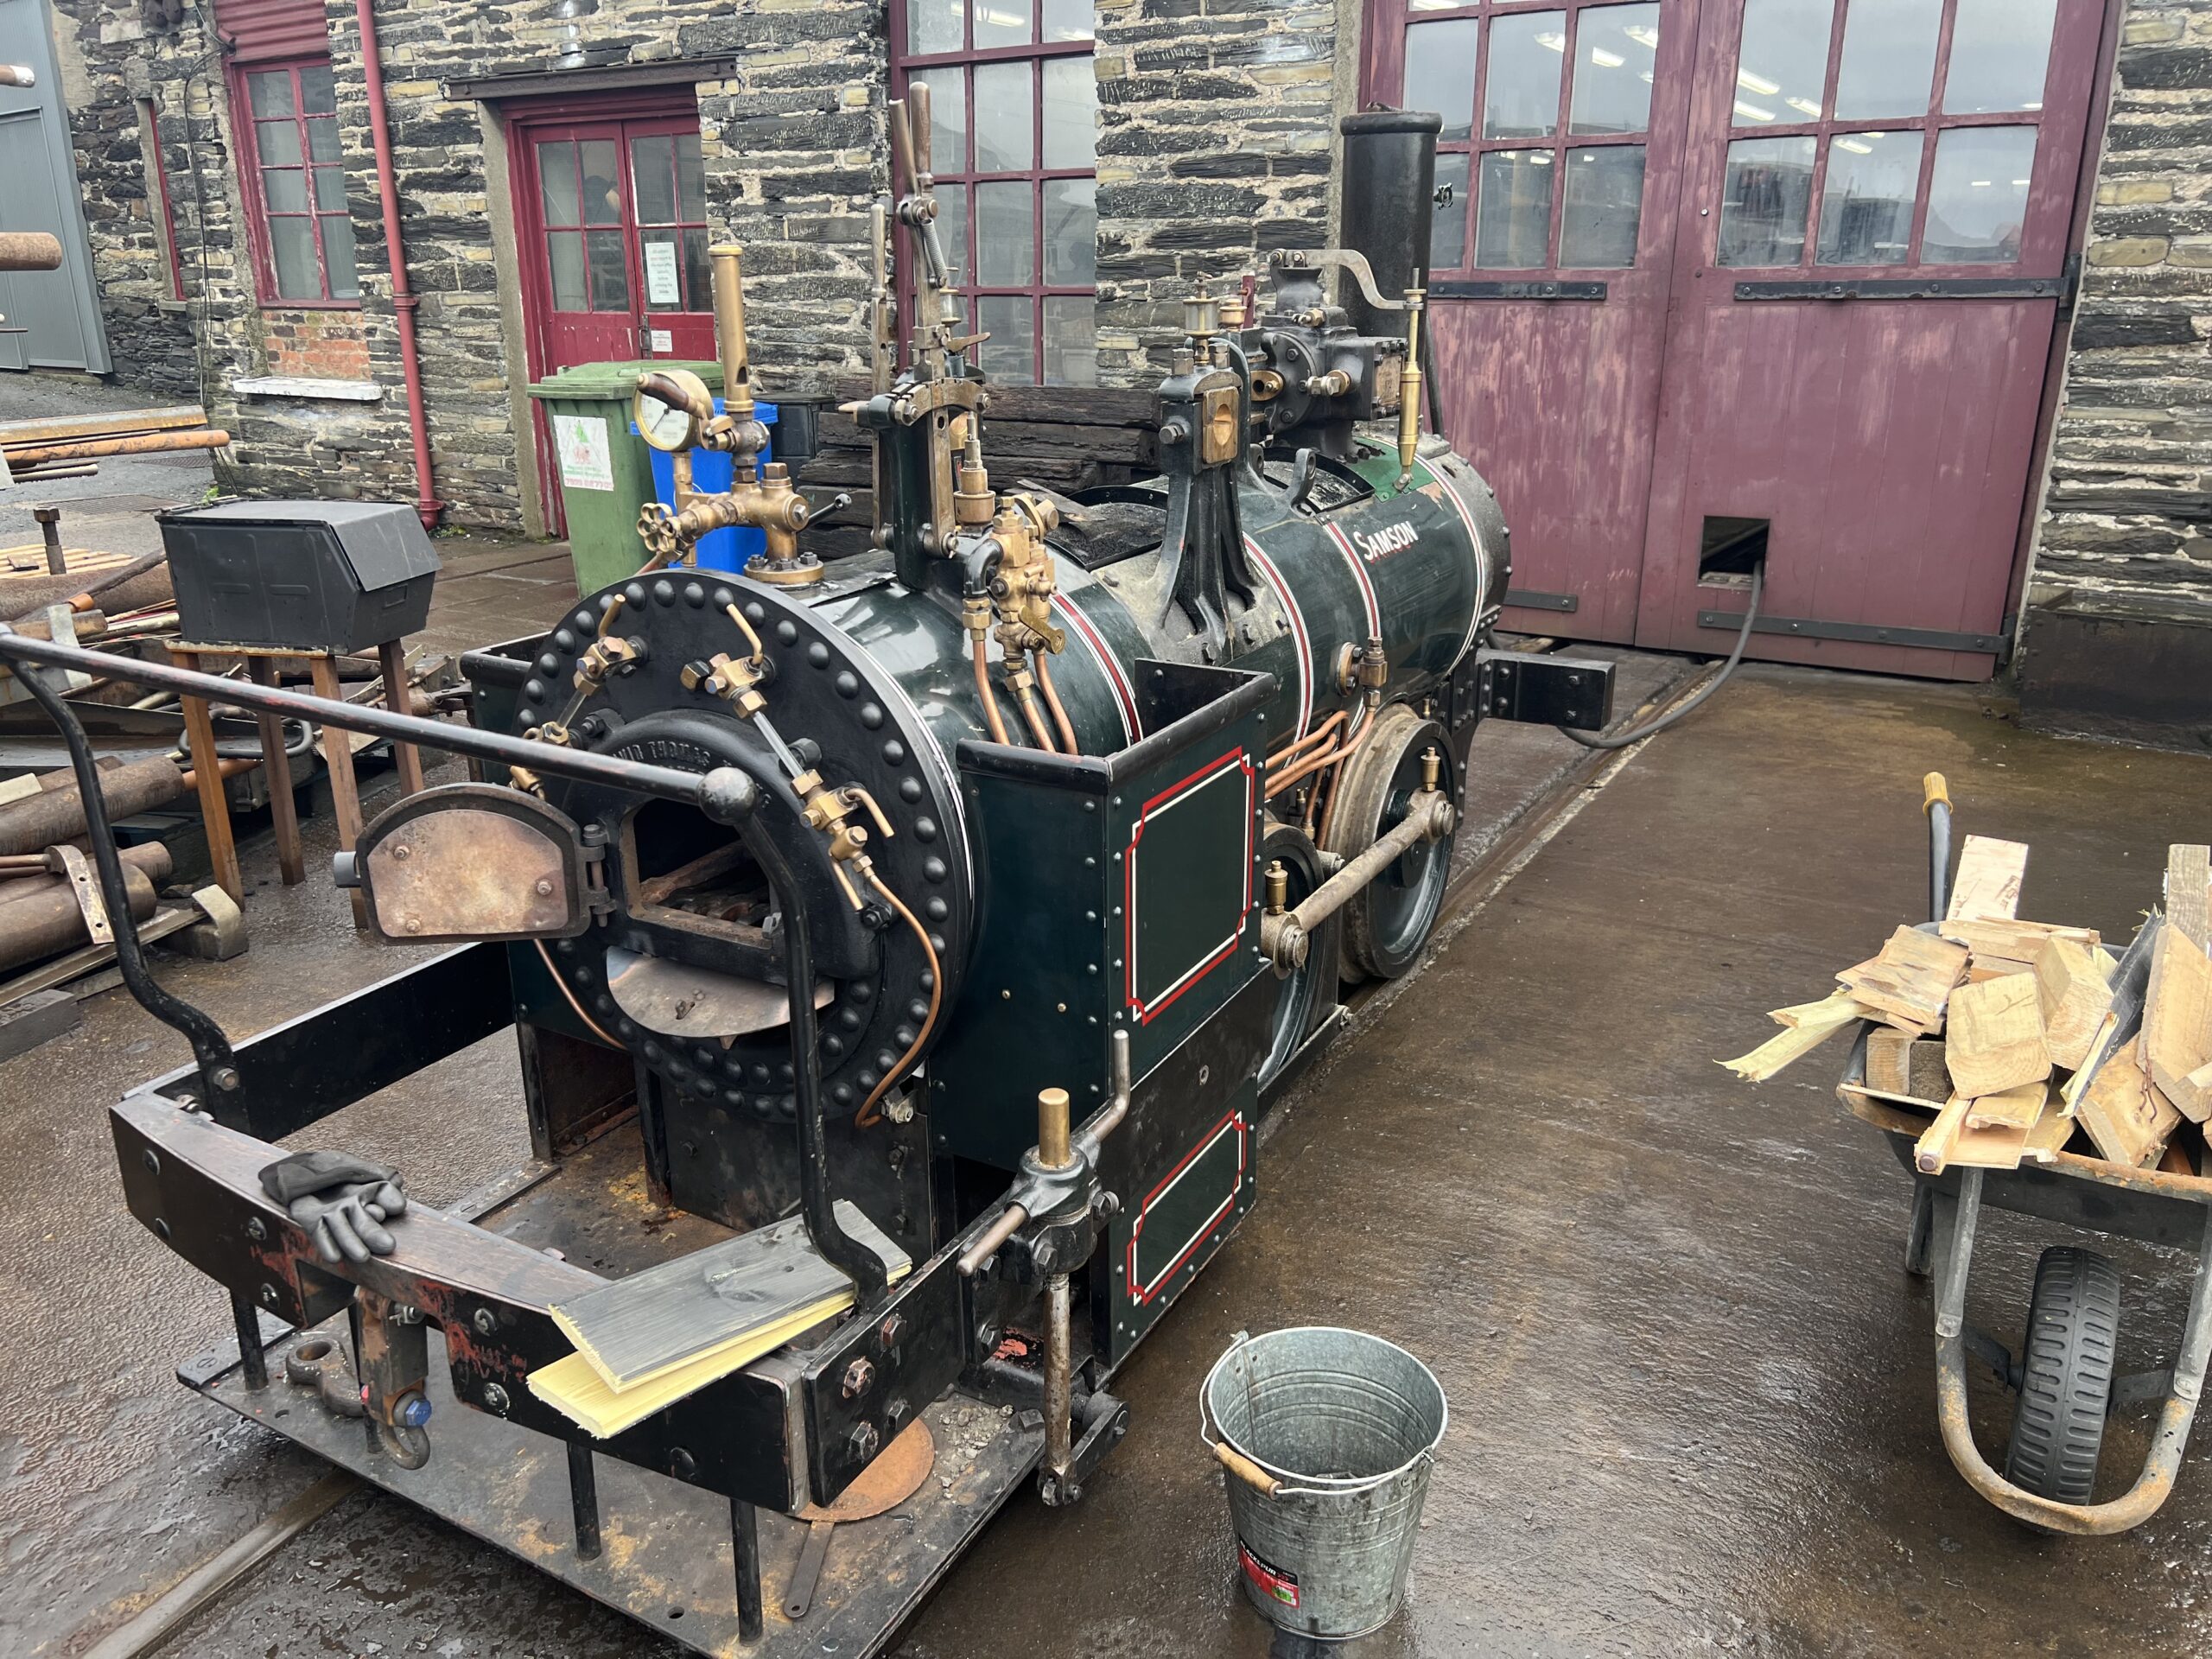
Below: With the cladding complete, reassembly could continue. First though, disassembly. The rear frame straps and footplate handrail (pram handle!) were removed to allow the bunkers to be fitted. Boiler fittings had been removed after the hydraulic test to enable fitting of the cladding. These were refitted with suitable joints and the remaining pipework assembled.
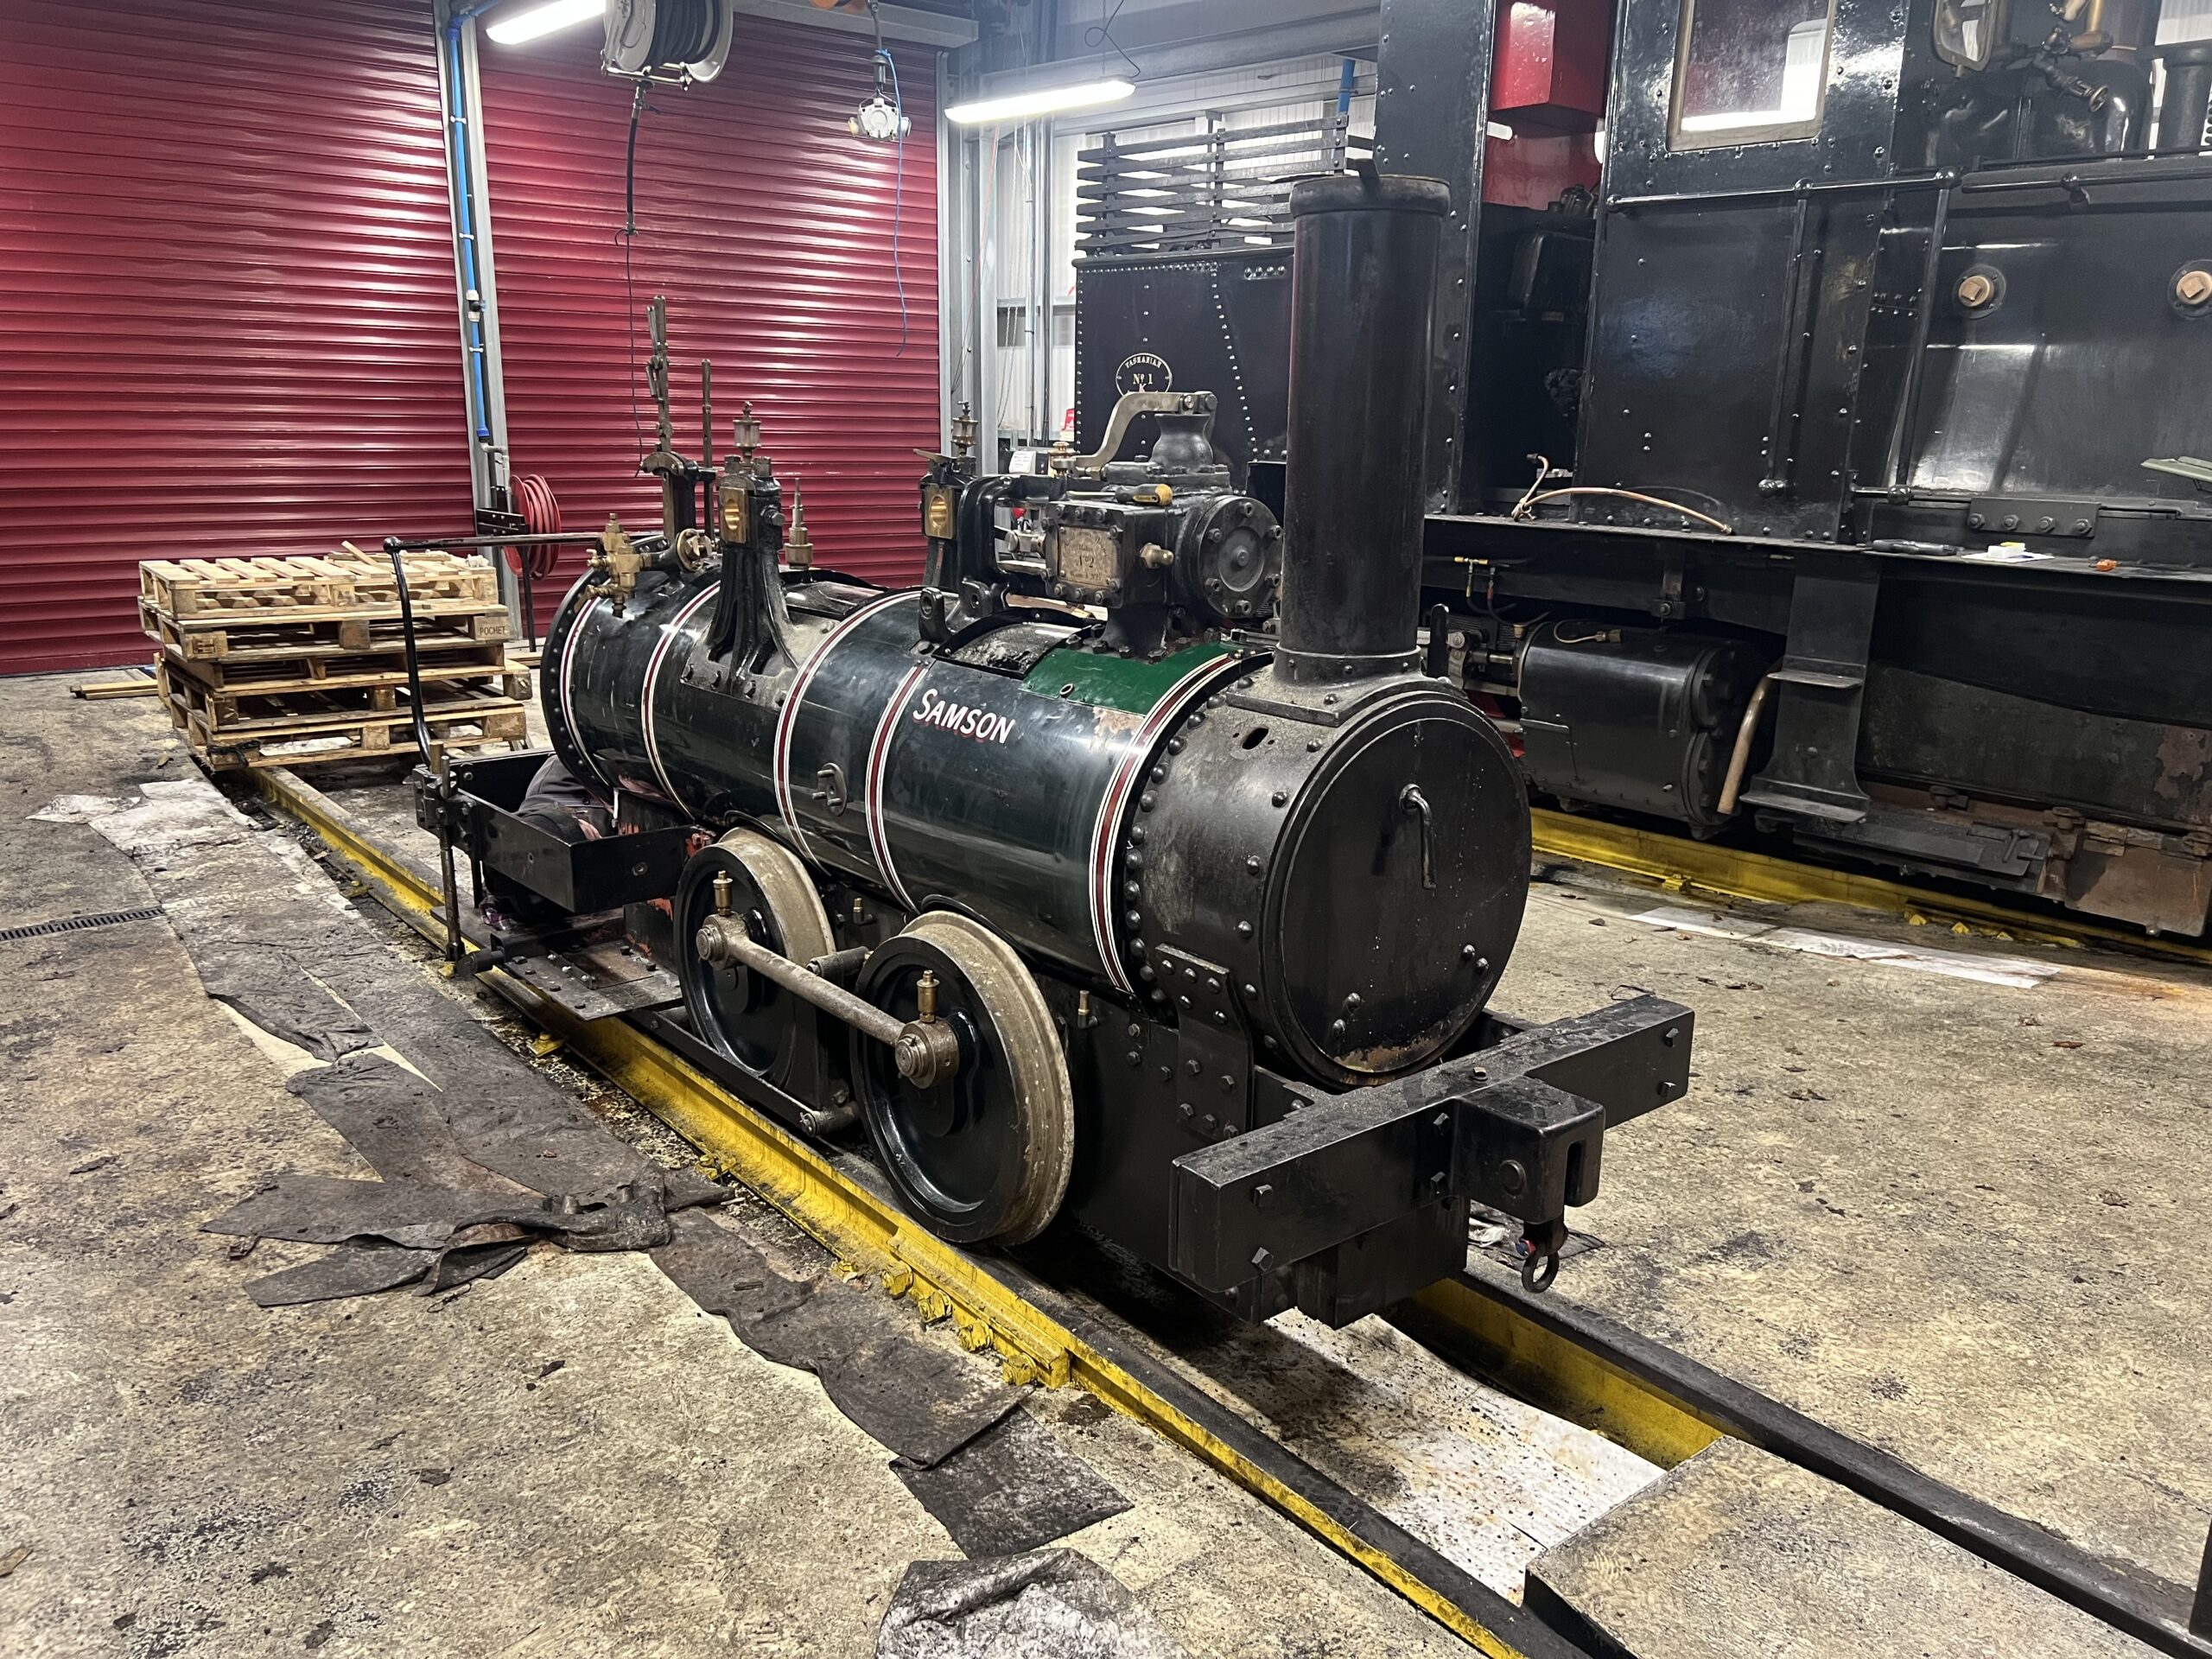
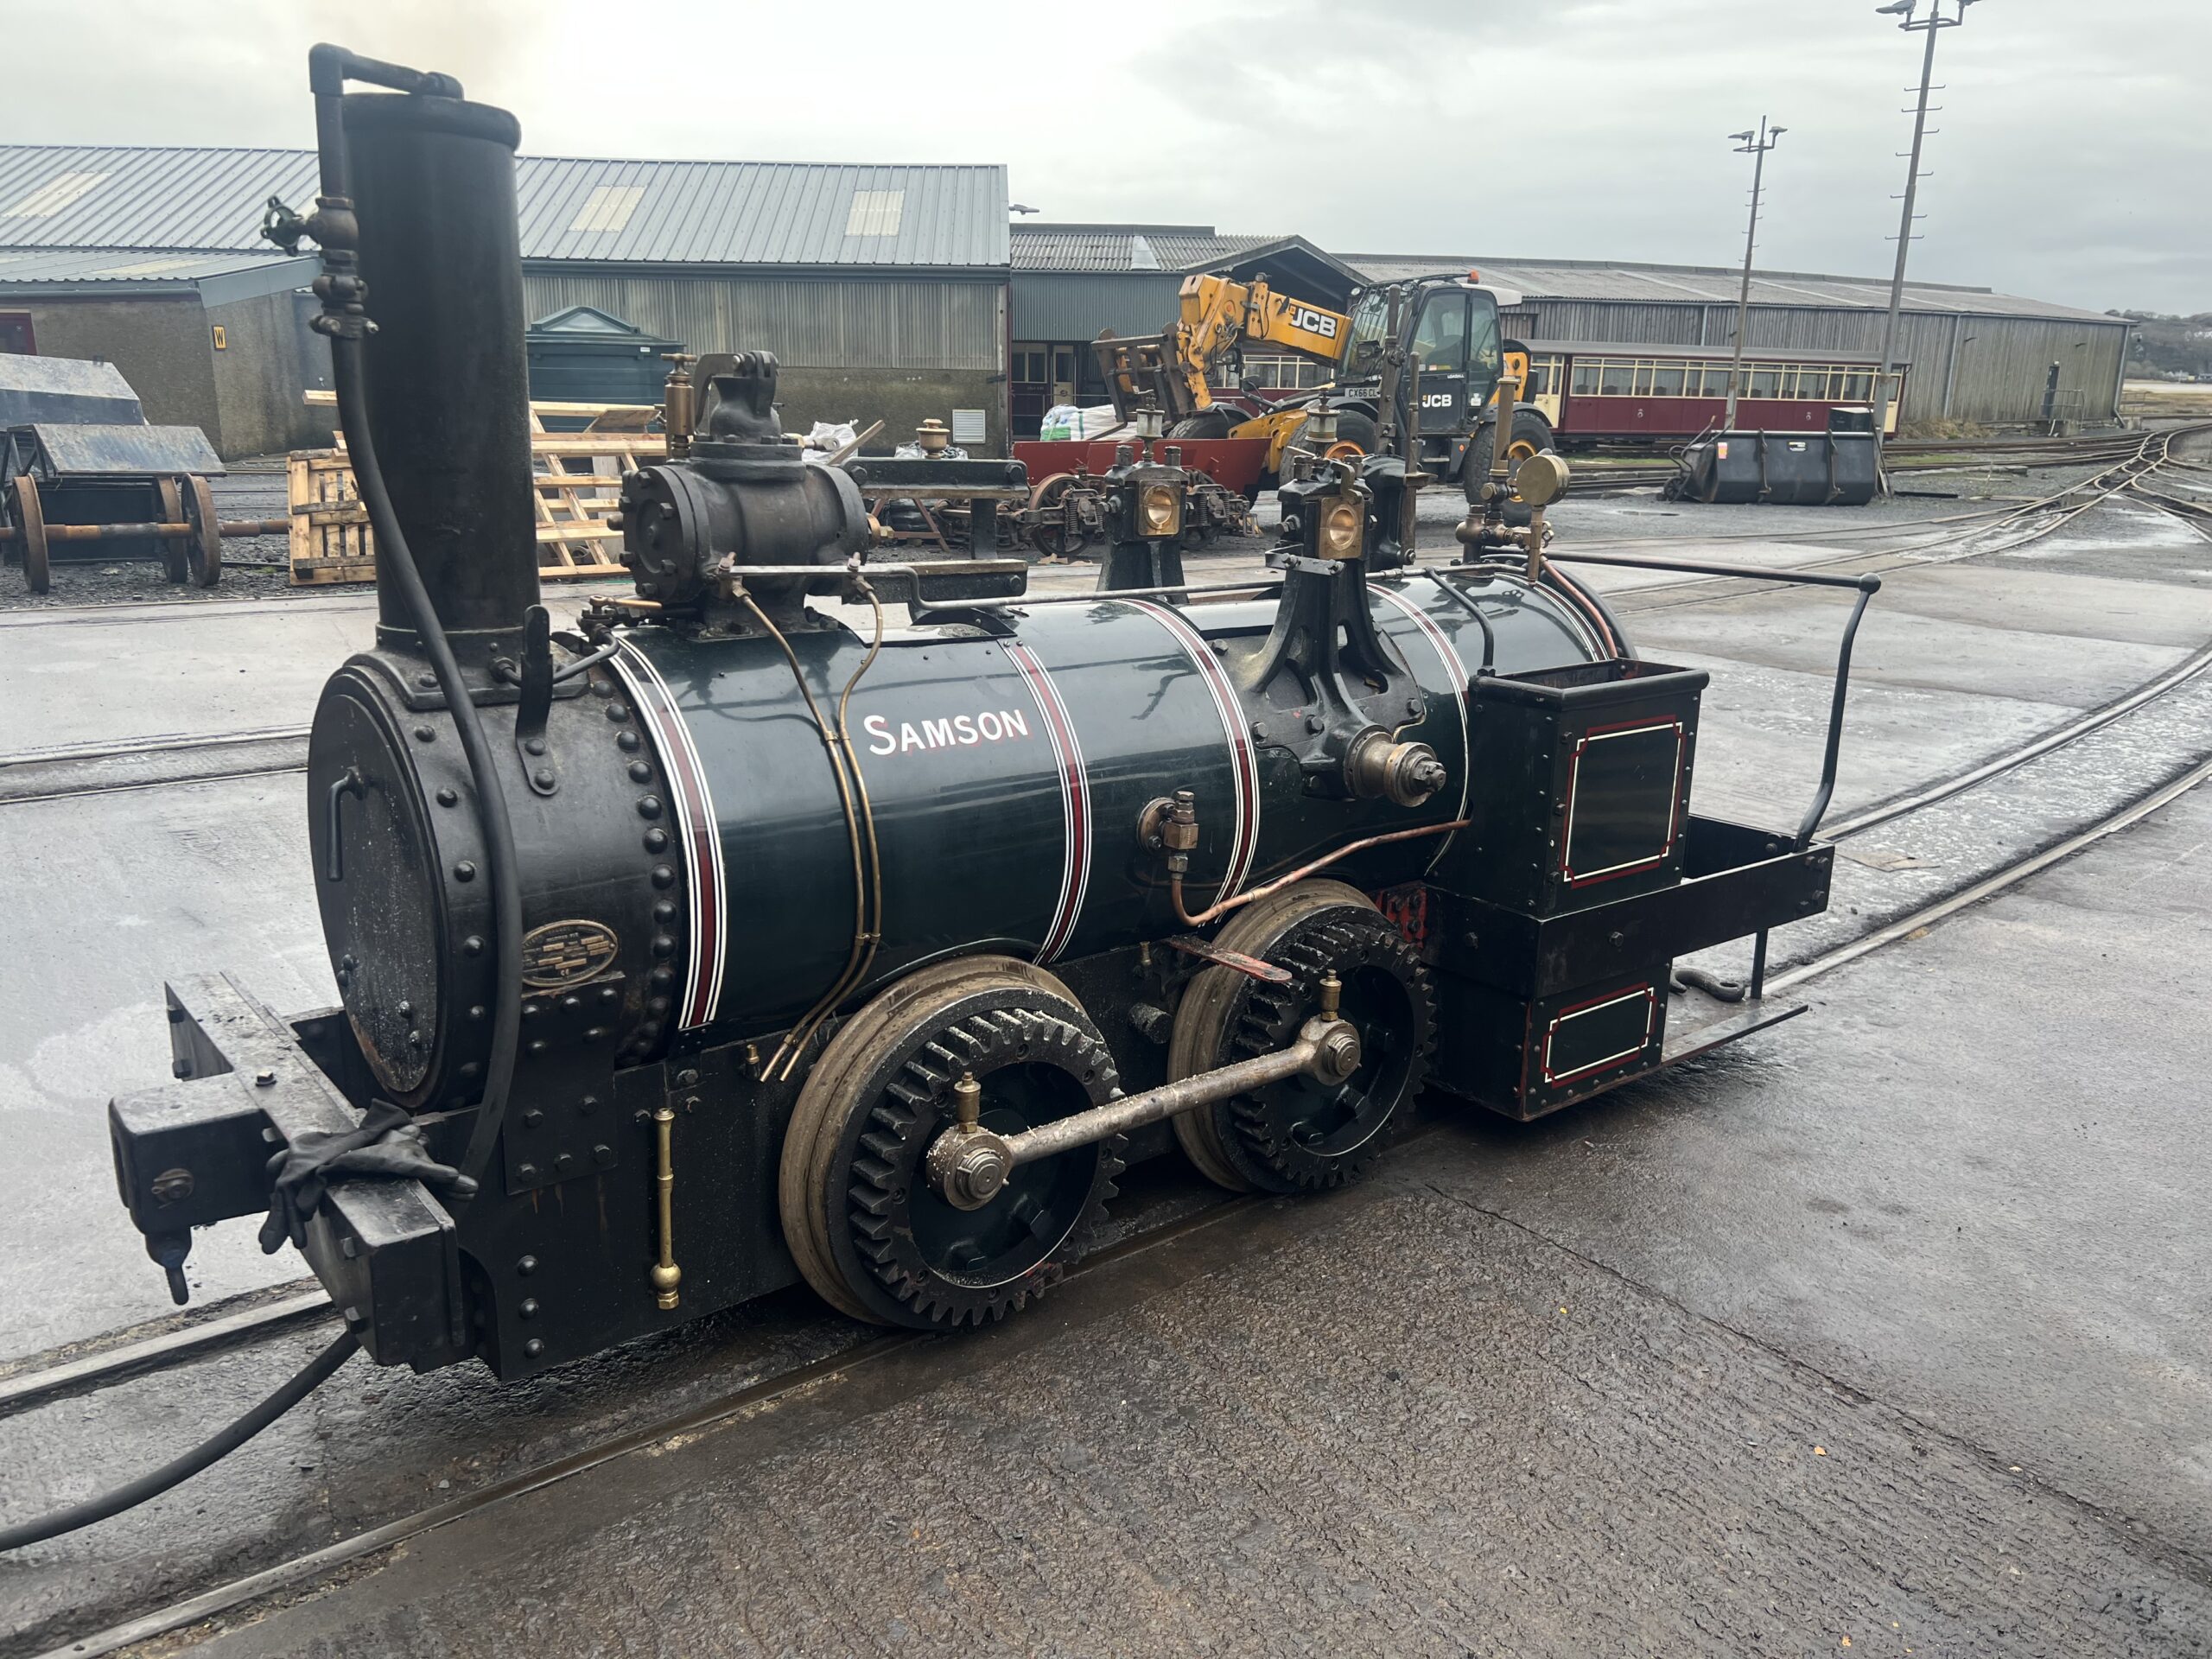
Below: The bunkers on and pipework fitted and with all work requiring the pit complete the loco was rolled outside and lit up to gently warm through.
.
Below: Whilst warming up, various other bits were refitted, such as the blower pipework, exhaust pipe and cylinder drain linkage. By the time the boiler was hot and heading for steam, assembly had reached a limit, pending the return to Wales of the crank and flywheel. Note the airline to help draw the fire, just enough to stop the smoke drifting back out of the firehole door [this is definitely a facility we plan to add at Beamish].
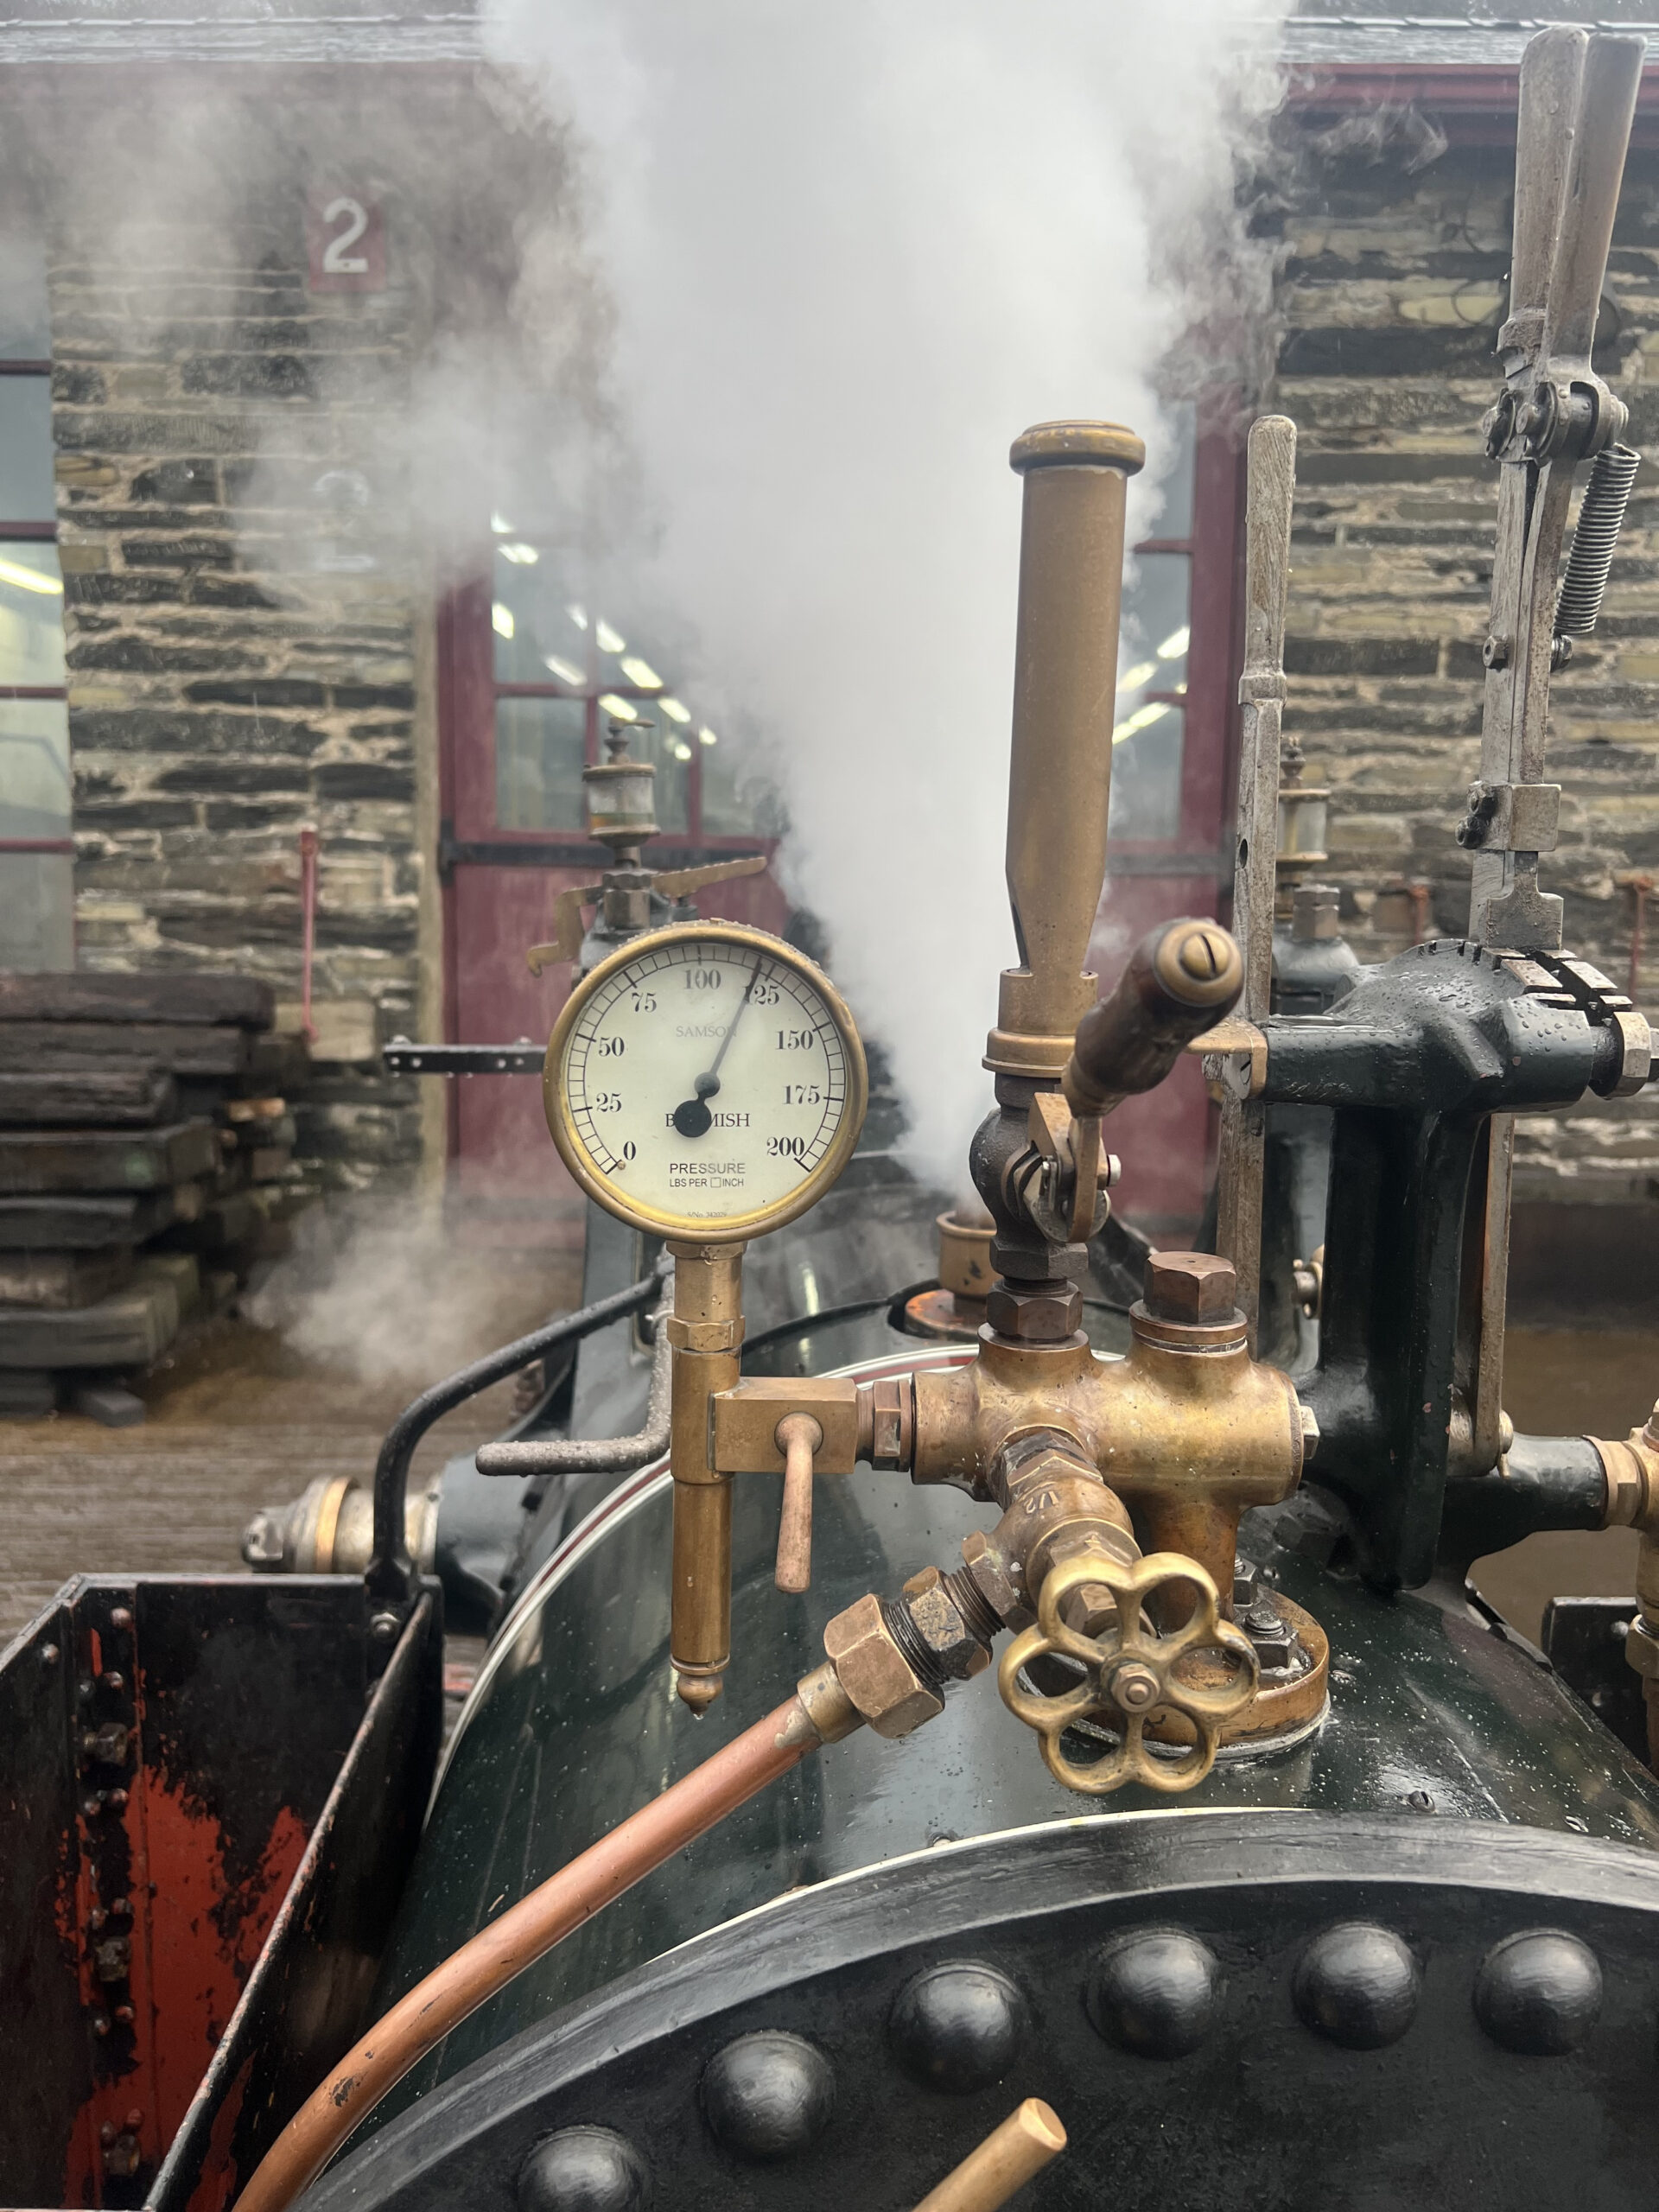
Below: By the end of the day and now using its own steam for the blower, the safety valves lifted at the appropriate point. There was also bits of steam coming from the cladding as the wood continues to dry out.
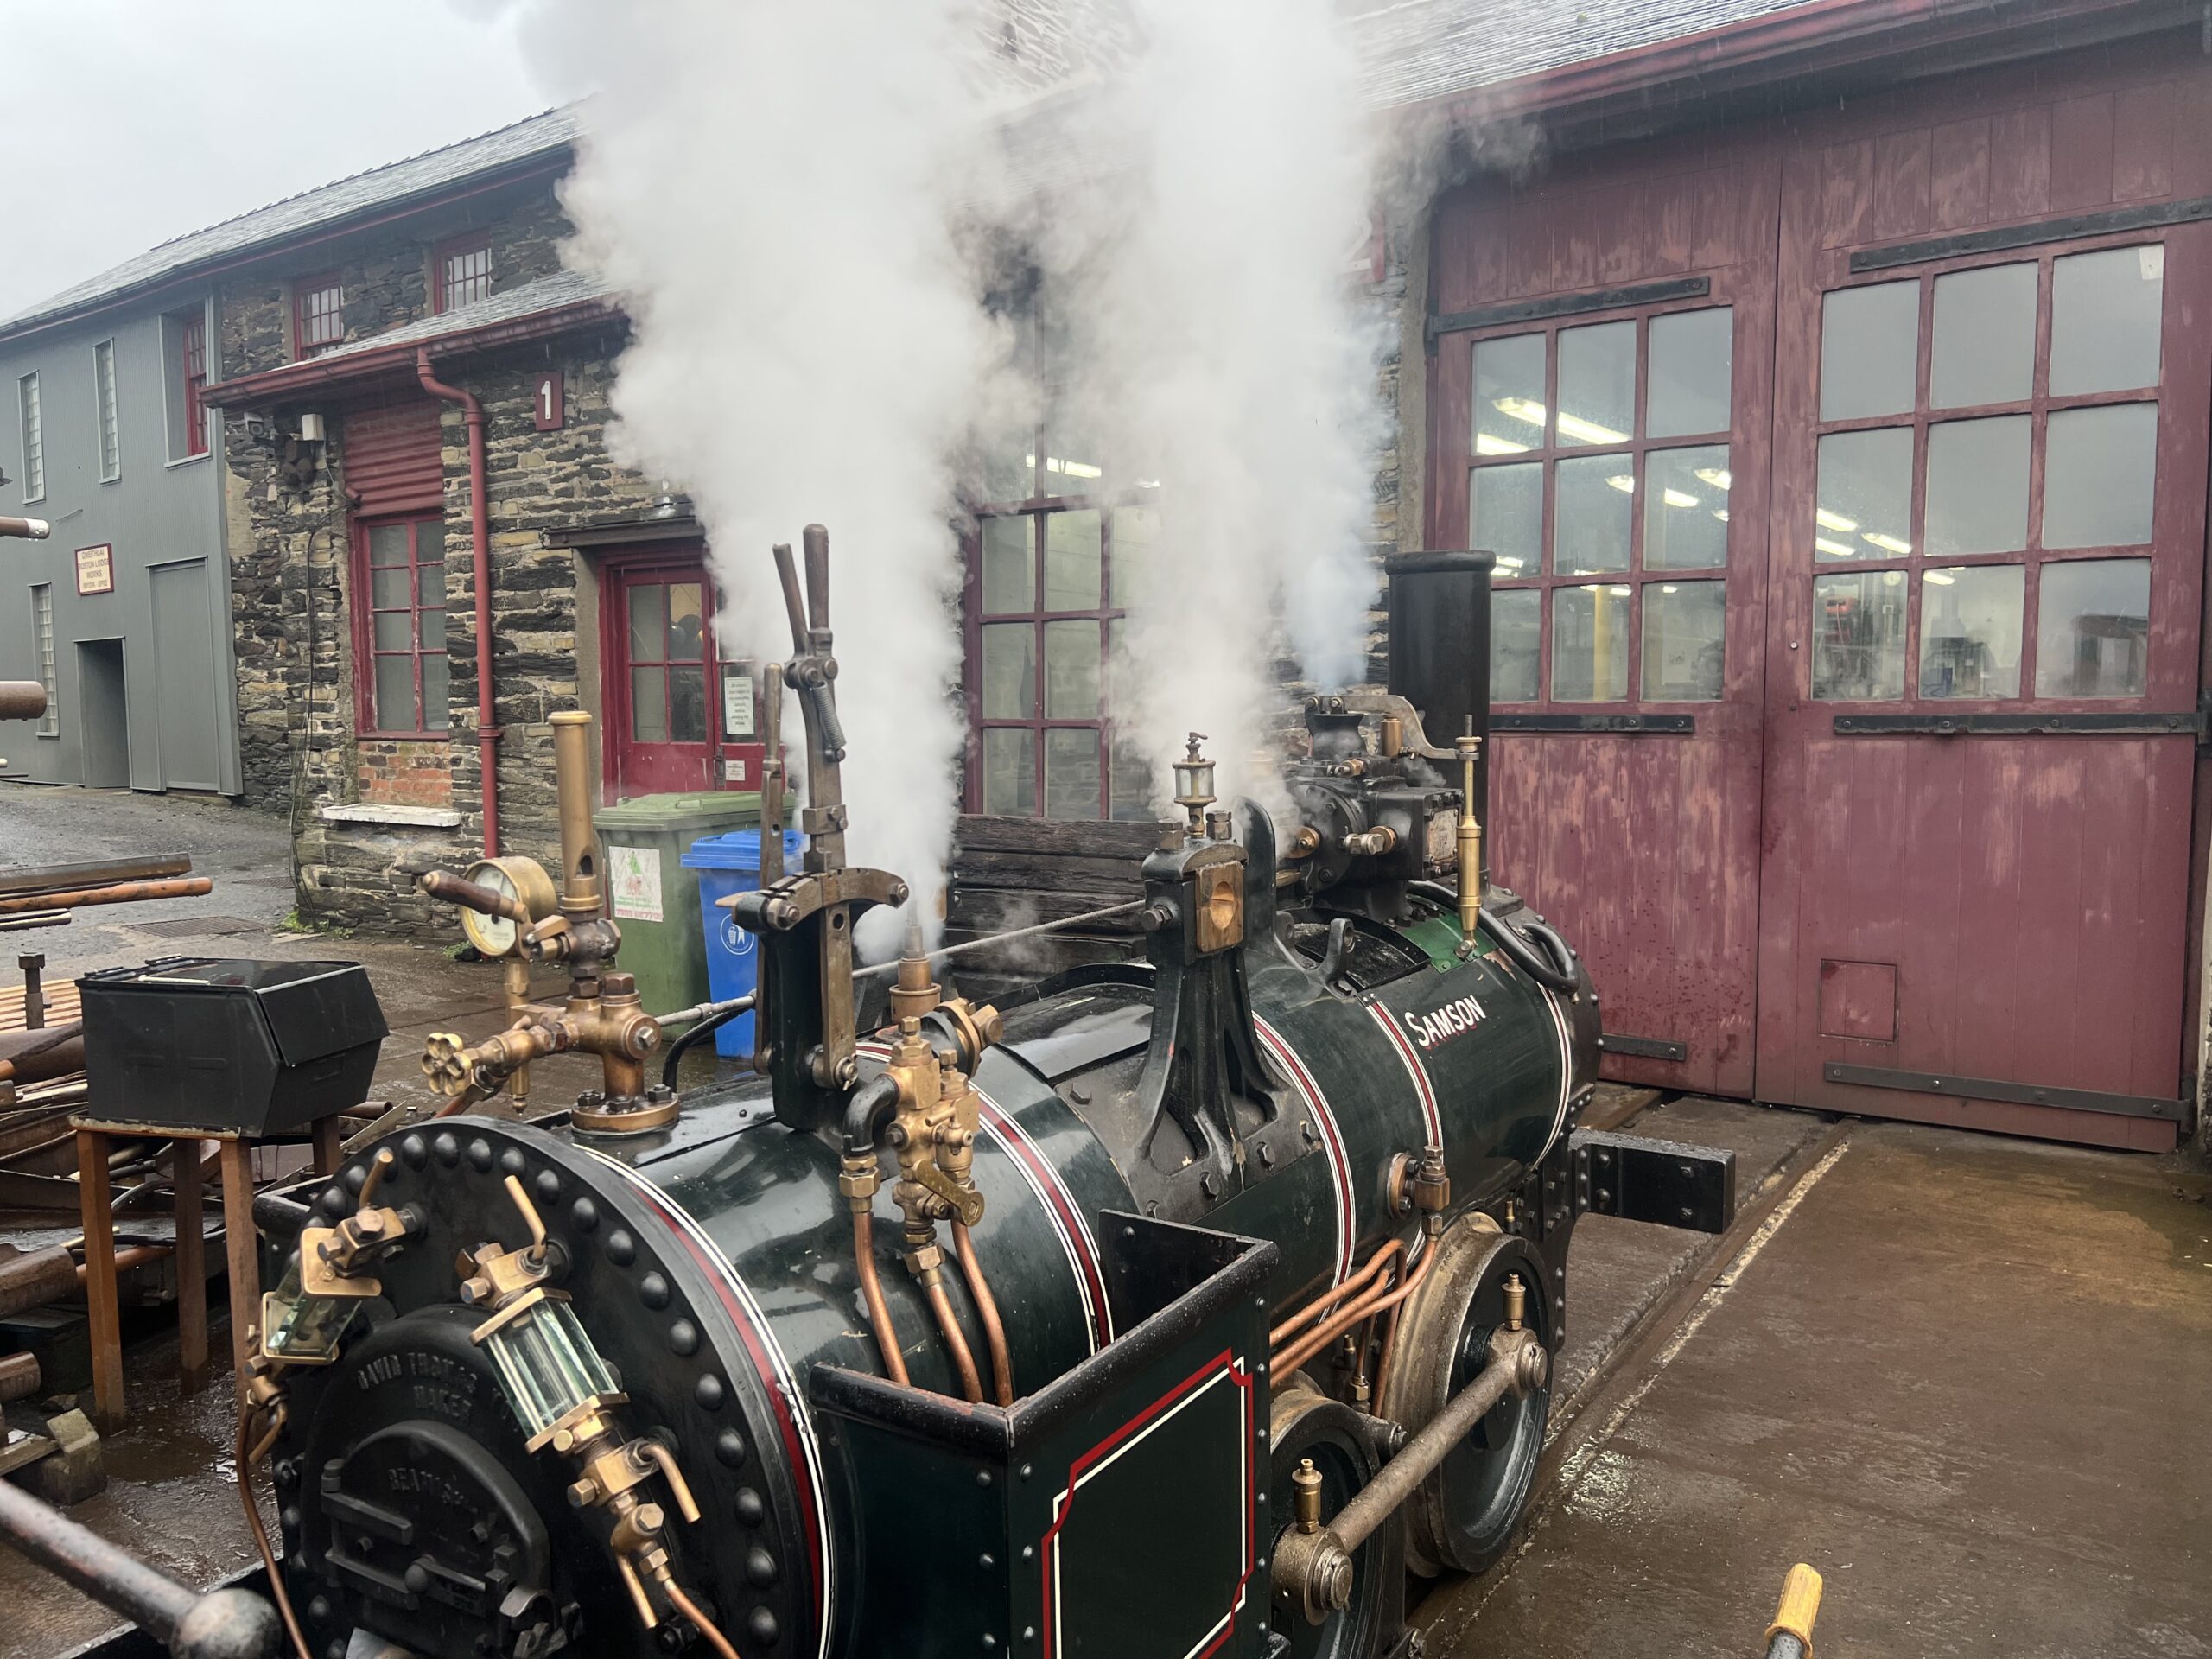
Below: Safety valves lifting at 120 psi, all good. There are a few minor steam leaks to tend to all on various fittings, we’ll deal with these in time for another in-house test with the loco fully assembled with the crank. We’ll then able to prove the water pump before the boiler inspector visits for his test. The new injector pipework all functioned without issue.
Permanent Way
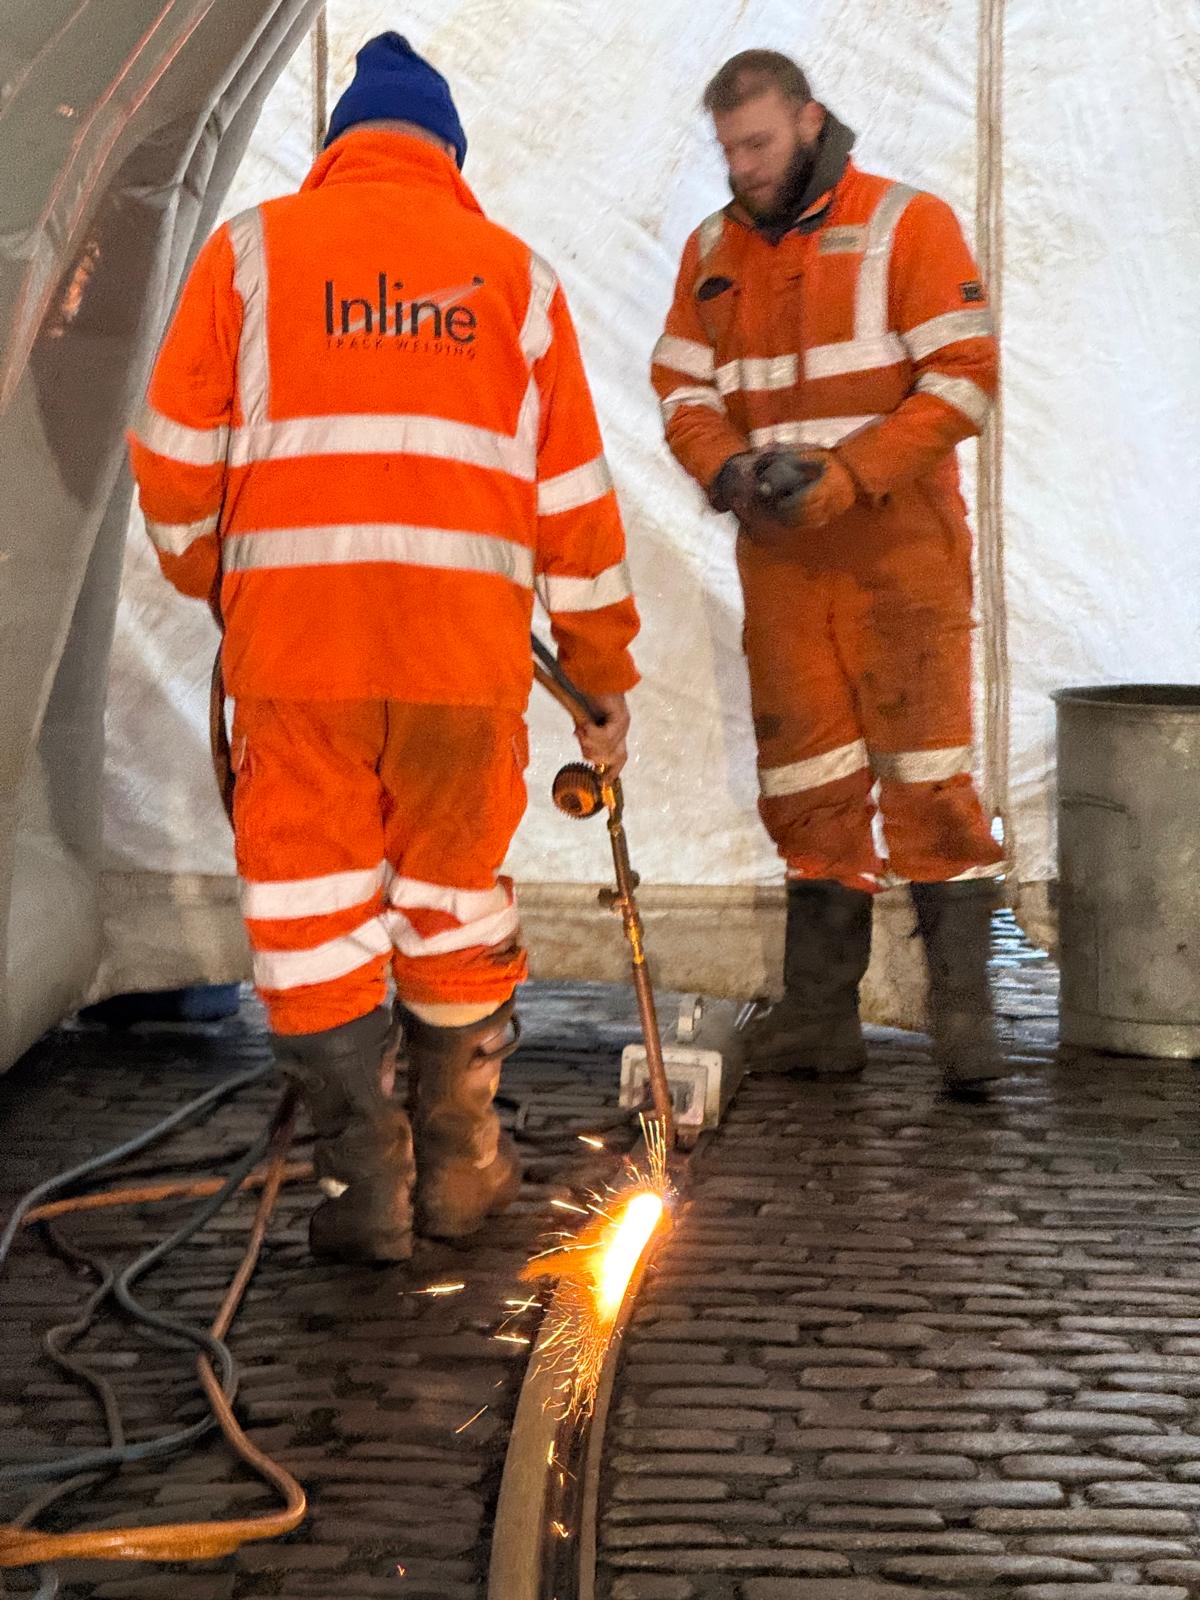
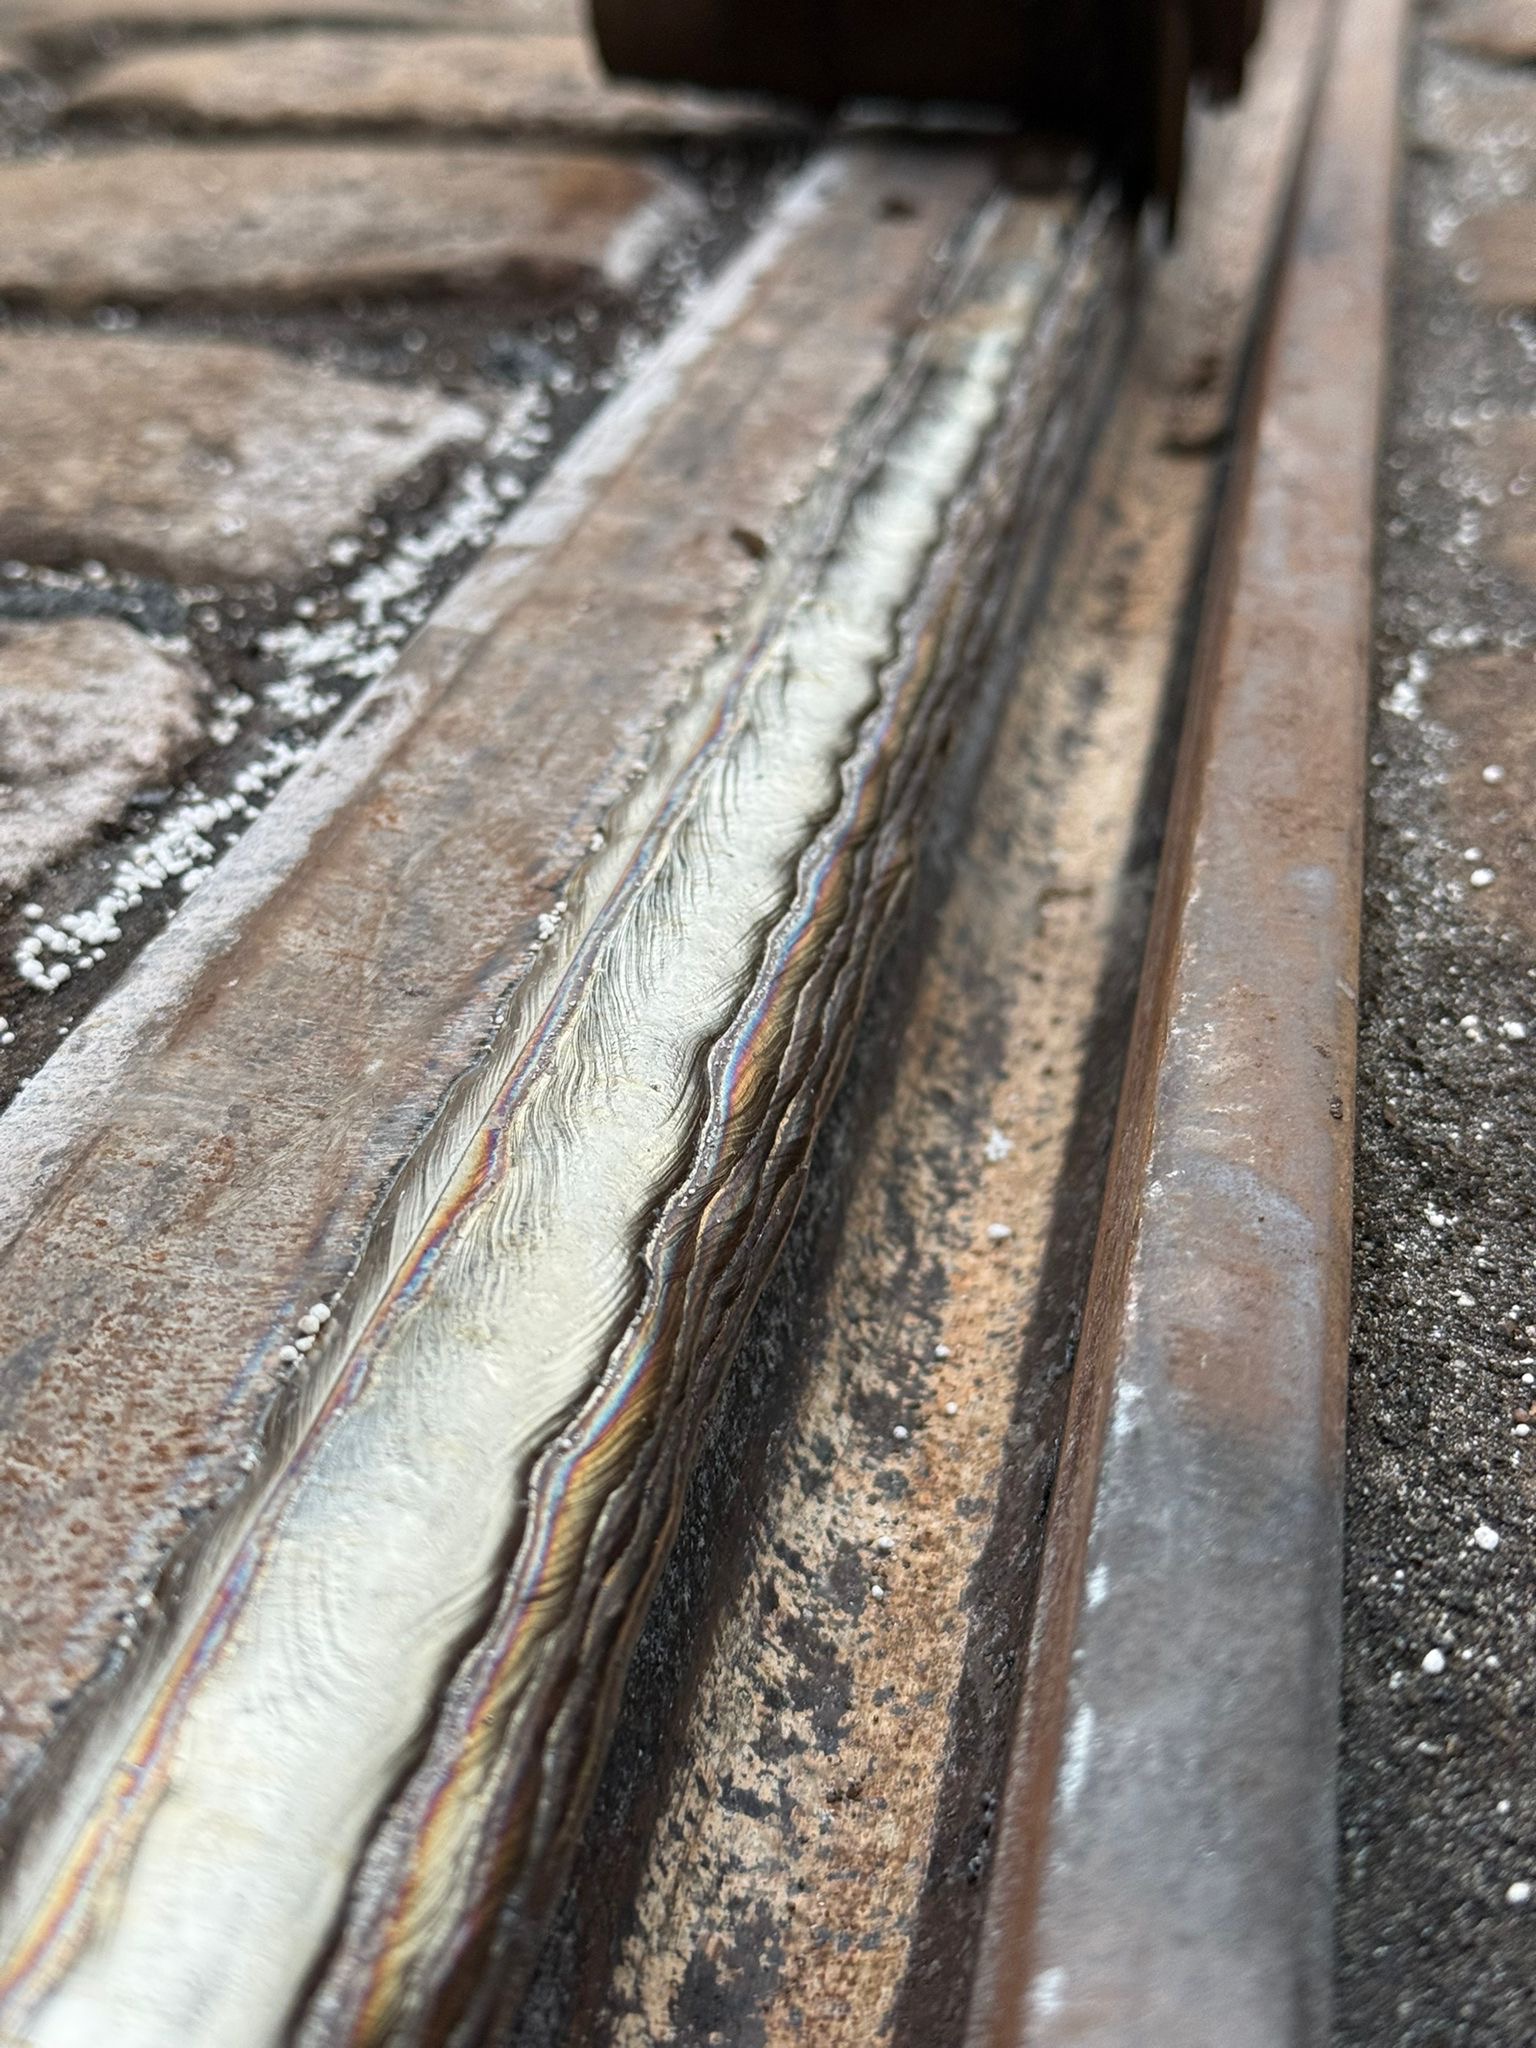
Below: A big winter job on the Tramway has been the restoration of the gauge-corner on the Tramway curve in the vicinity of the Bank Stop in High Street. This work was contracted to Inline, who carried it out over several days (and nights) in order to minimise disruption to the museum. A tent was an essential accessory, given the wet weather we’ve been experiencing, and in this view the rail is being pre-heated as part of the preparation for welding.
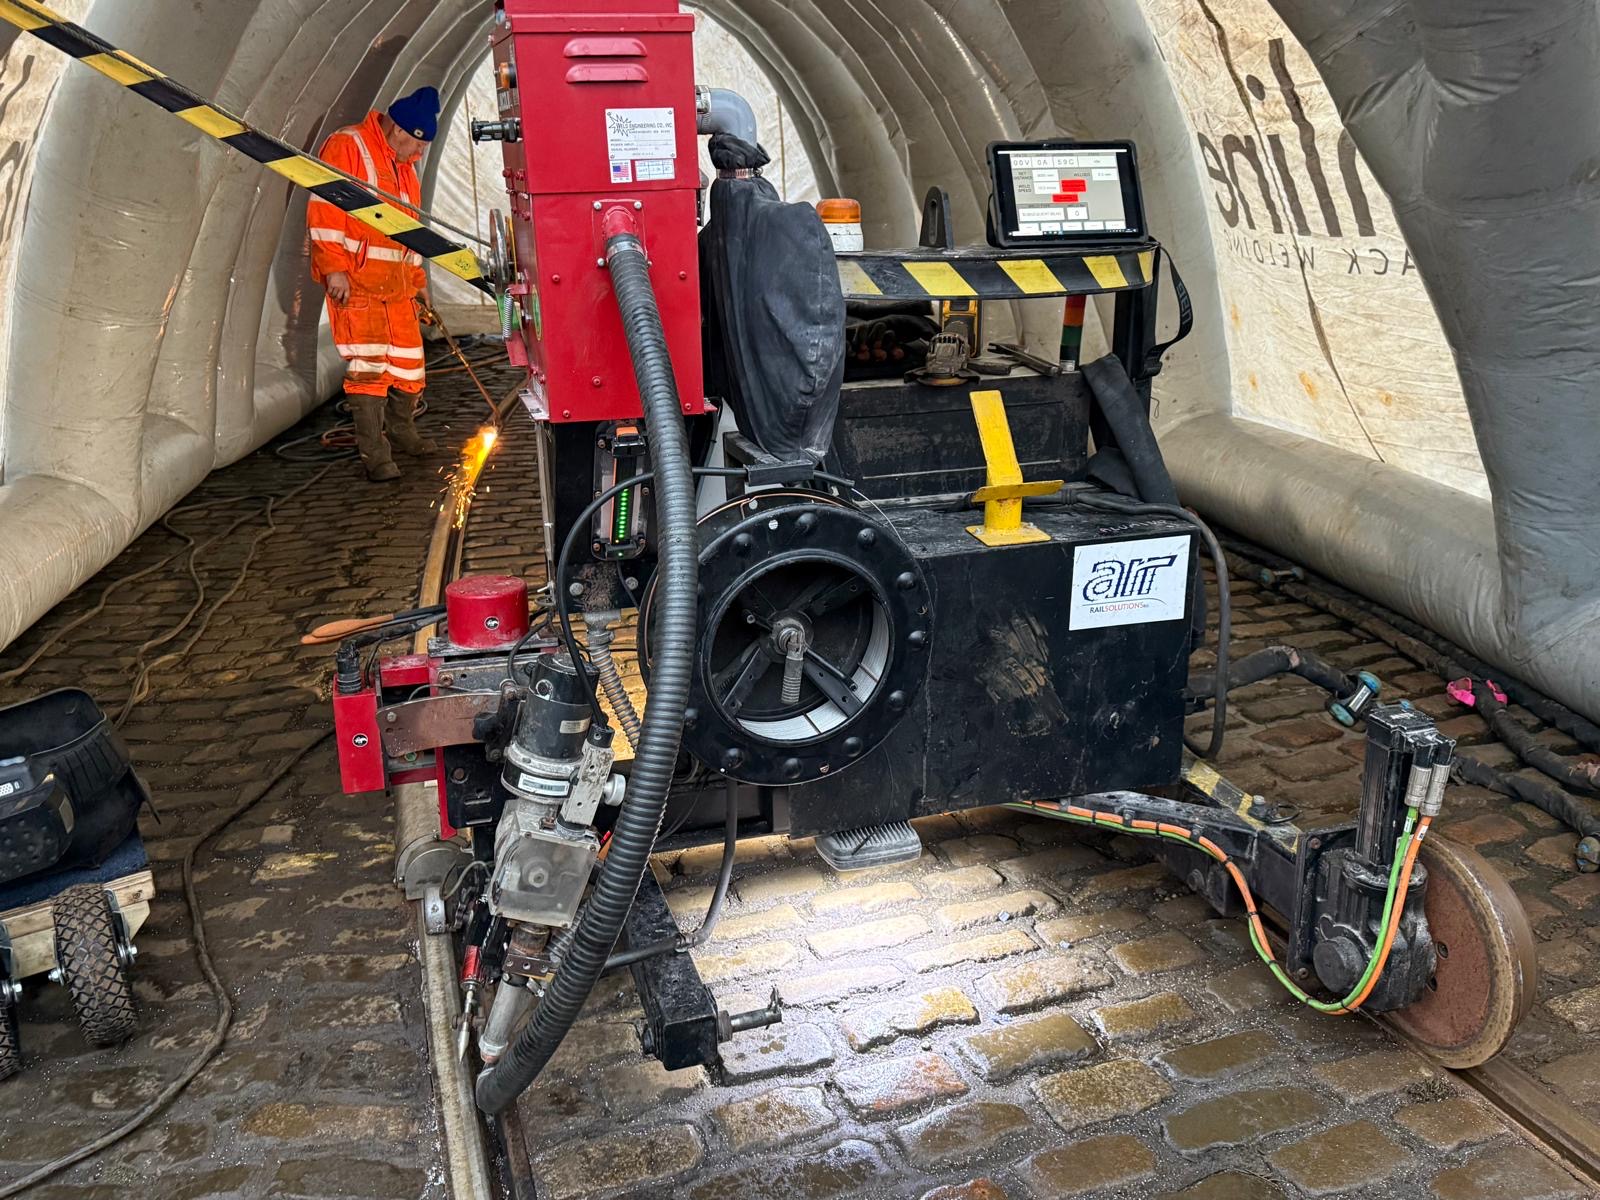
Below: The weld is applied by this piece of equipment – the probe is just visible bottom right above the rail.
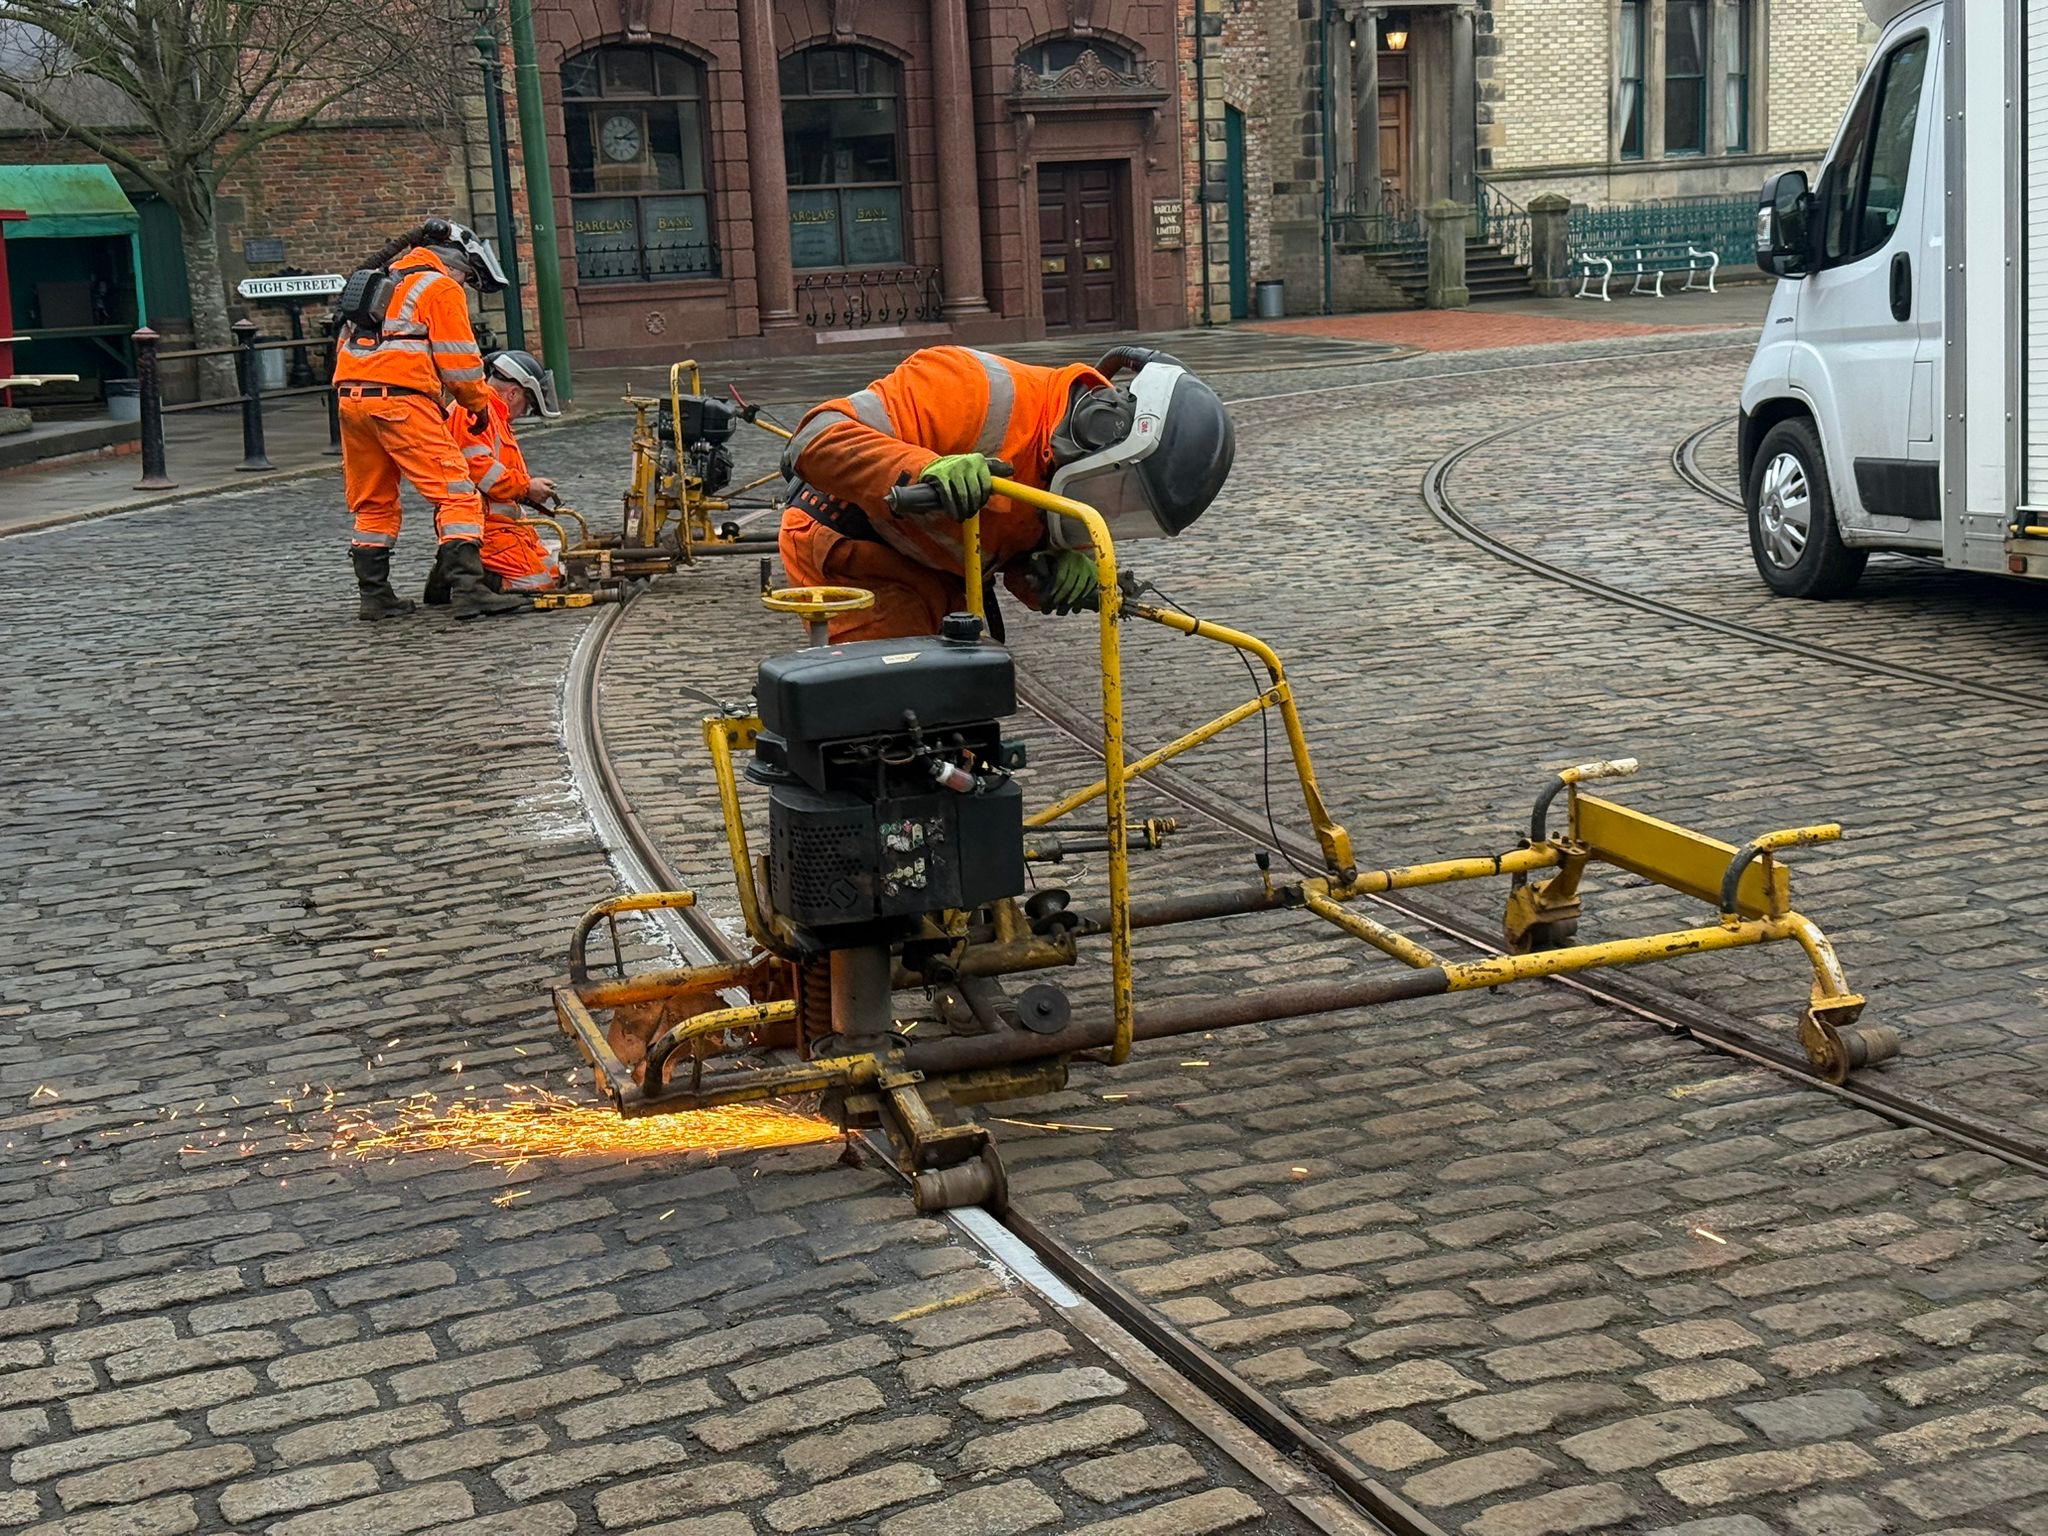
Below: Once the welds have been applied, the correct profile is restored by a process of grinding.
Below: This view illustrates the multiple passes of the welder (four) that build up the missing rail profile.
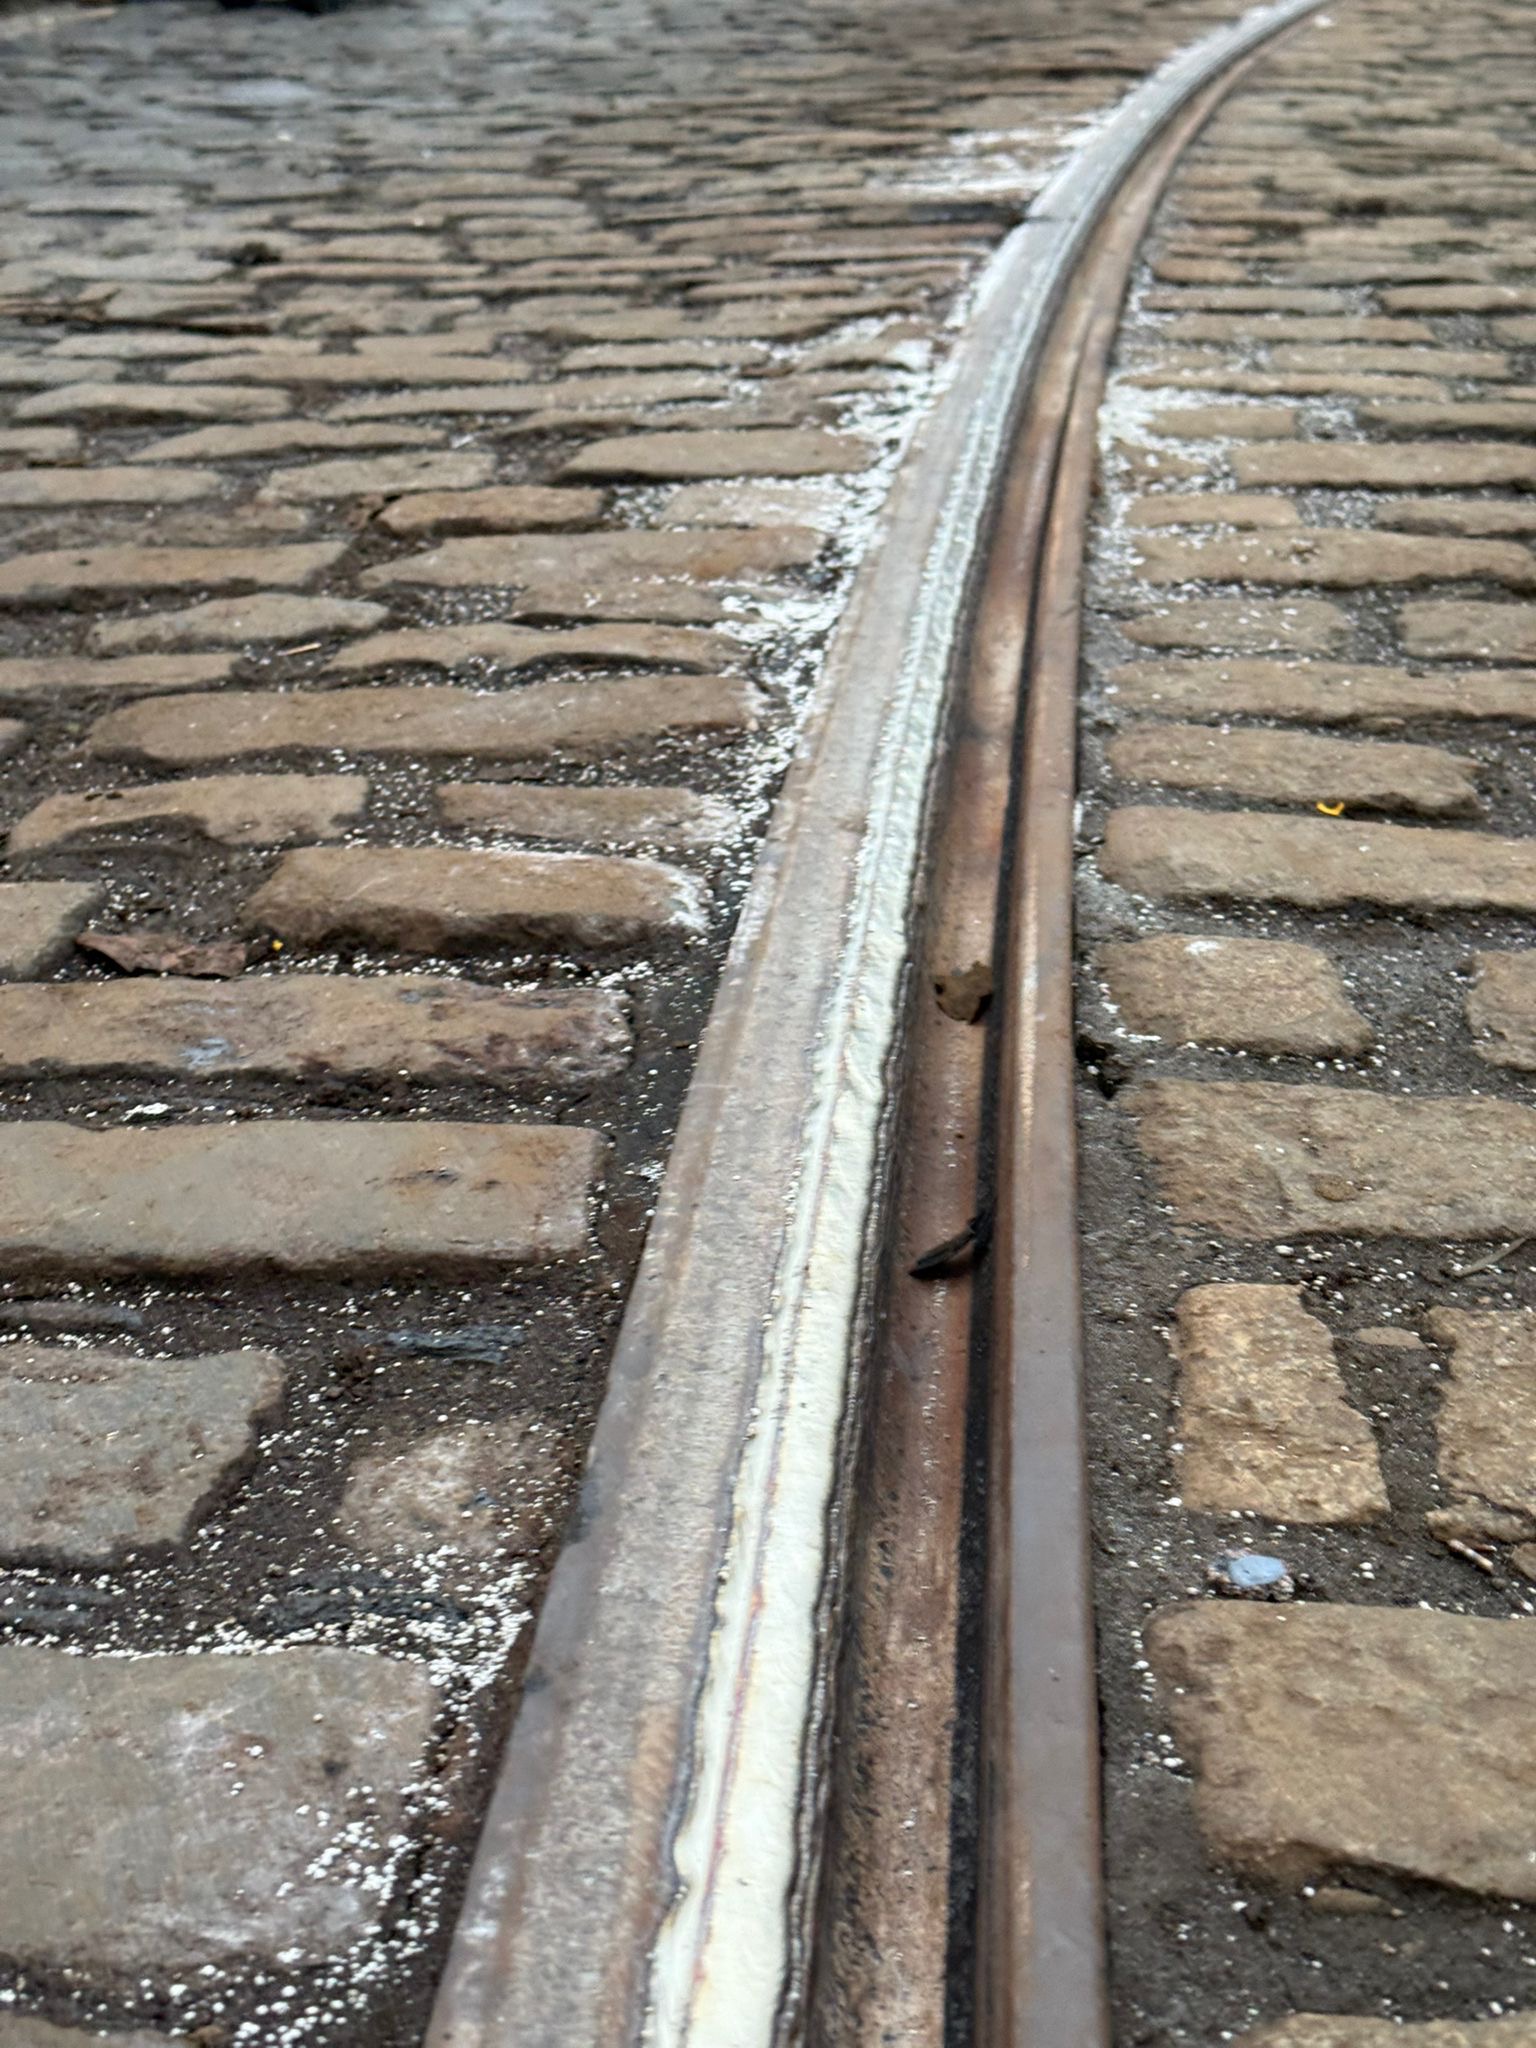
Below: Another view of the restored rail, prior to the profile being ground back.
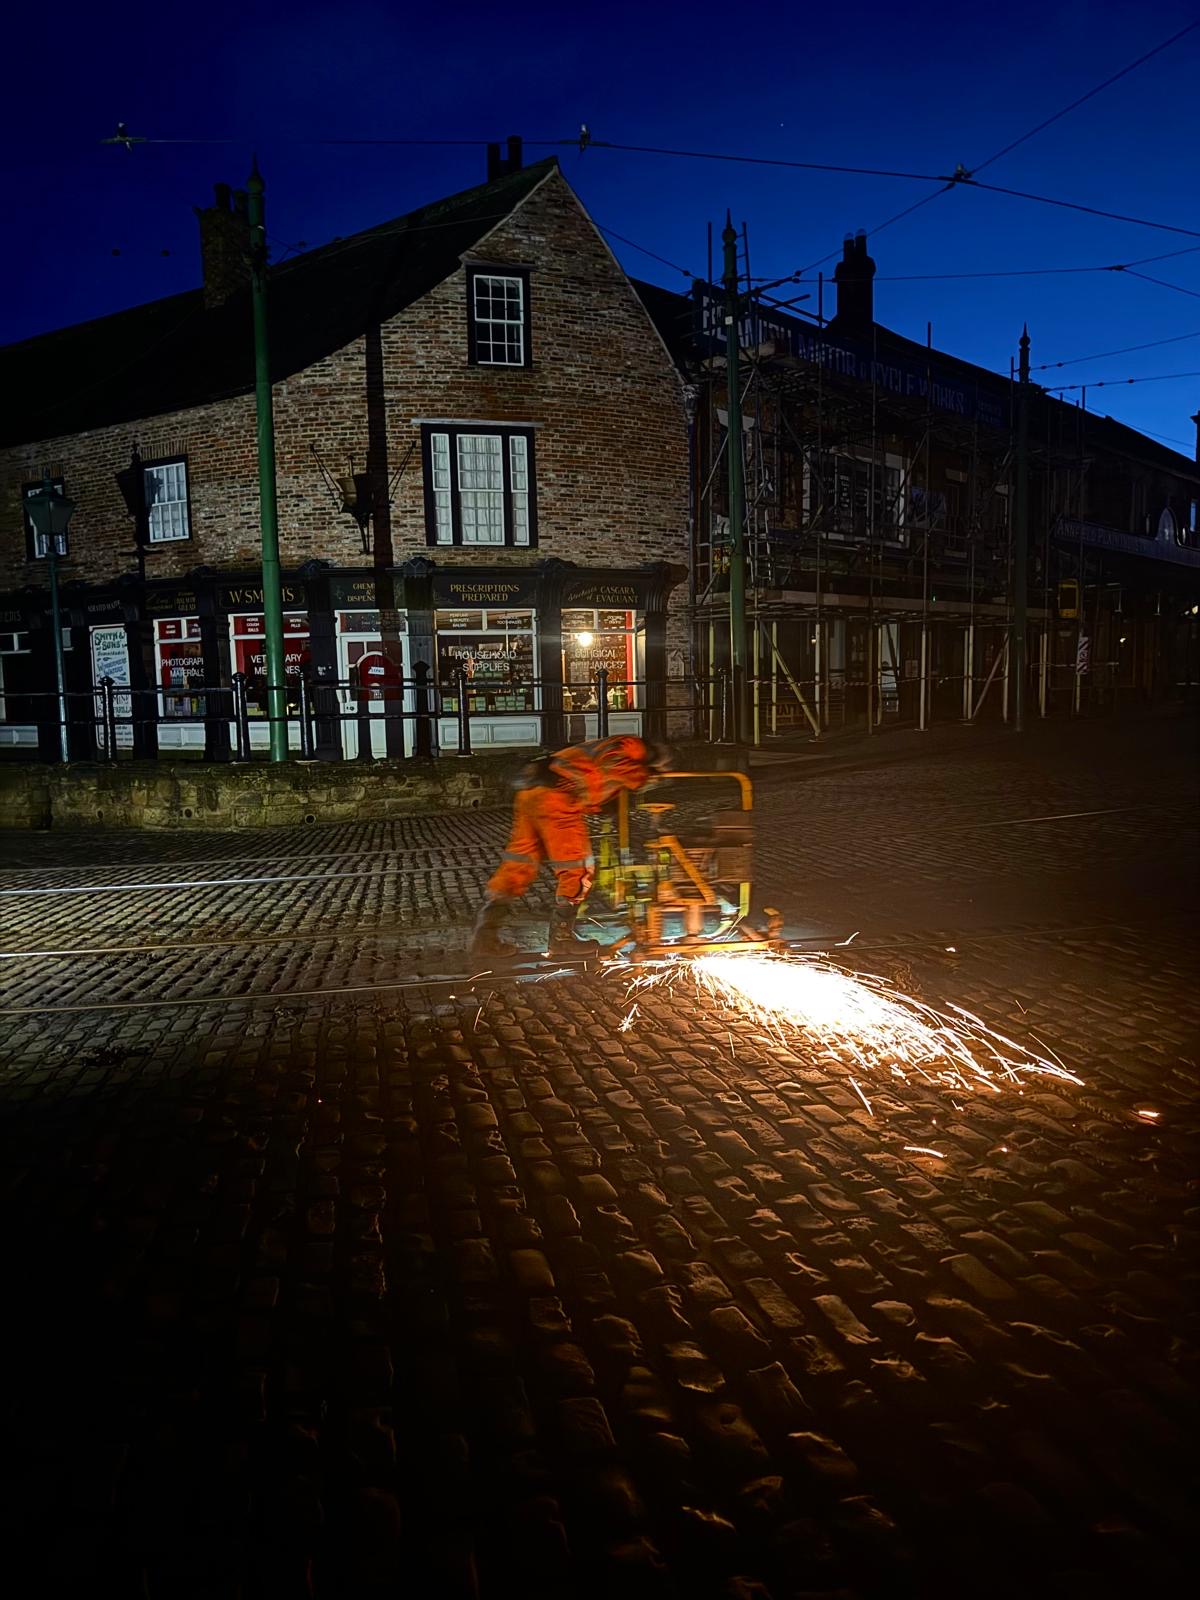
Below: Work also took place at night in order to ensure that it could be completed in a timely manner – February half-term is fast approaching!
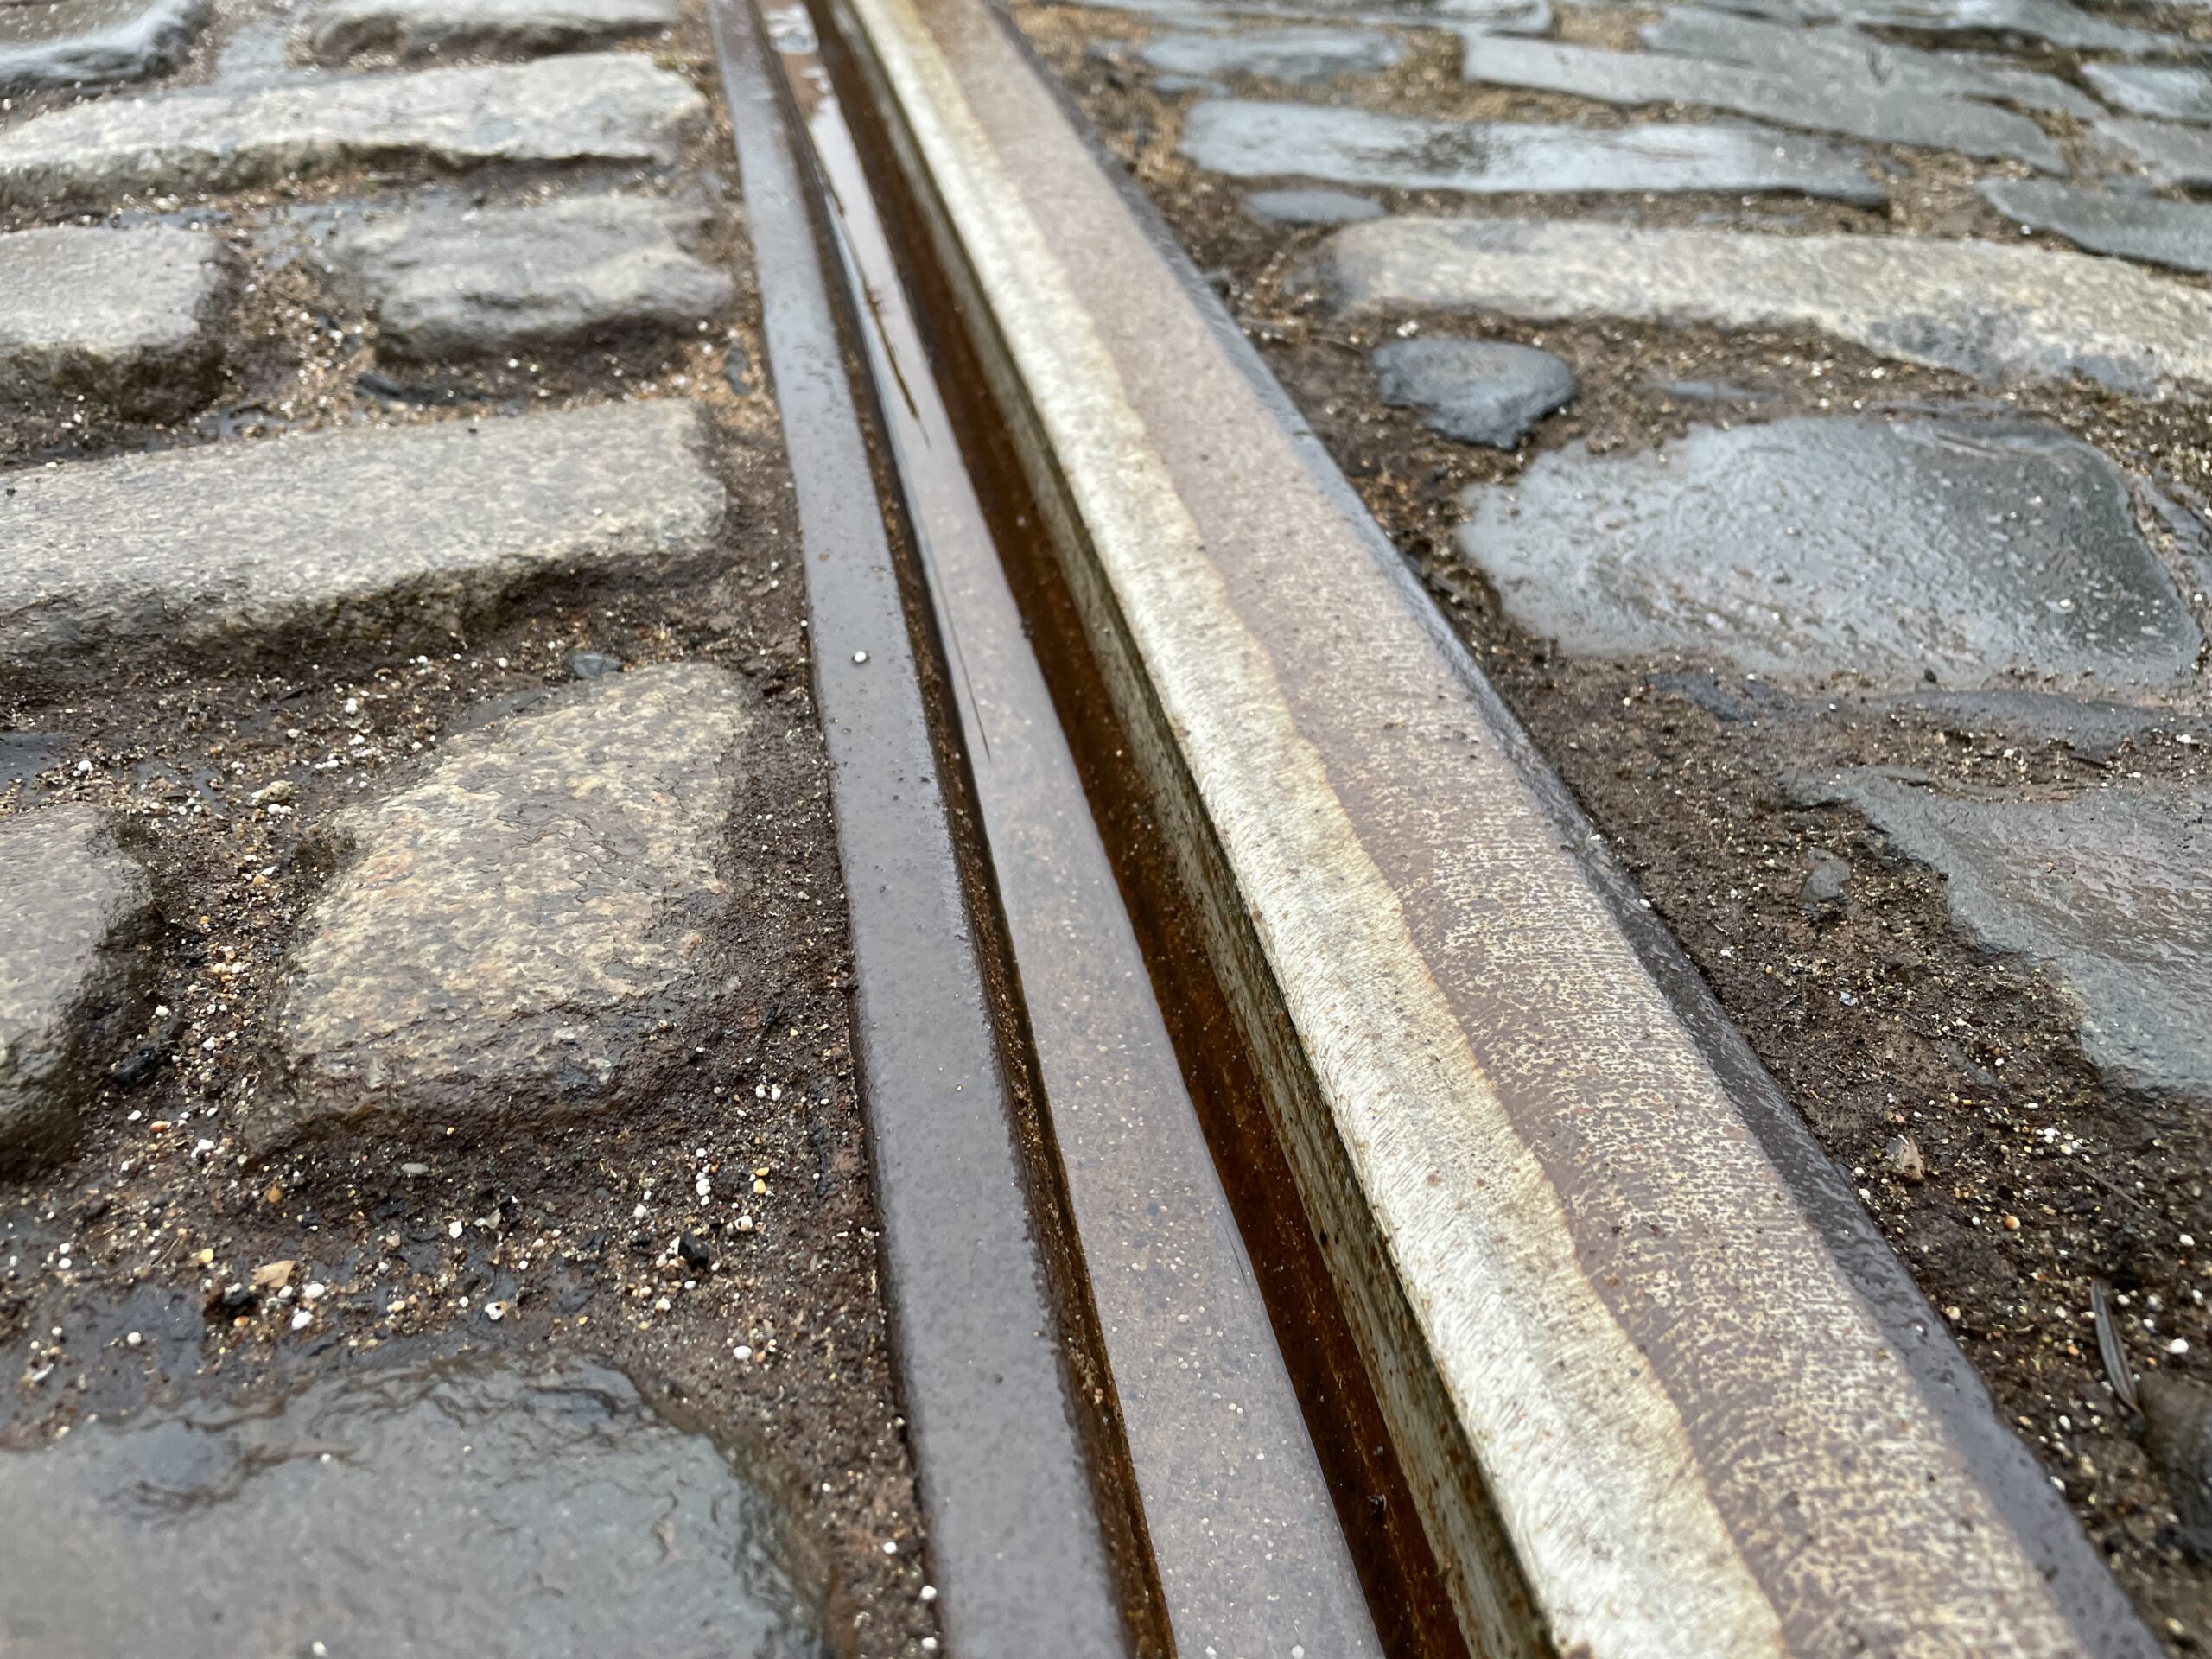
Below: The result – grinding complete and ready for testing.
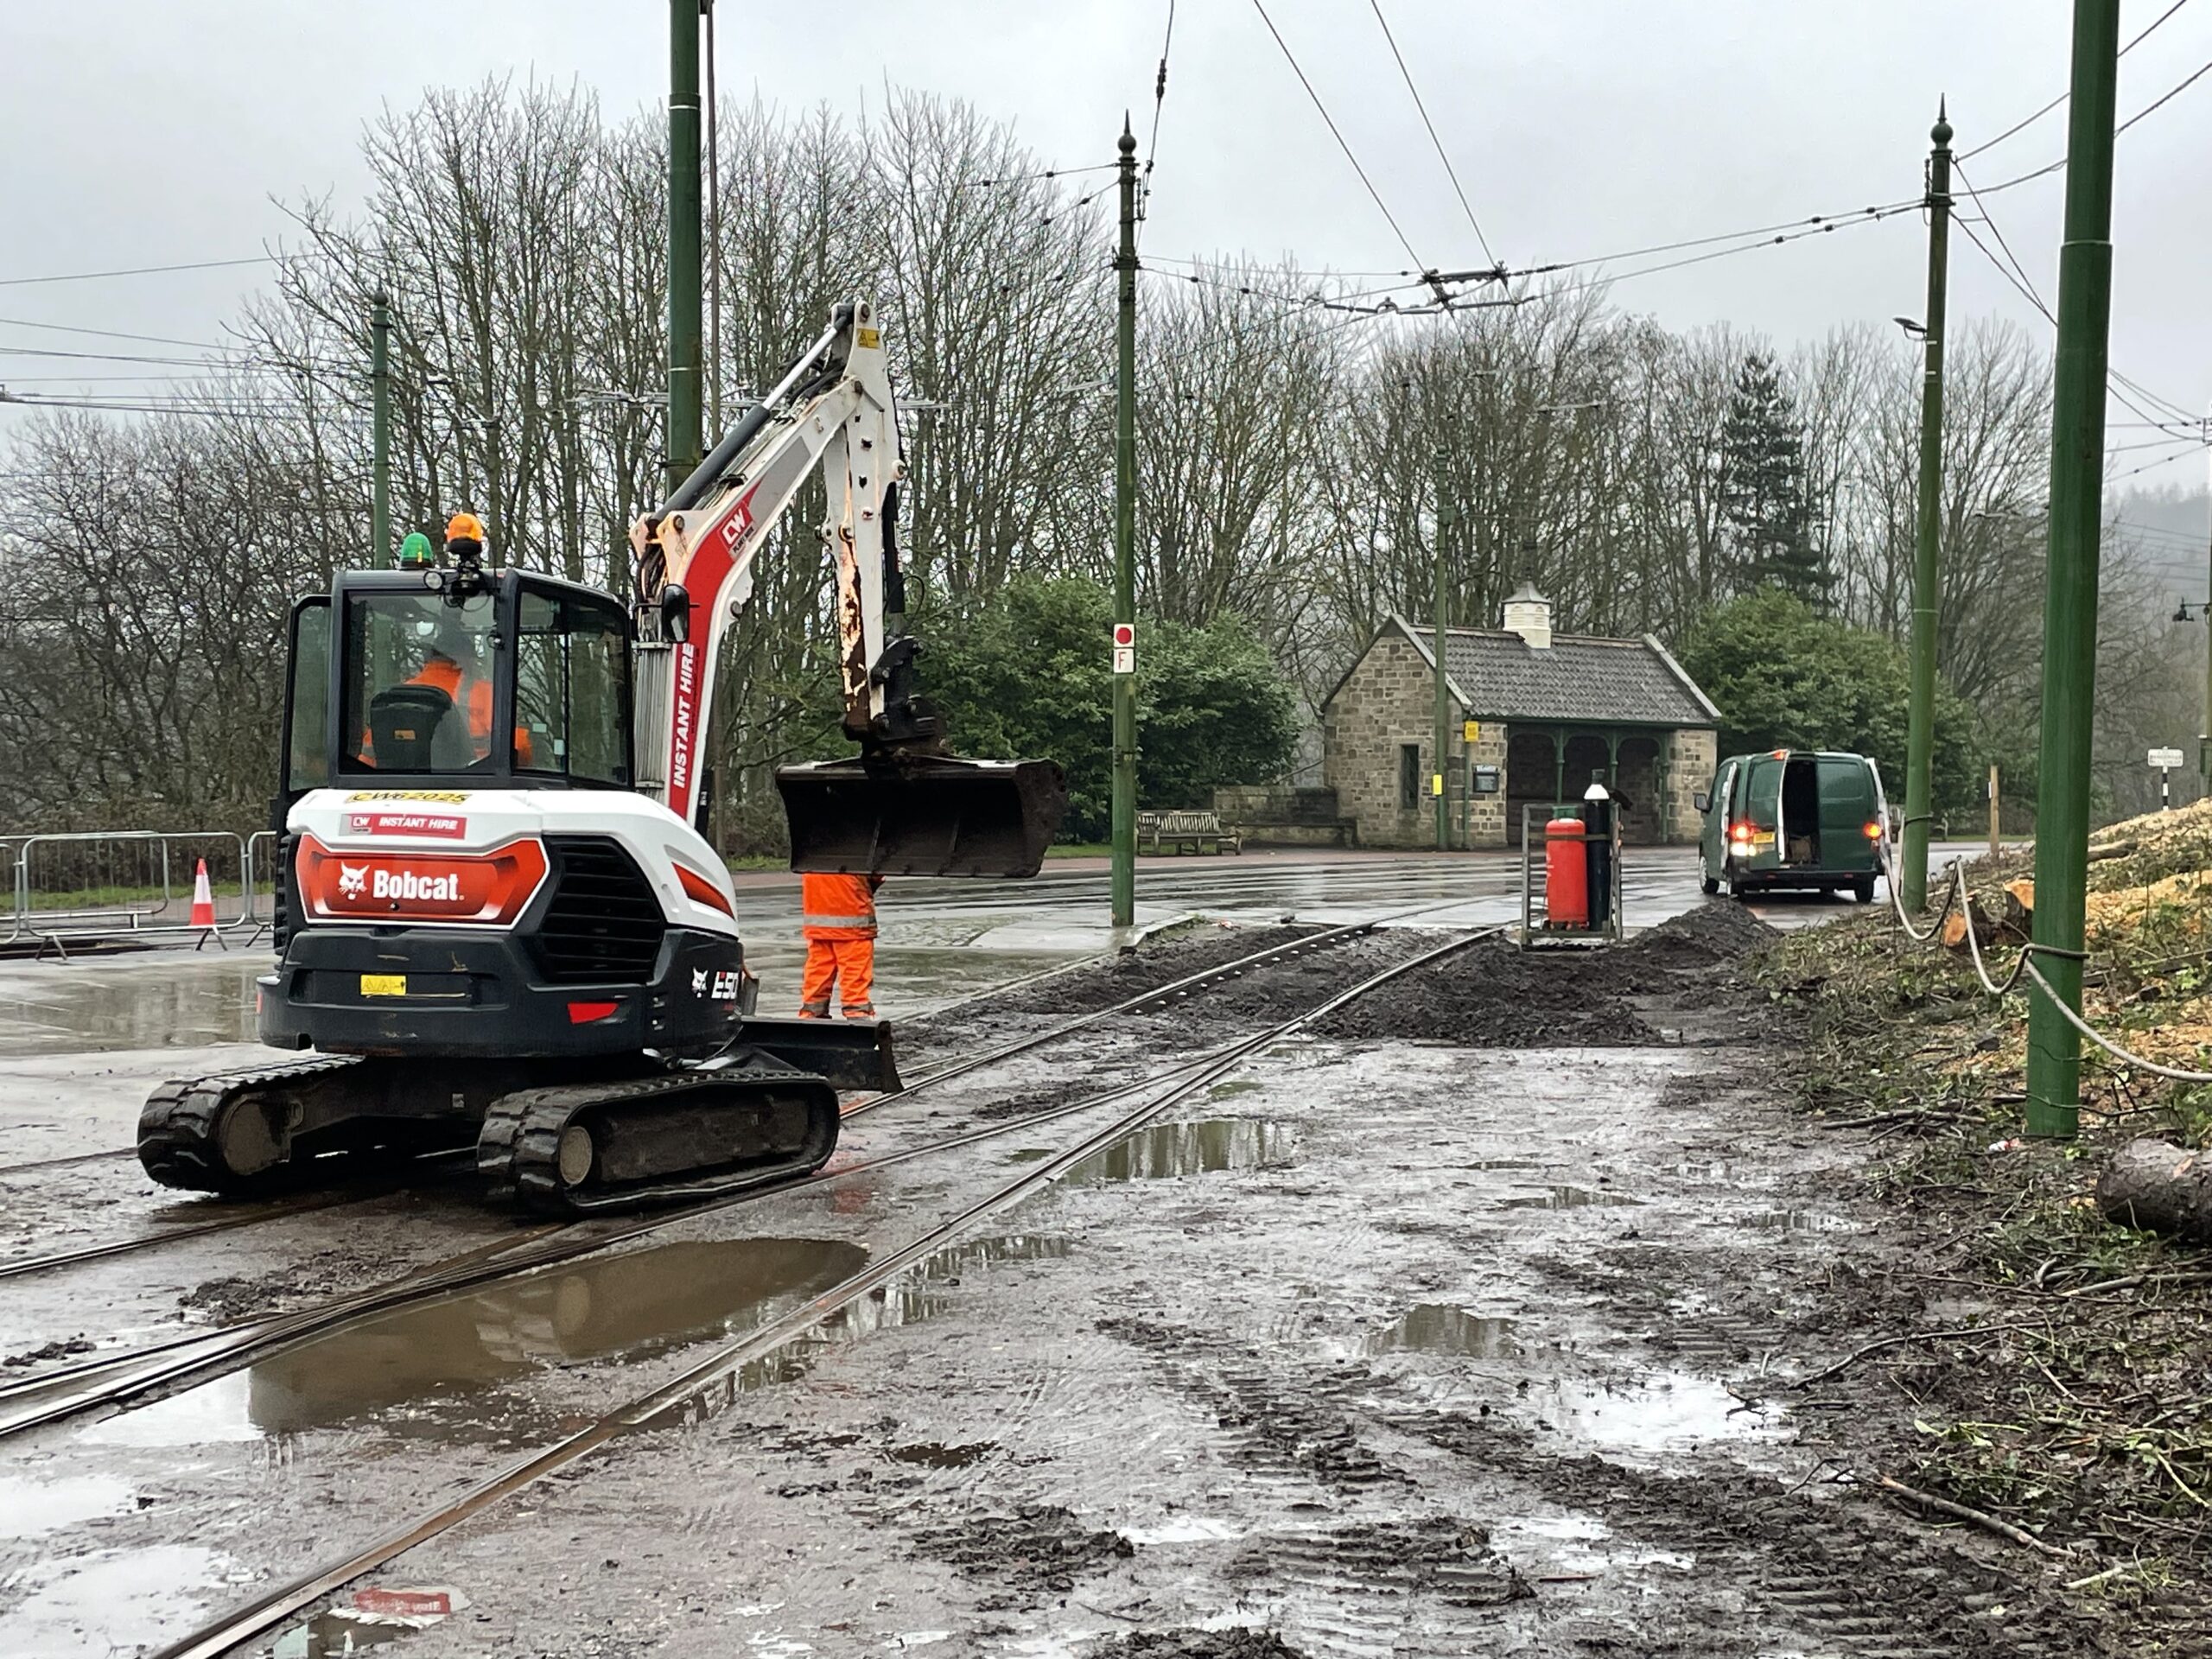
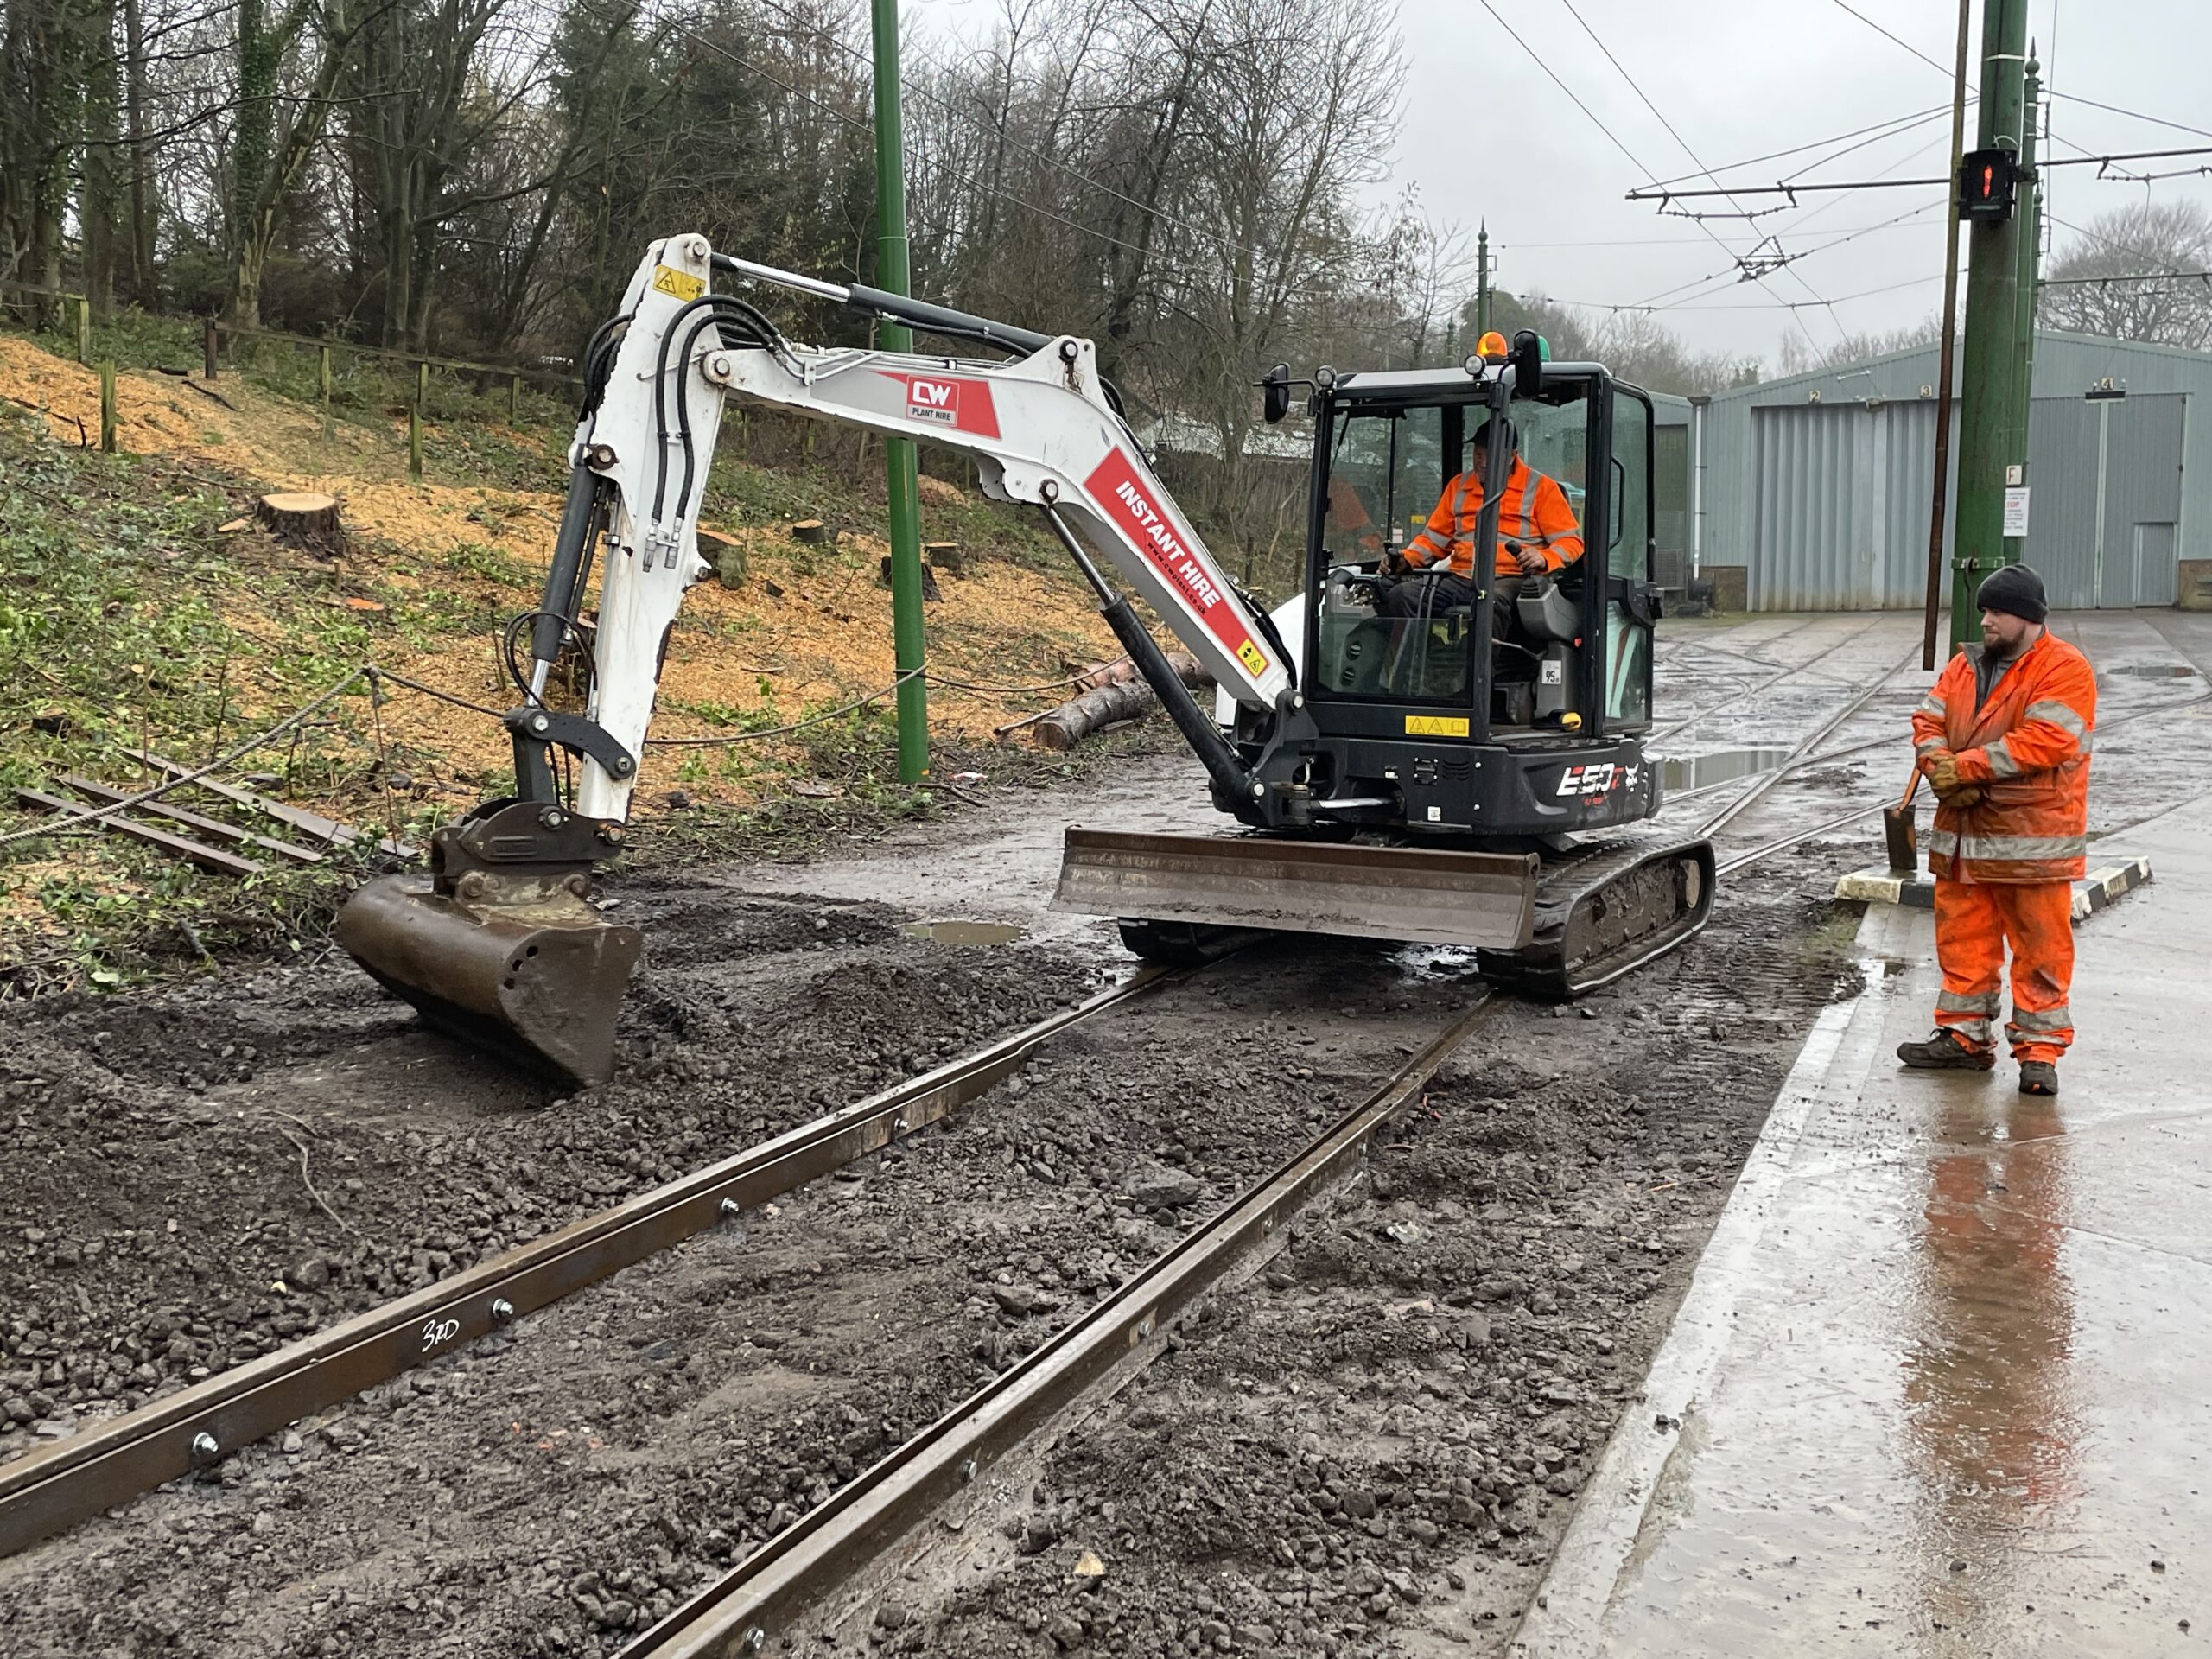
Below: Elsewhere on the Tramway, as well as sleeper changing, the museum’s own PW team have been adding side-keeps to the curve approaching the Tram depot. This is to enable this section to be infilled with Tarmac as part of the creation of a bus turning circle/roundabout. The traction pole just behind the arm of the digger will be removed once the OLE has been transferred onto the new traction pole (right hand side).
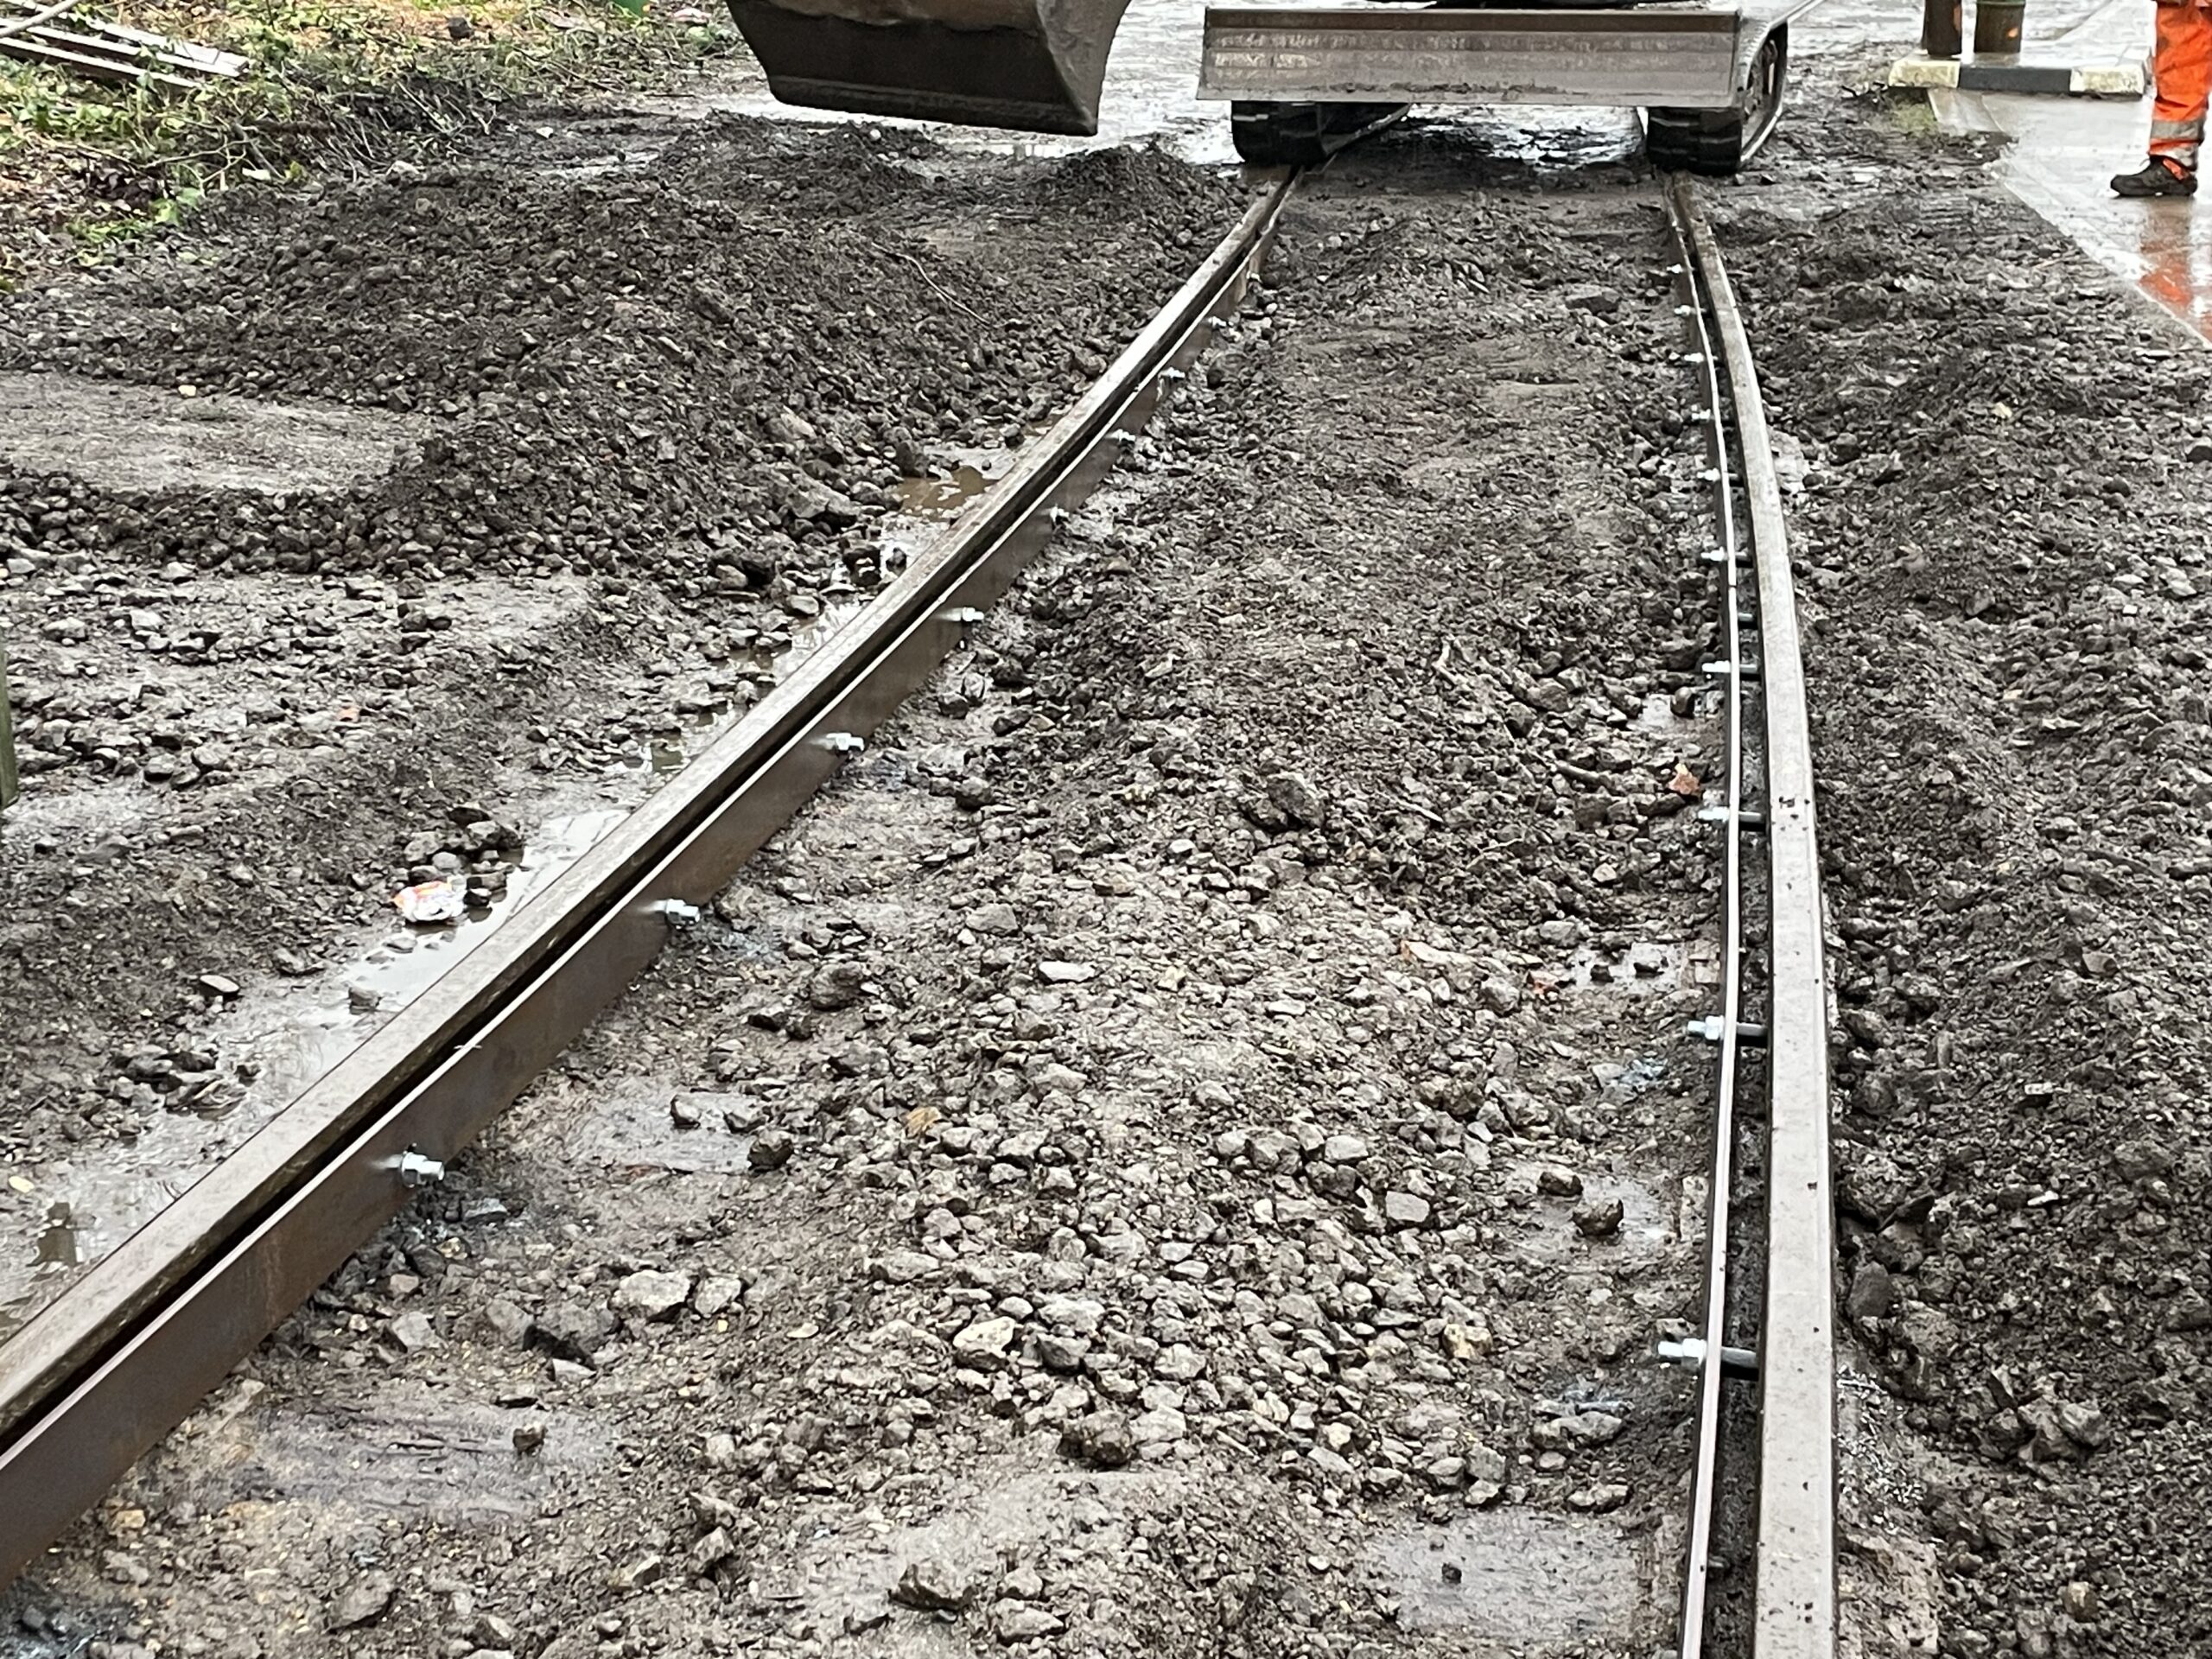
Below: The ground condition amply illustrates why a properly bound surface with curbs is needed in this location if it is to become a part of the turning circle for buses. The final work will be completed by contractors, once the redundant traction pole has been extracted – and this will take place in March, once half-term opening is over.
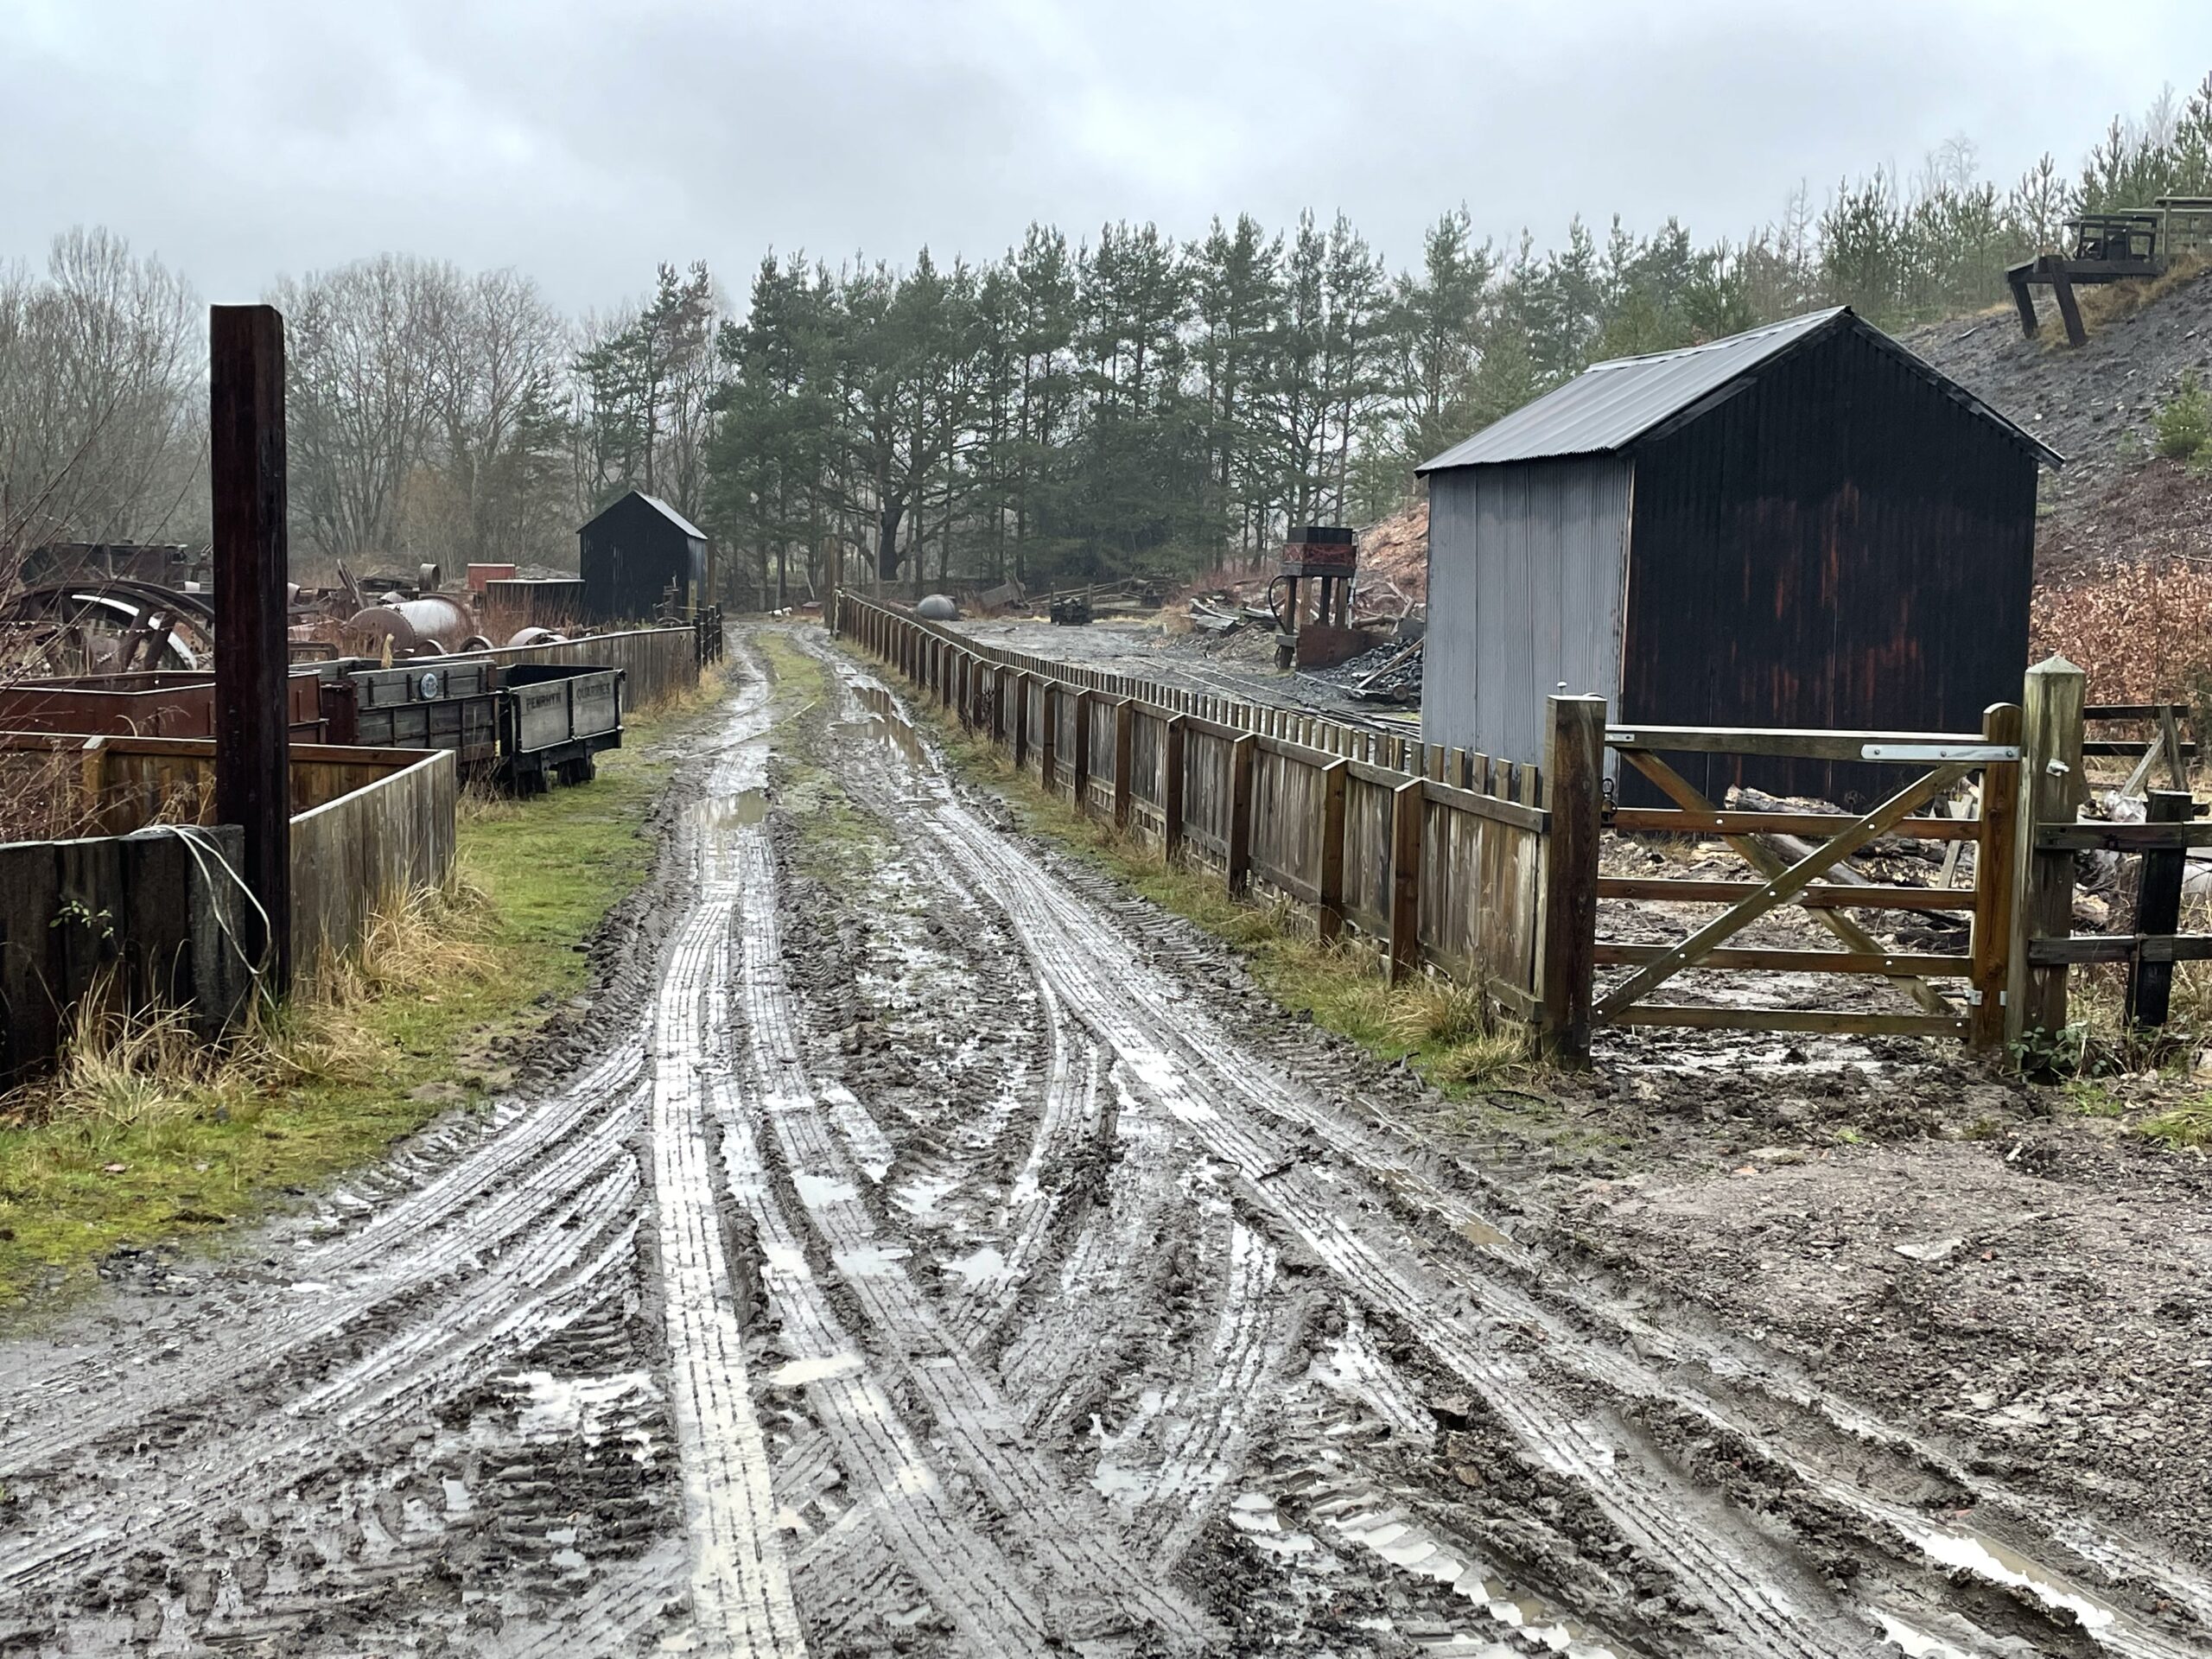
Below: Contractors have replaced a large amount of the water pipe network in the Colliery yard – the old pipe no longer meeting the standards for remaining impervious in potentially contaminated (by oil/ash) ground. This has been quite disruptive and the effect in the winter weather is very ‘industrial’! Work will continue to restore the surfaces once the ground has dried out.
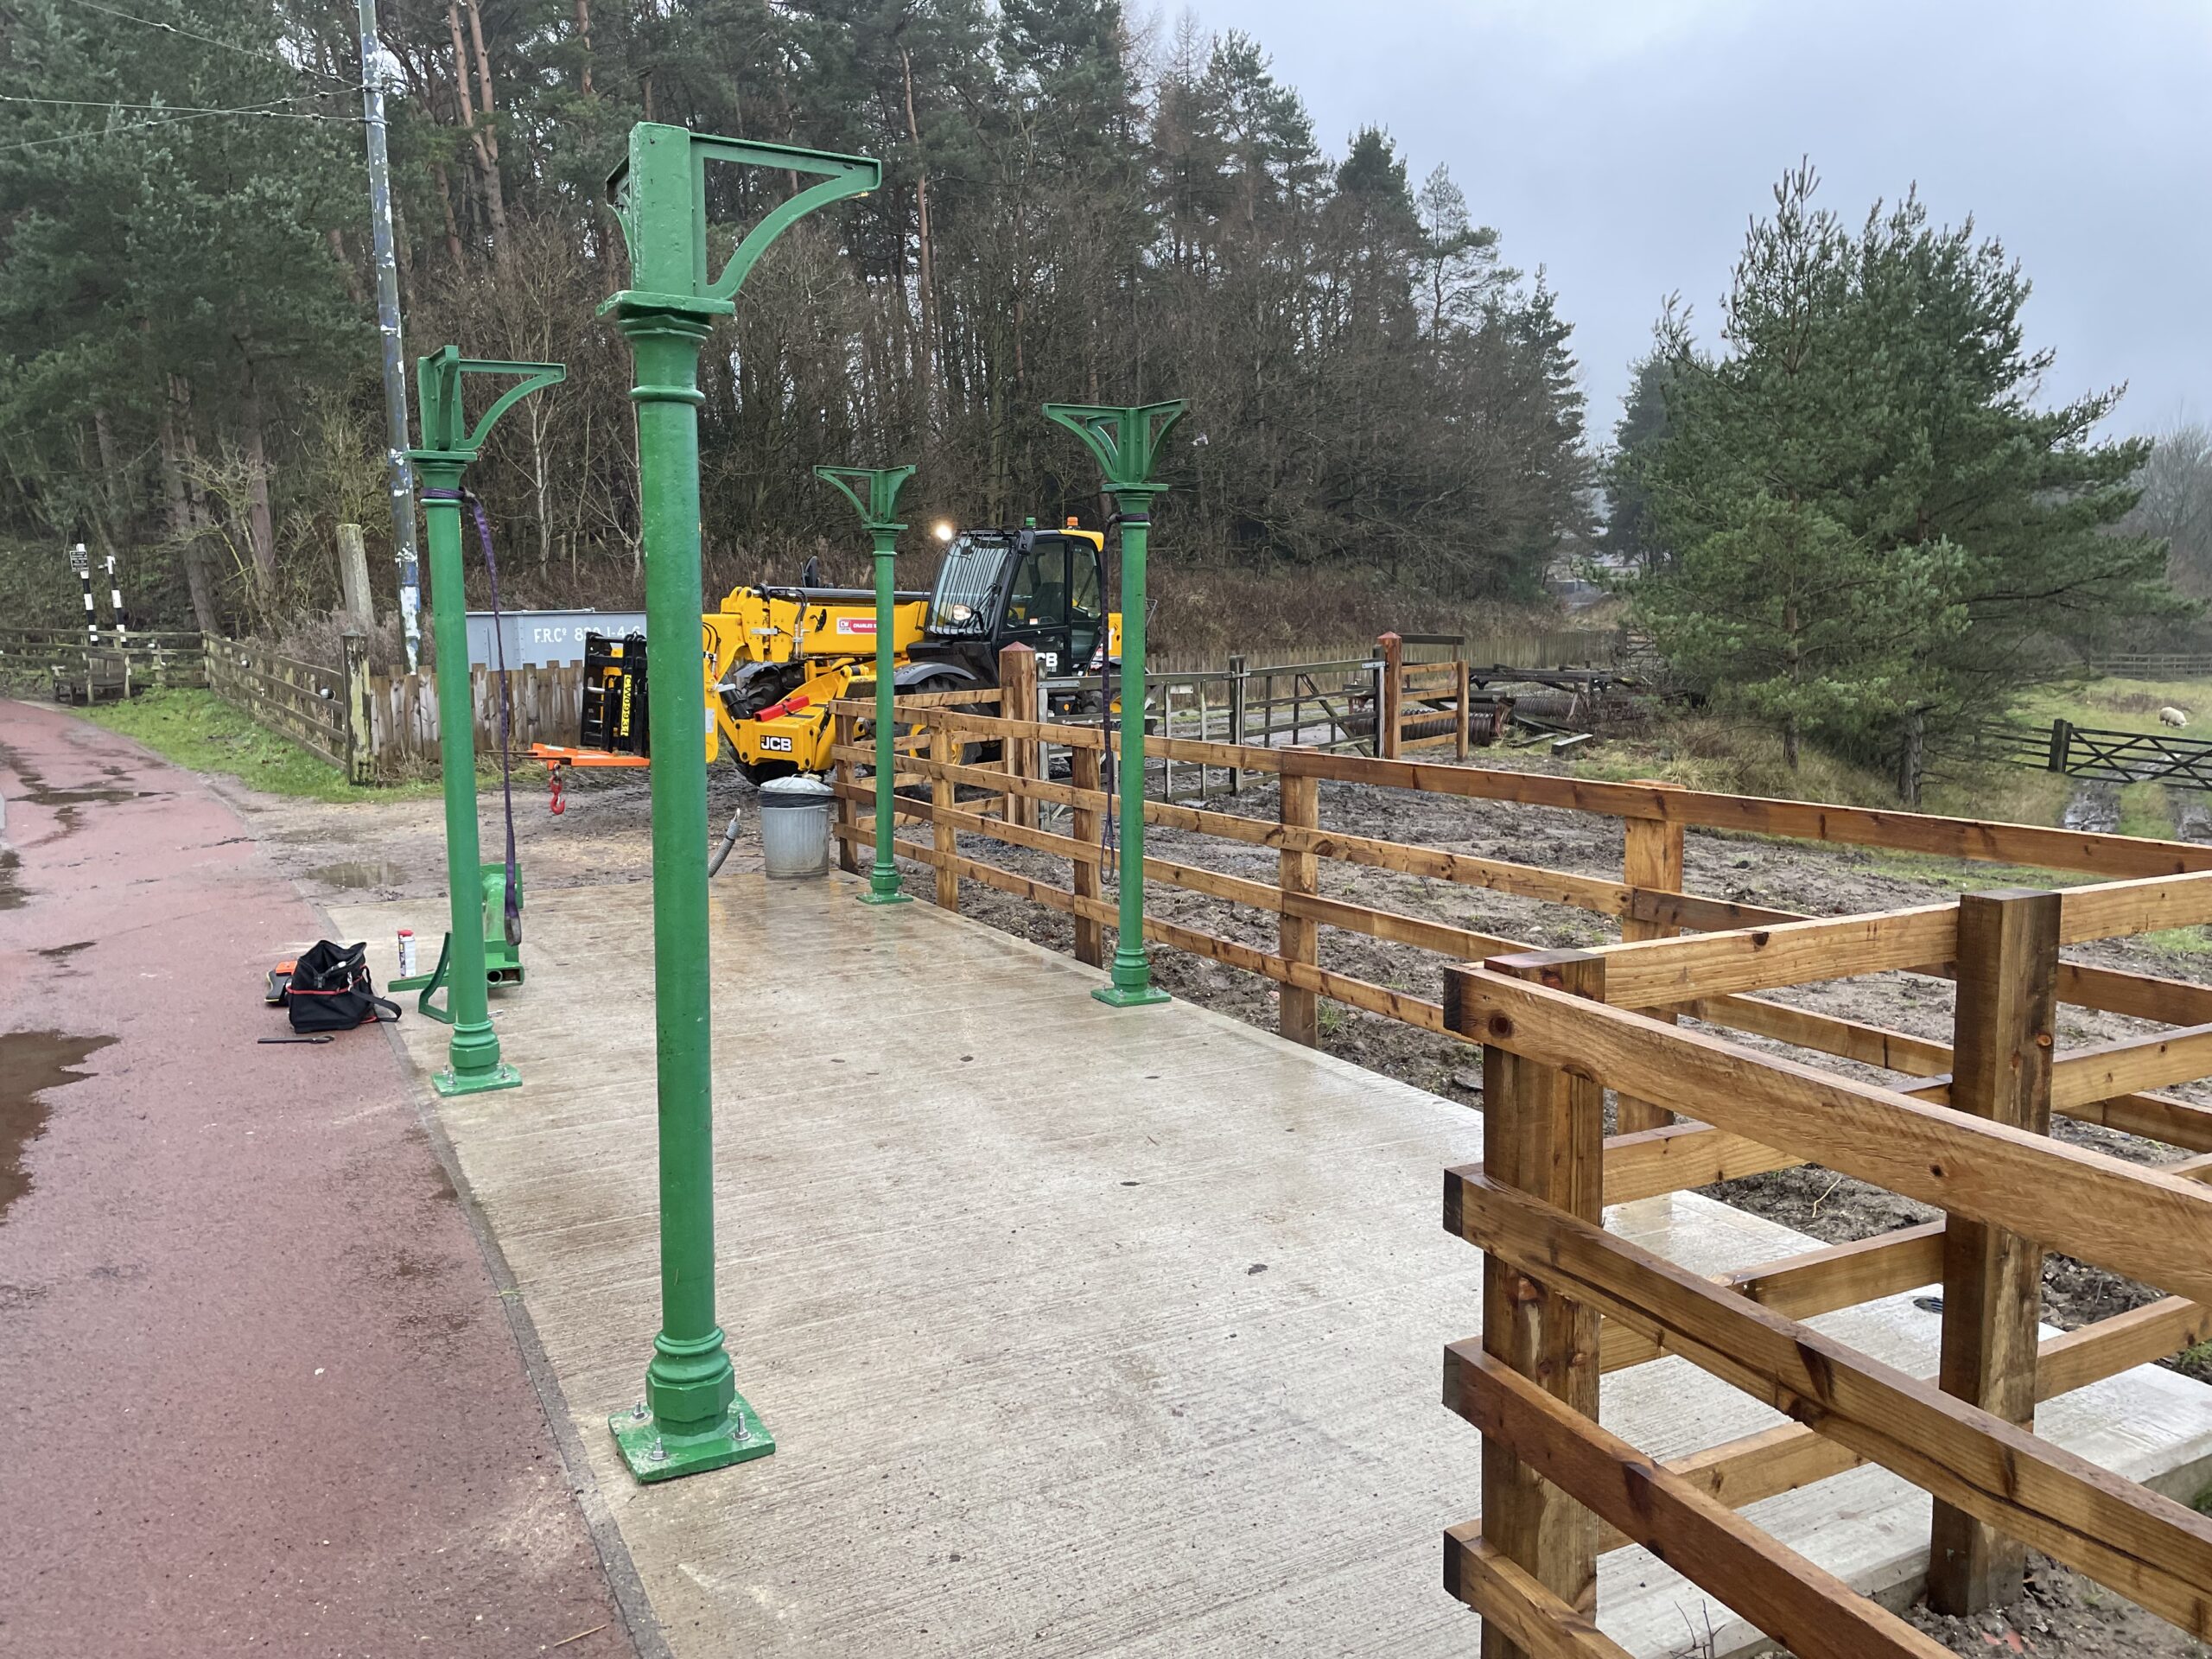
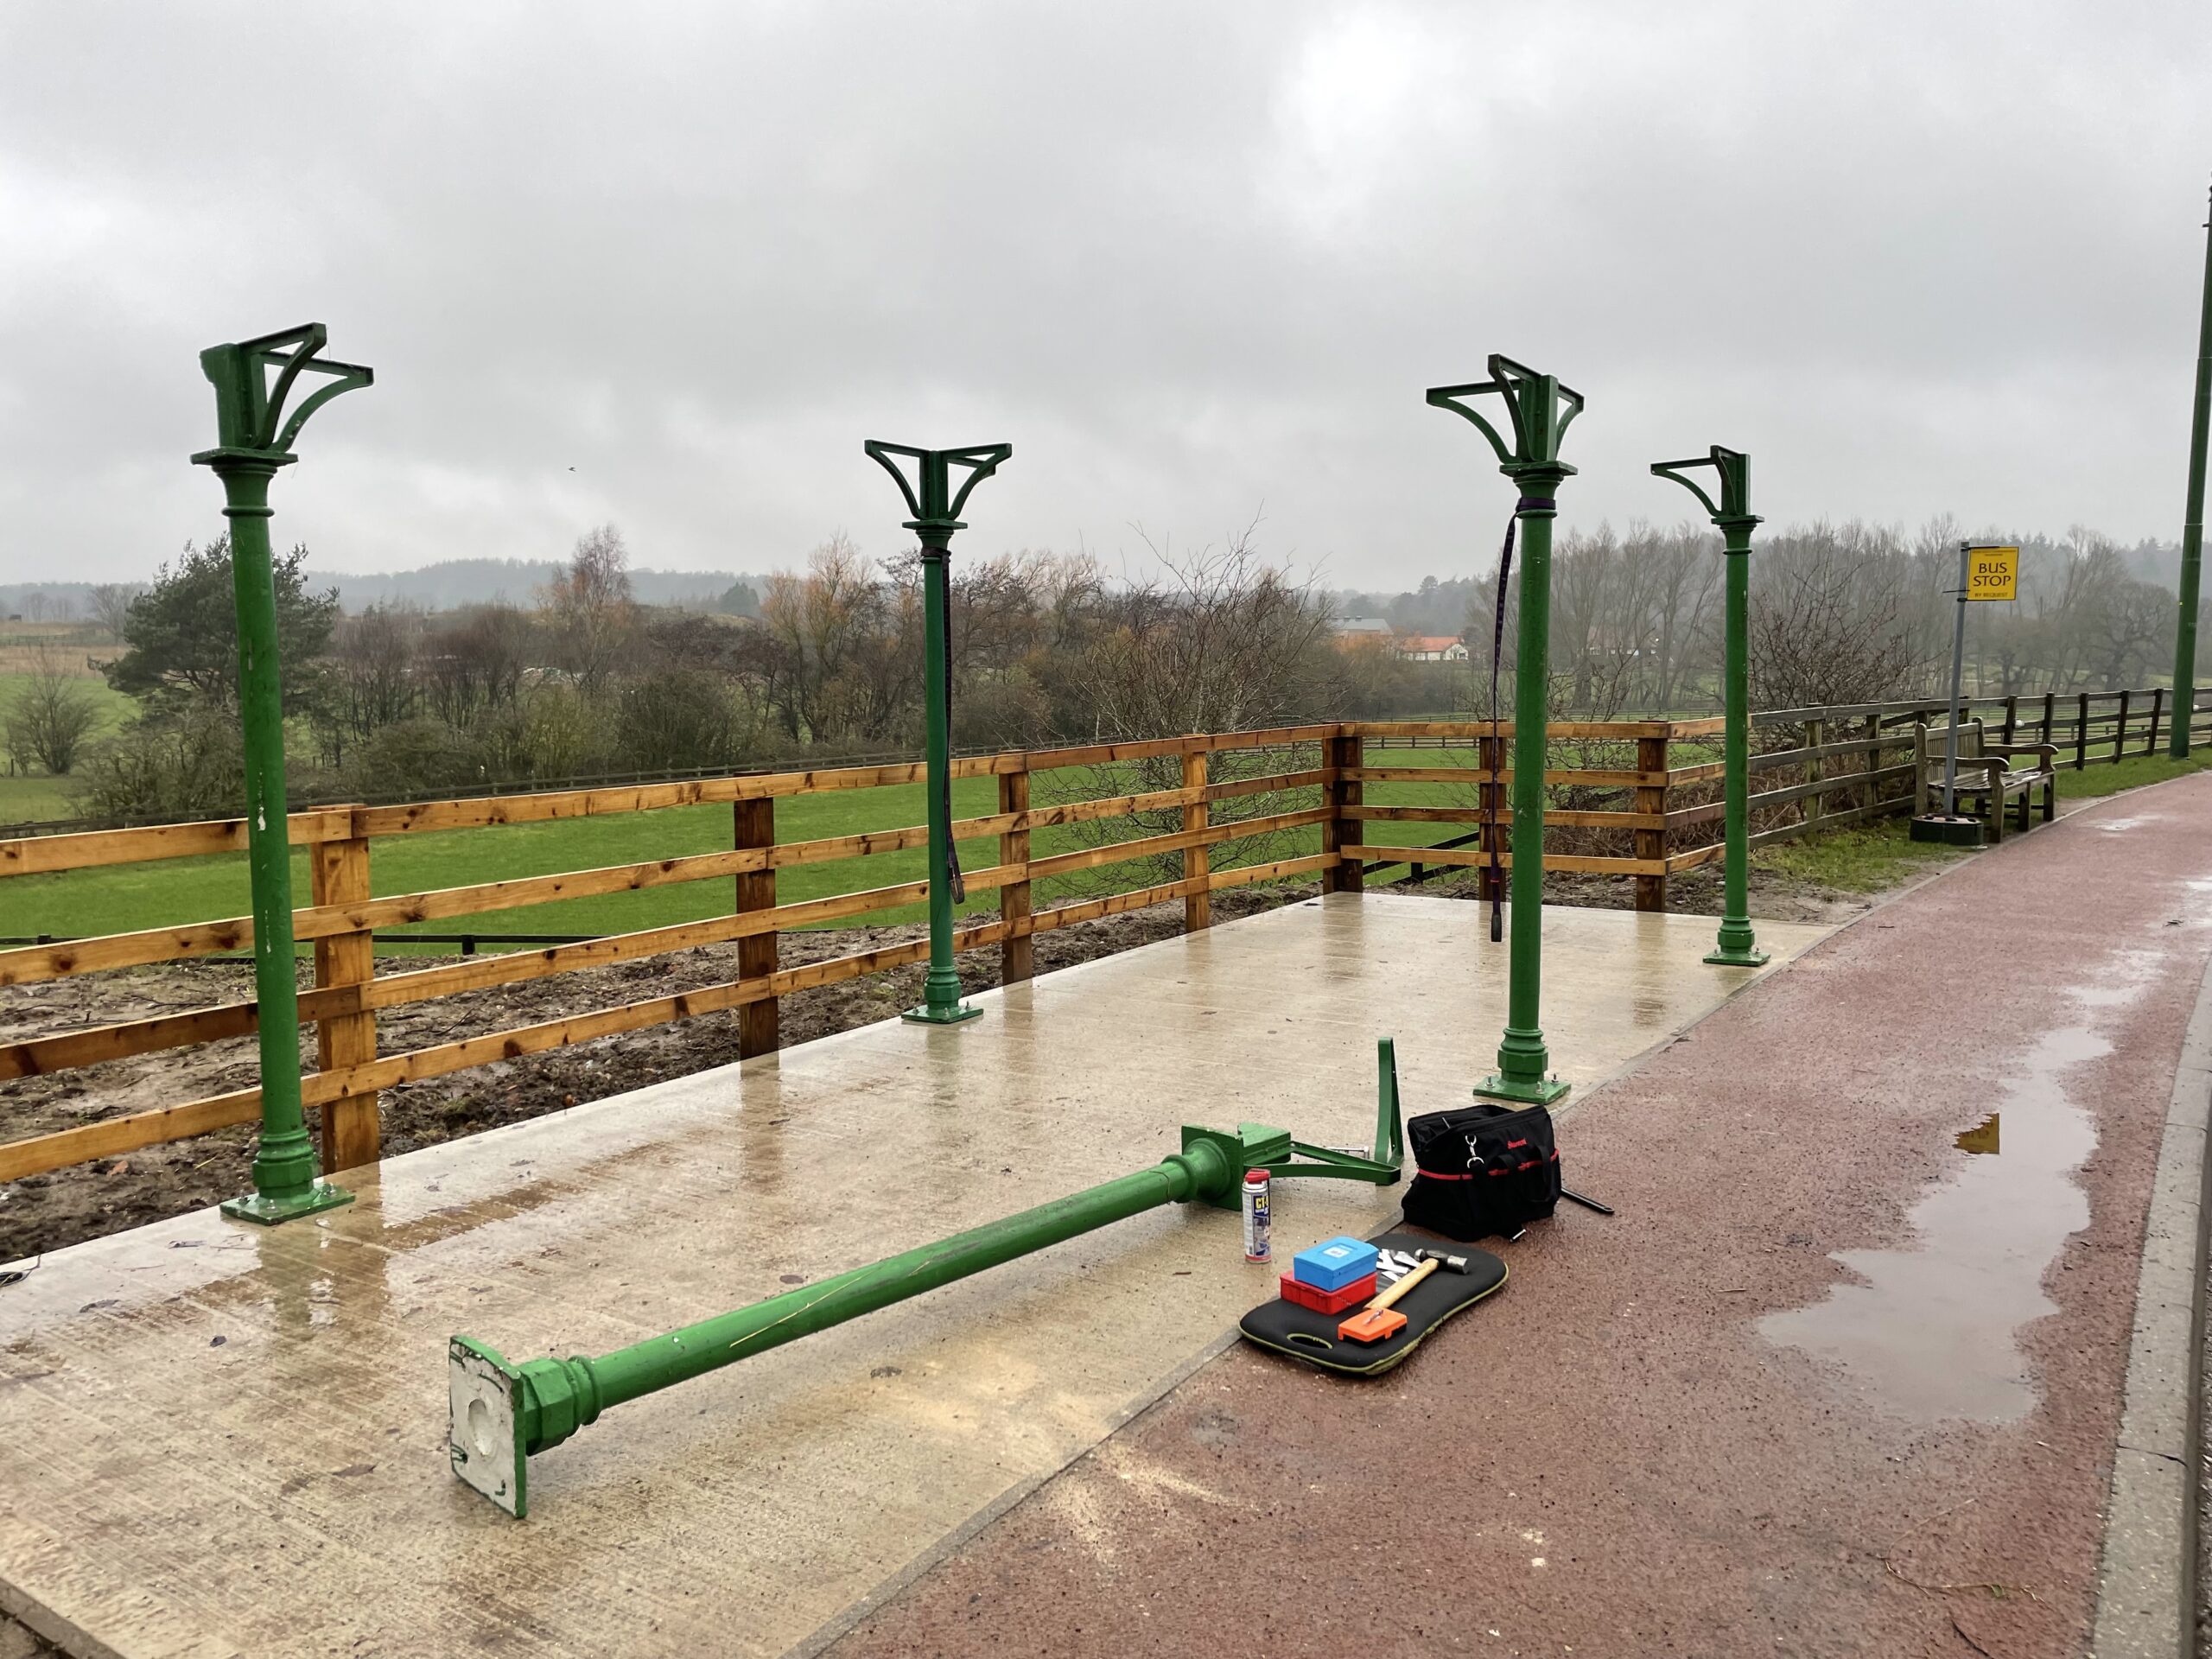
Darlington Corporation Bus Shelter
Below: The first stage in assembling the Darlington shelter commenced in mid February, with the columns being erected and the anchor bolt holes drilled. There will be a reasonable amount of levelling and adjustment necessary once the canopy is installed, and this will be welded to the brackets rather than bolted, to ensure sufficient contact for securing it in place. Chris and Dan have been making any necessary modifications to the components as they go, with work on assembly to be completed by half-term, and painting/glazing etc. to be completed after this. February Part 2 will cover the installation of the canopy.
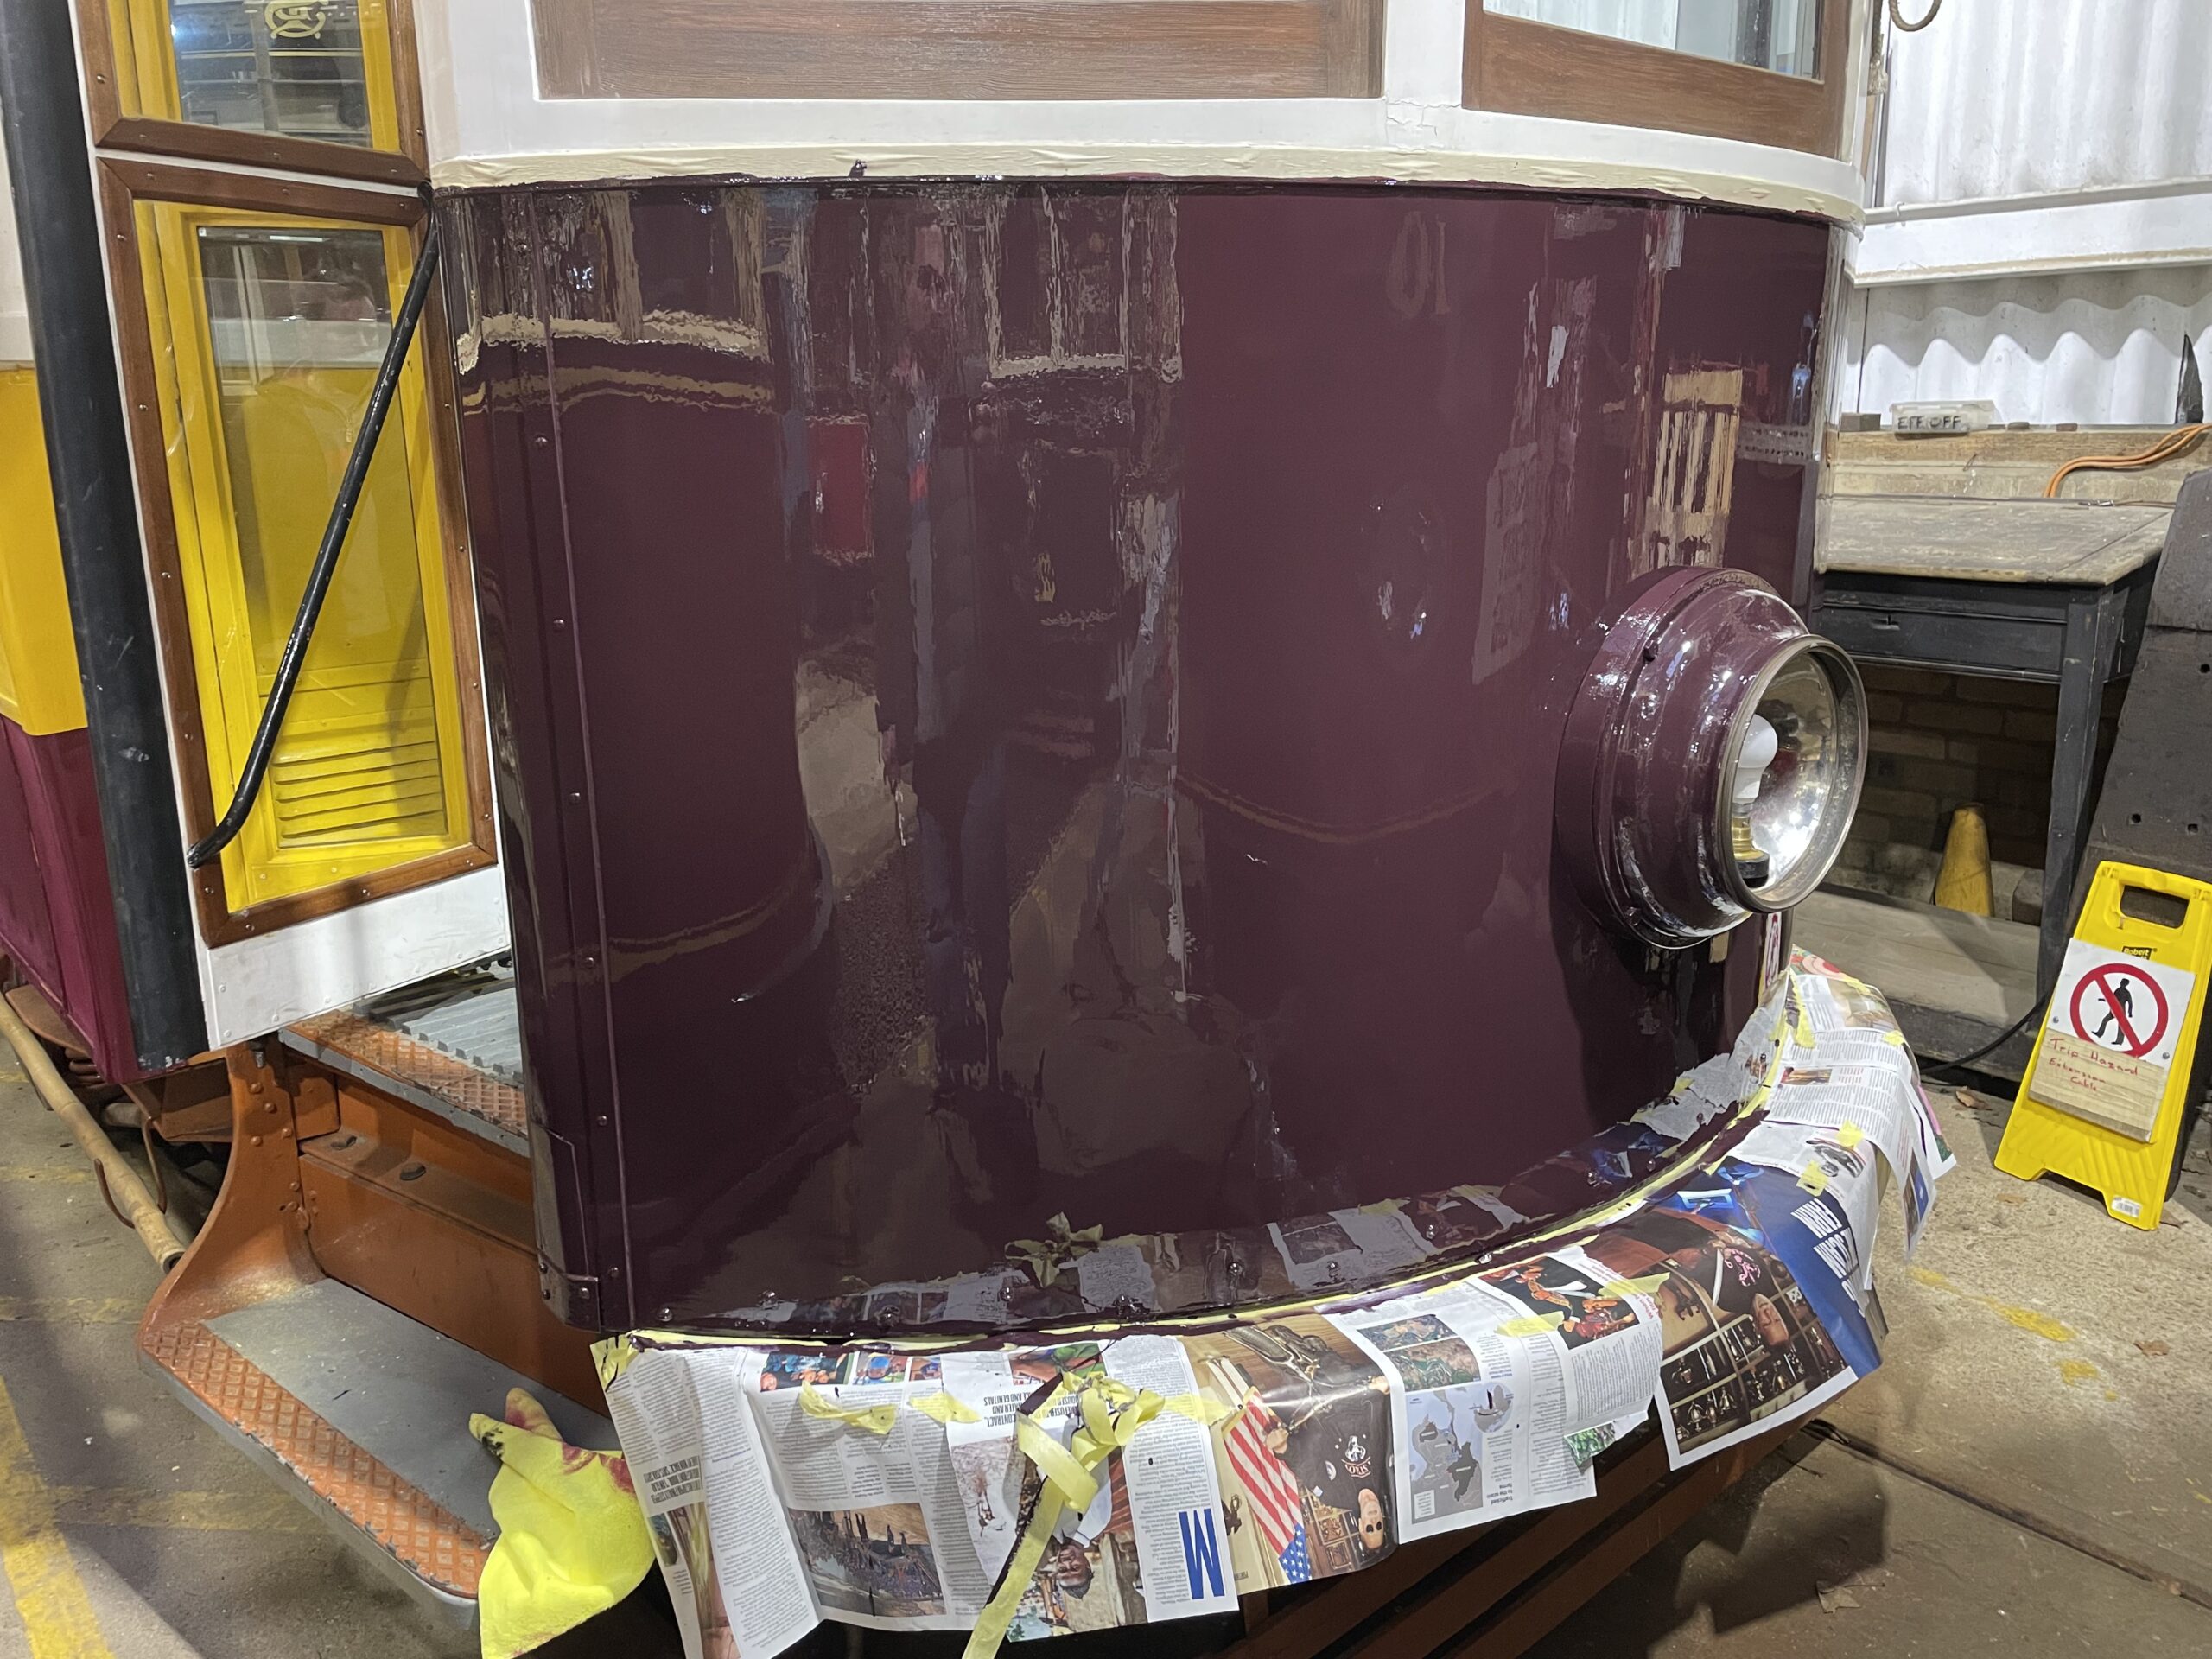
Lisbon 730
Below: The first coat of the crimson/purple shade of paint, matched to Newcastle 114’s dash panels, has been applied to 730.
Photos in this post by Matt Ellis, Paul Jarman, David Moseley


Recent Comments