
Transport & Engineering Diary September 2026 Part 2
September has flown by, with lots to report on progress from around the workshops and depots. Entering the autumn is always a little nerve-wracking, as the colder weather inhibits progress on paintwork and makes working conditions decidedly less pleasant – and so limits the time that some of the planned work programme can be achieved in.
Crosville 716 – Engine Bearings
Below: Phil and Phill have been re-metalling the main crankshaft bearings for the Leyland engine that’s undergoing overhaul for transplant into 716 next year. This is an interesting process, partly covered in the past on the blog (but the photos don’t seem to be loading) when Newcastle 114 had some metalling carried out. So here are some images showing the sequence for 2026…
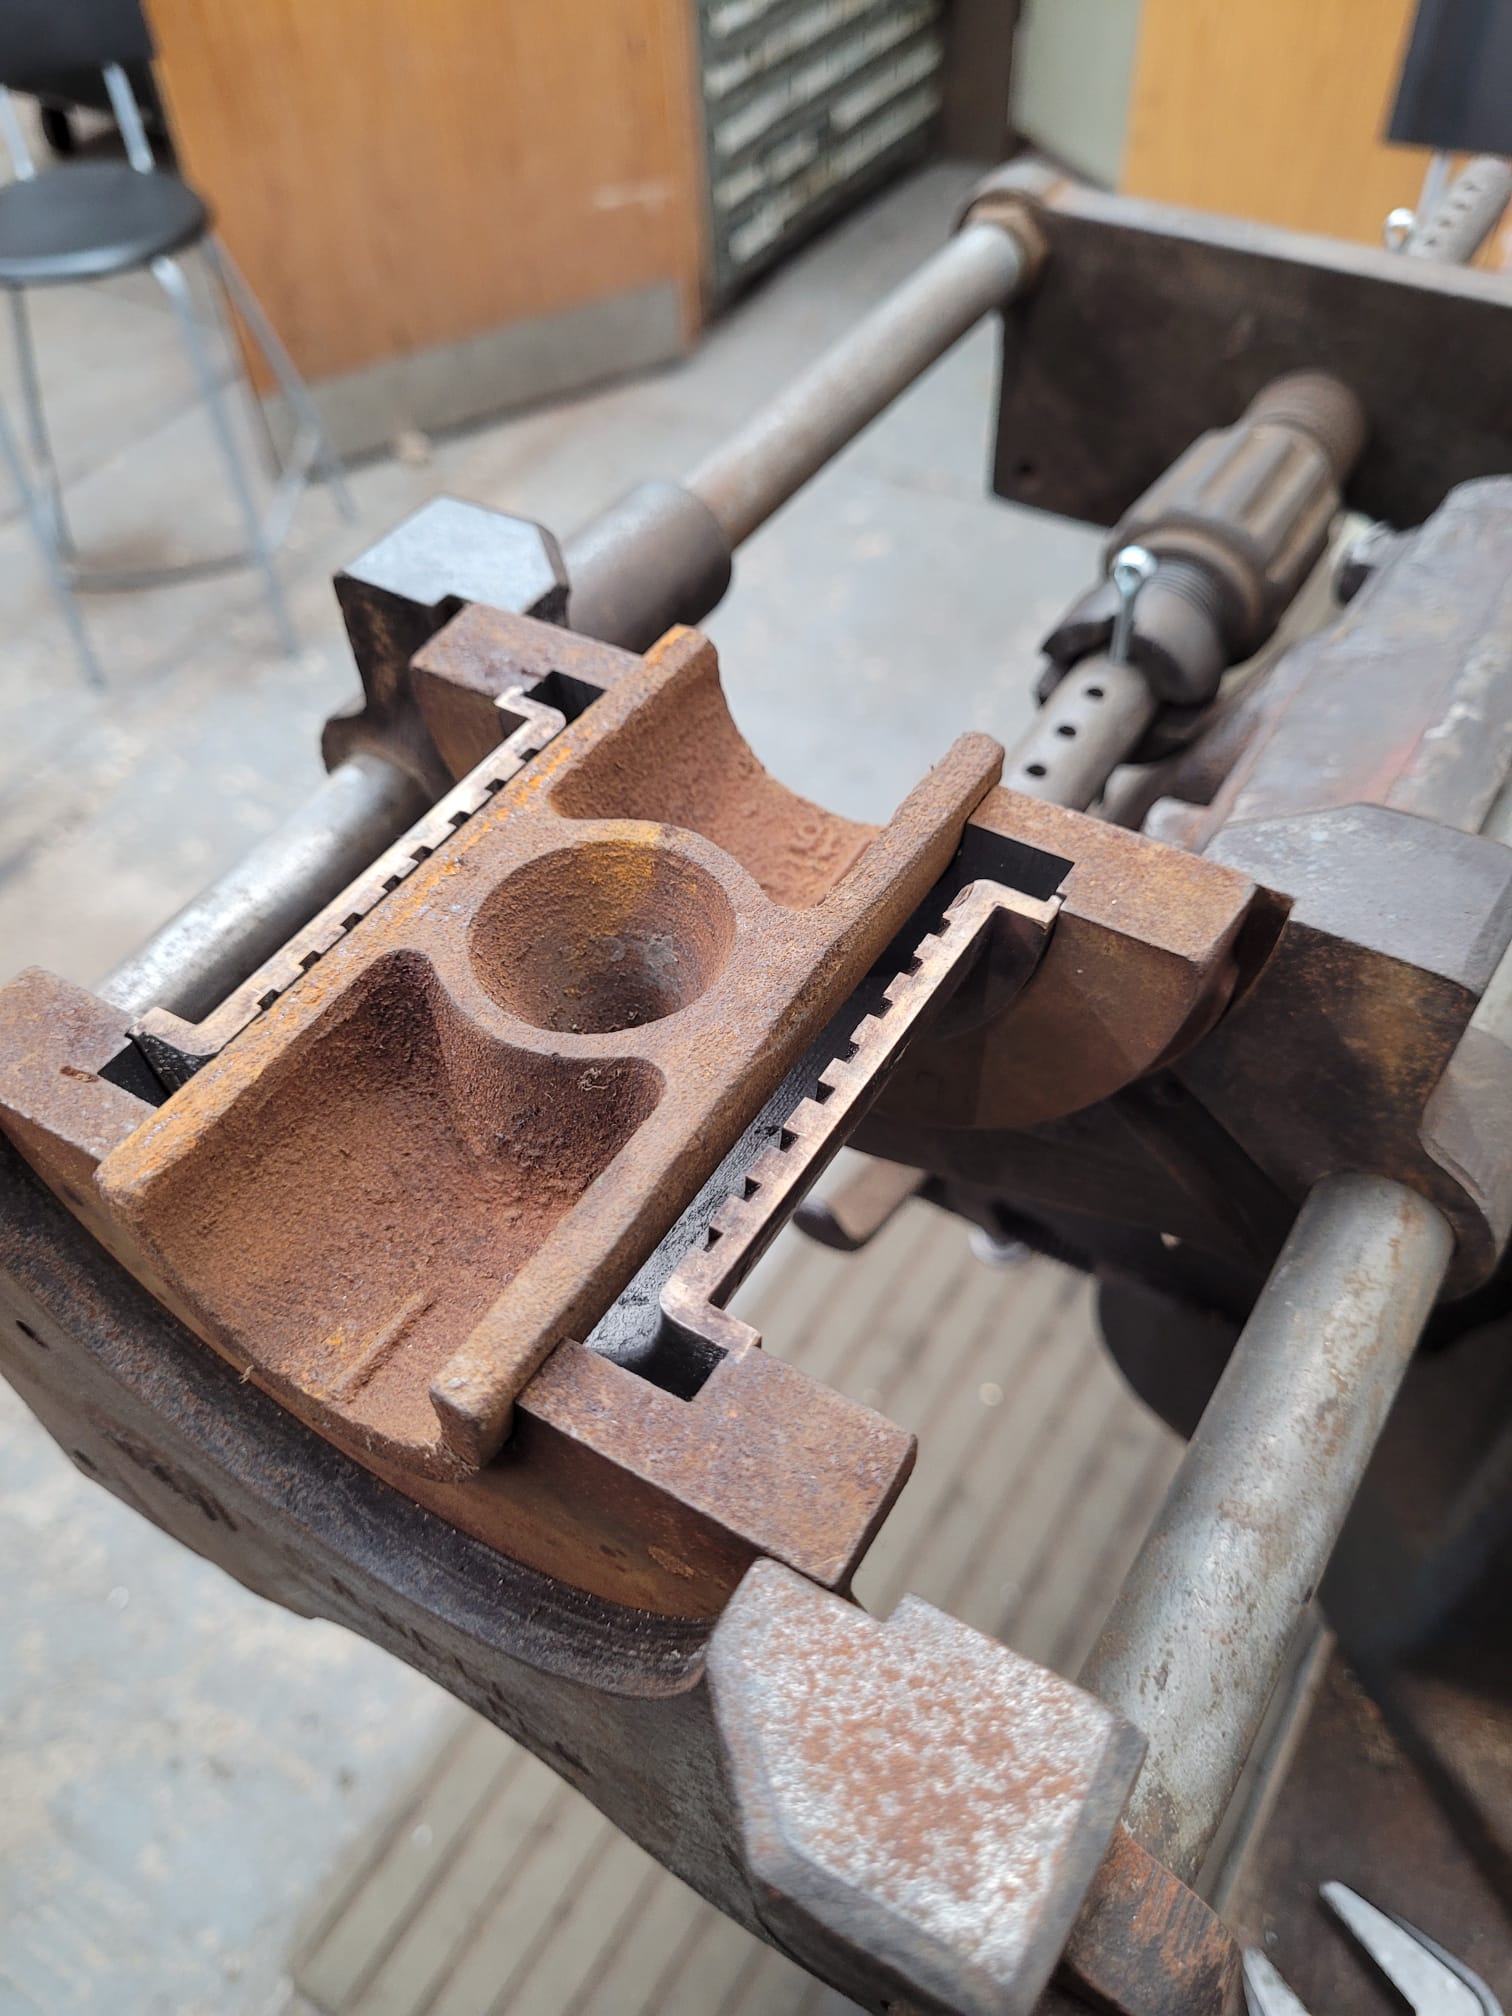
They start with this contraption, which enables the shells (think half a chocolate Easter egg) to be held in a fixed position with a gap around the bearing surface into which the White metal will be poured. The cavity is visible here, as is the mechanism that allows the length to be adjusted as well as the workpiece held in a vice.
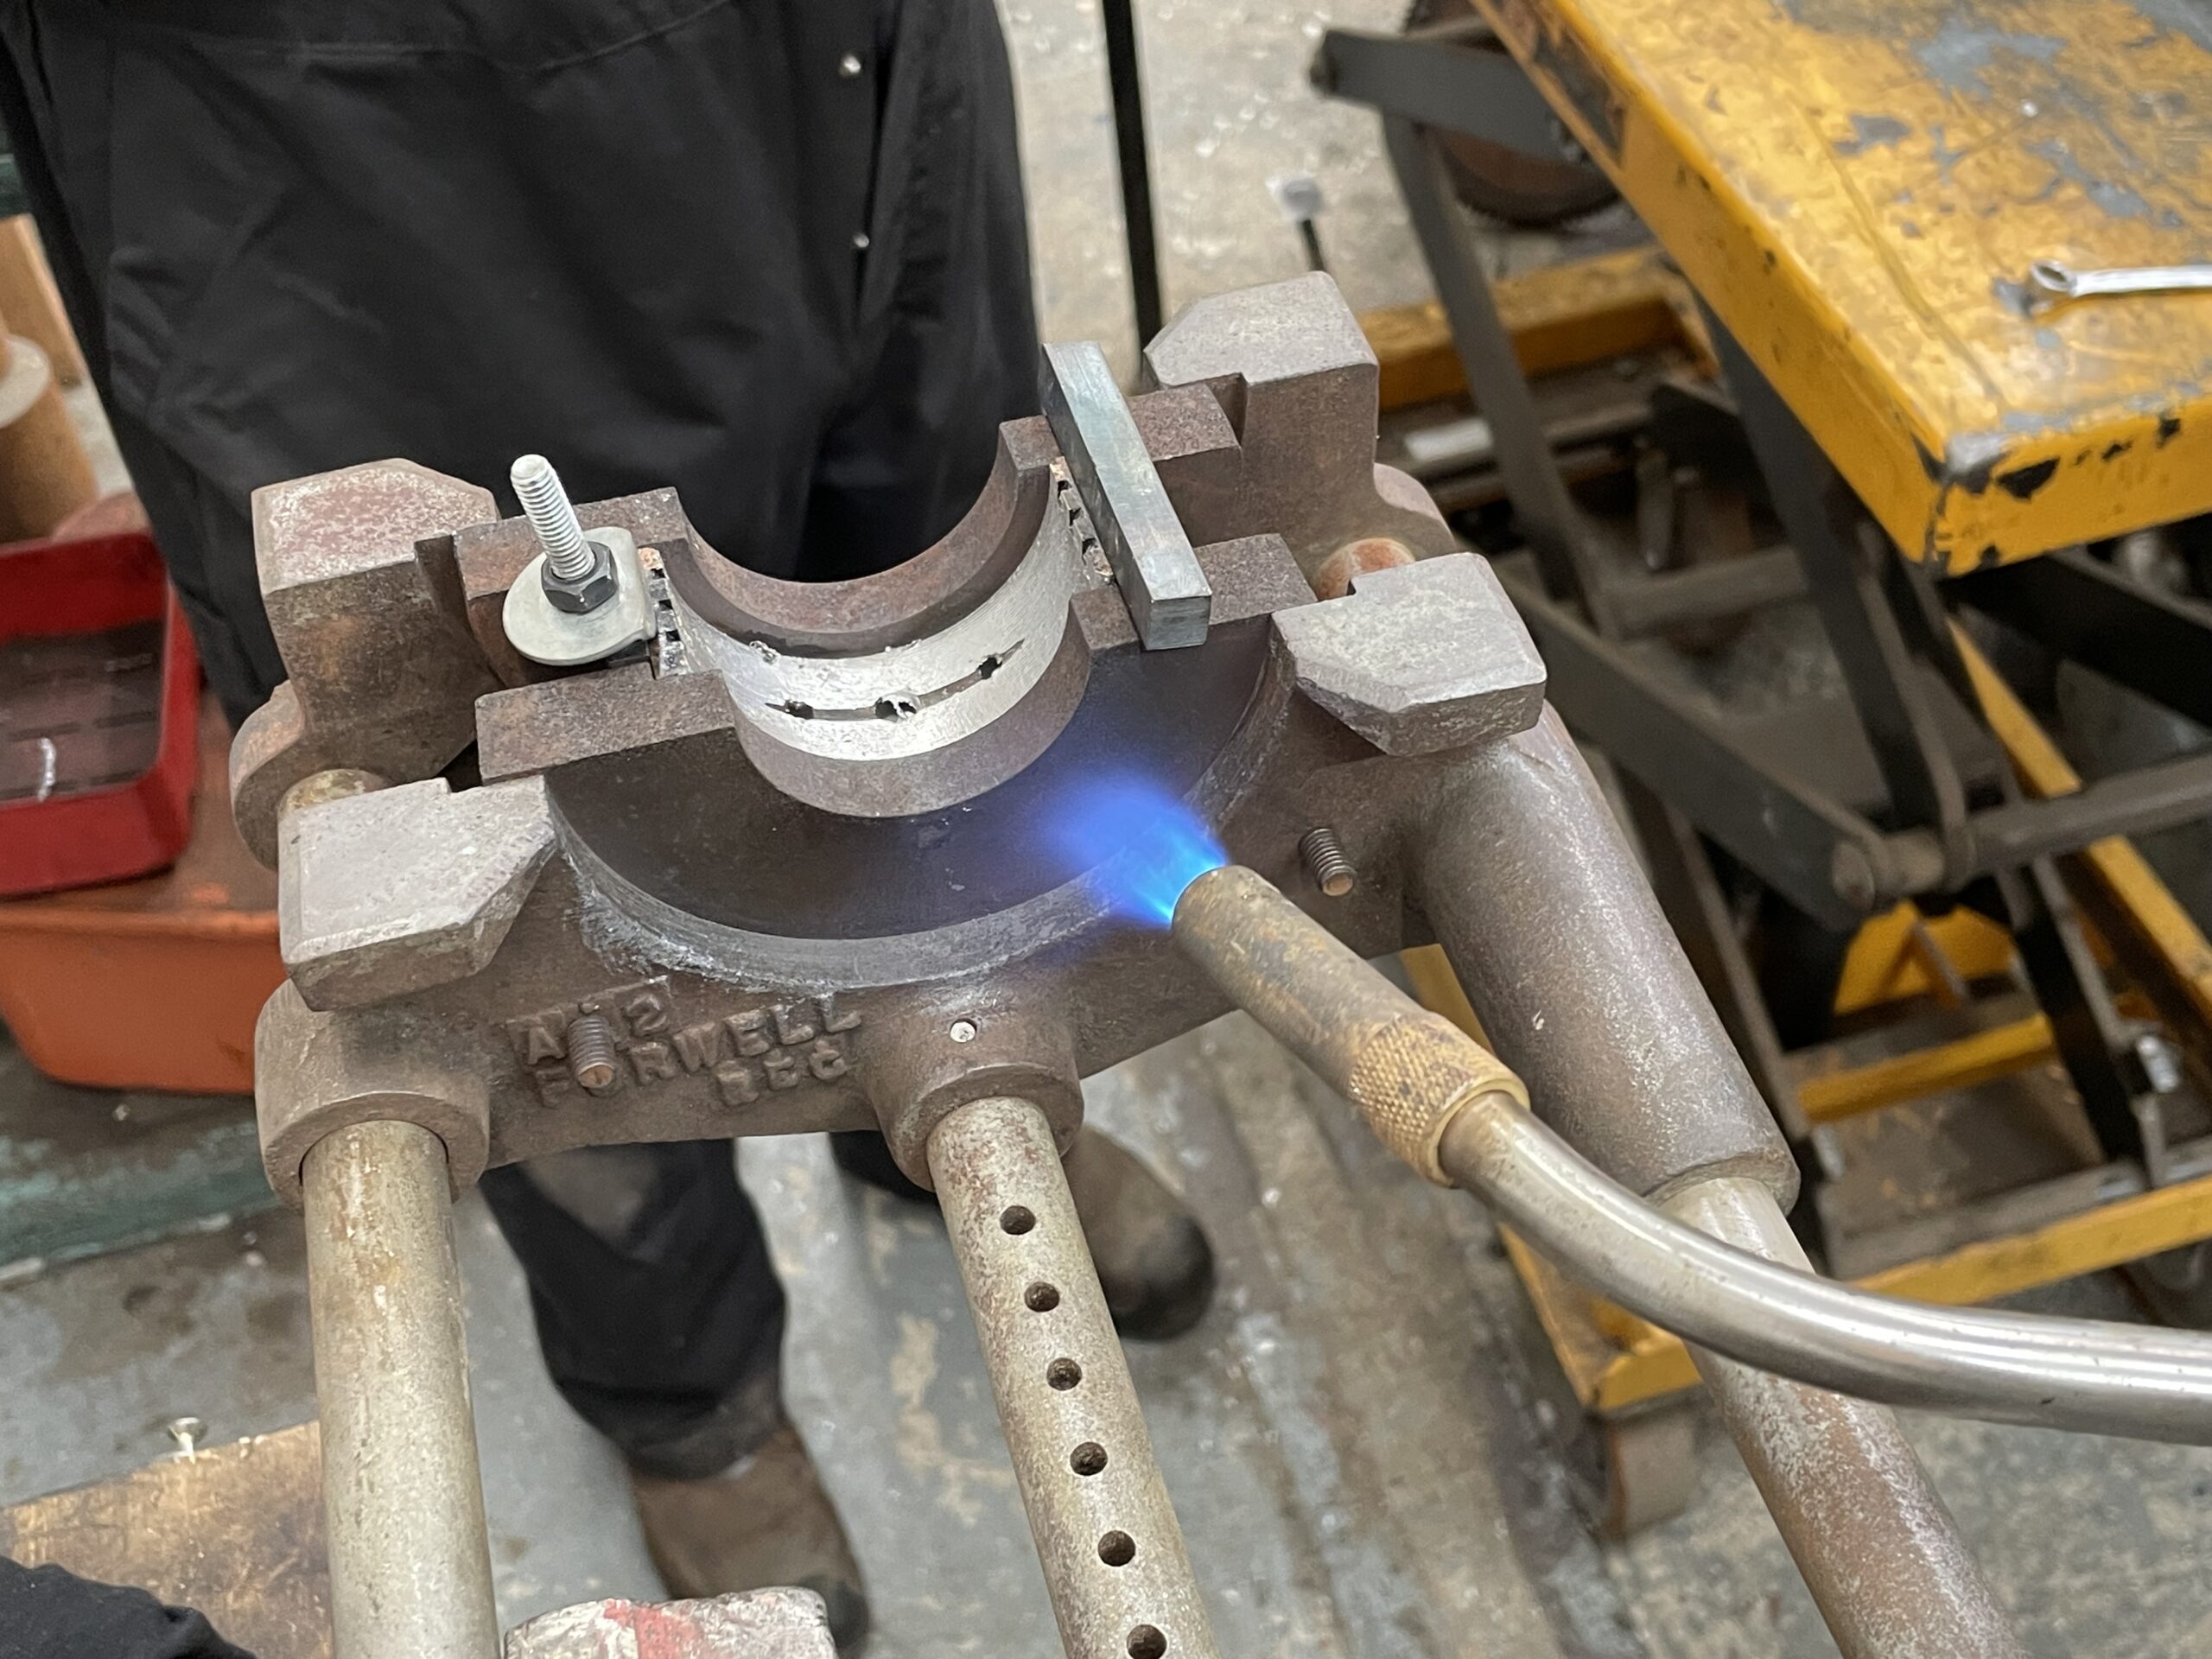
Below: The old bearing shell is held in a sideless cup, the relative dimensions of this being established by the section of square bar (right) and the threaded bar (left). The shell has been cleaned up in readiness for this process. The jig/mould and the shell are then pre-heated to remove any cold spots that would lead to uneven cooling of the White metal when it enters the mould cavity.
Below: The White metal is poured into the mould via the section that creates the hollow (saving metal and reducing machining time). White metal is a non precious metal alloy used for bearings, jewellery, model railway components and decorative objects. It can be melted (and therefore cast) at relatively low temperatures and flows well for moulding purposes. It can then be machined to final dimension and is widely used on rail transport where it’s high-load and self-lubricating properties reduce friction and offer extended lifespan vs yellow-metal (such as Brass or Phosphor Bronze) running surfaces.
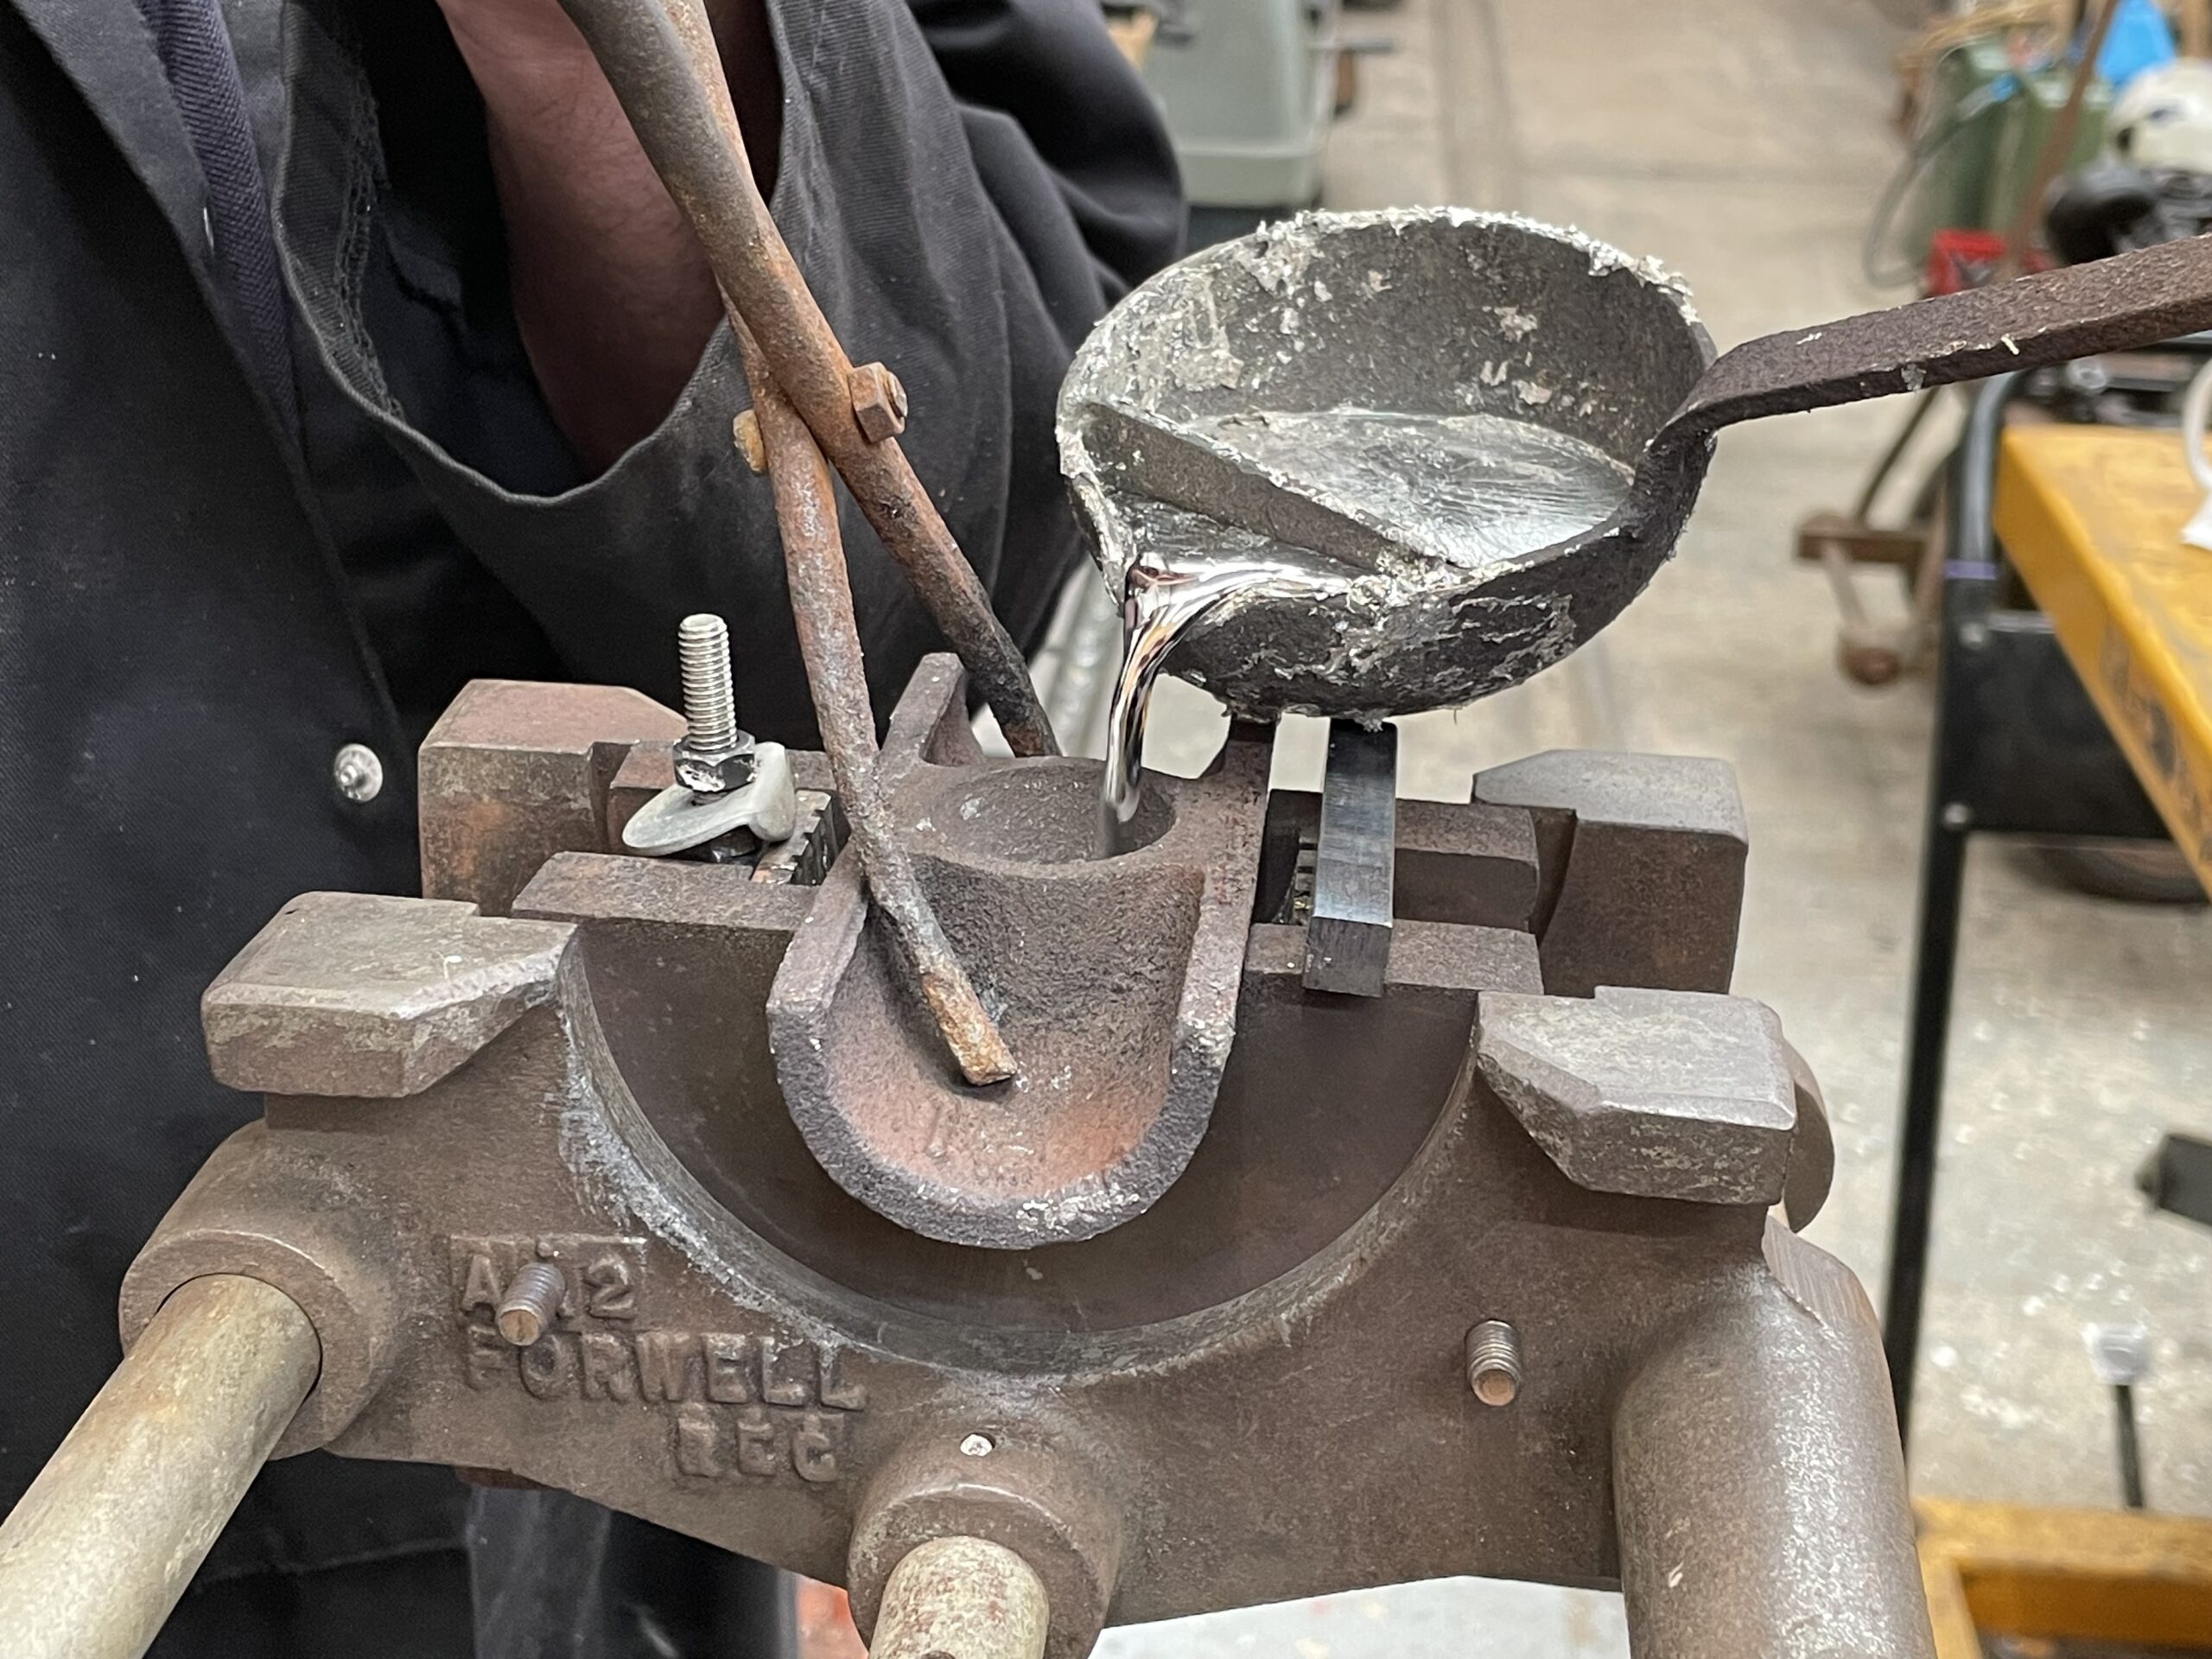
Below: The metal cools within the mould in a matter of minutes, and in this example for one of the wider bearing shells, the white/grey material can be seen filling what had been fresh air before pouring. A cone of material in the mould is re-cycled via the melting pot.
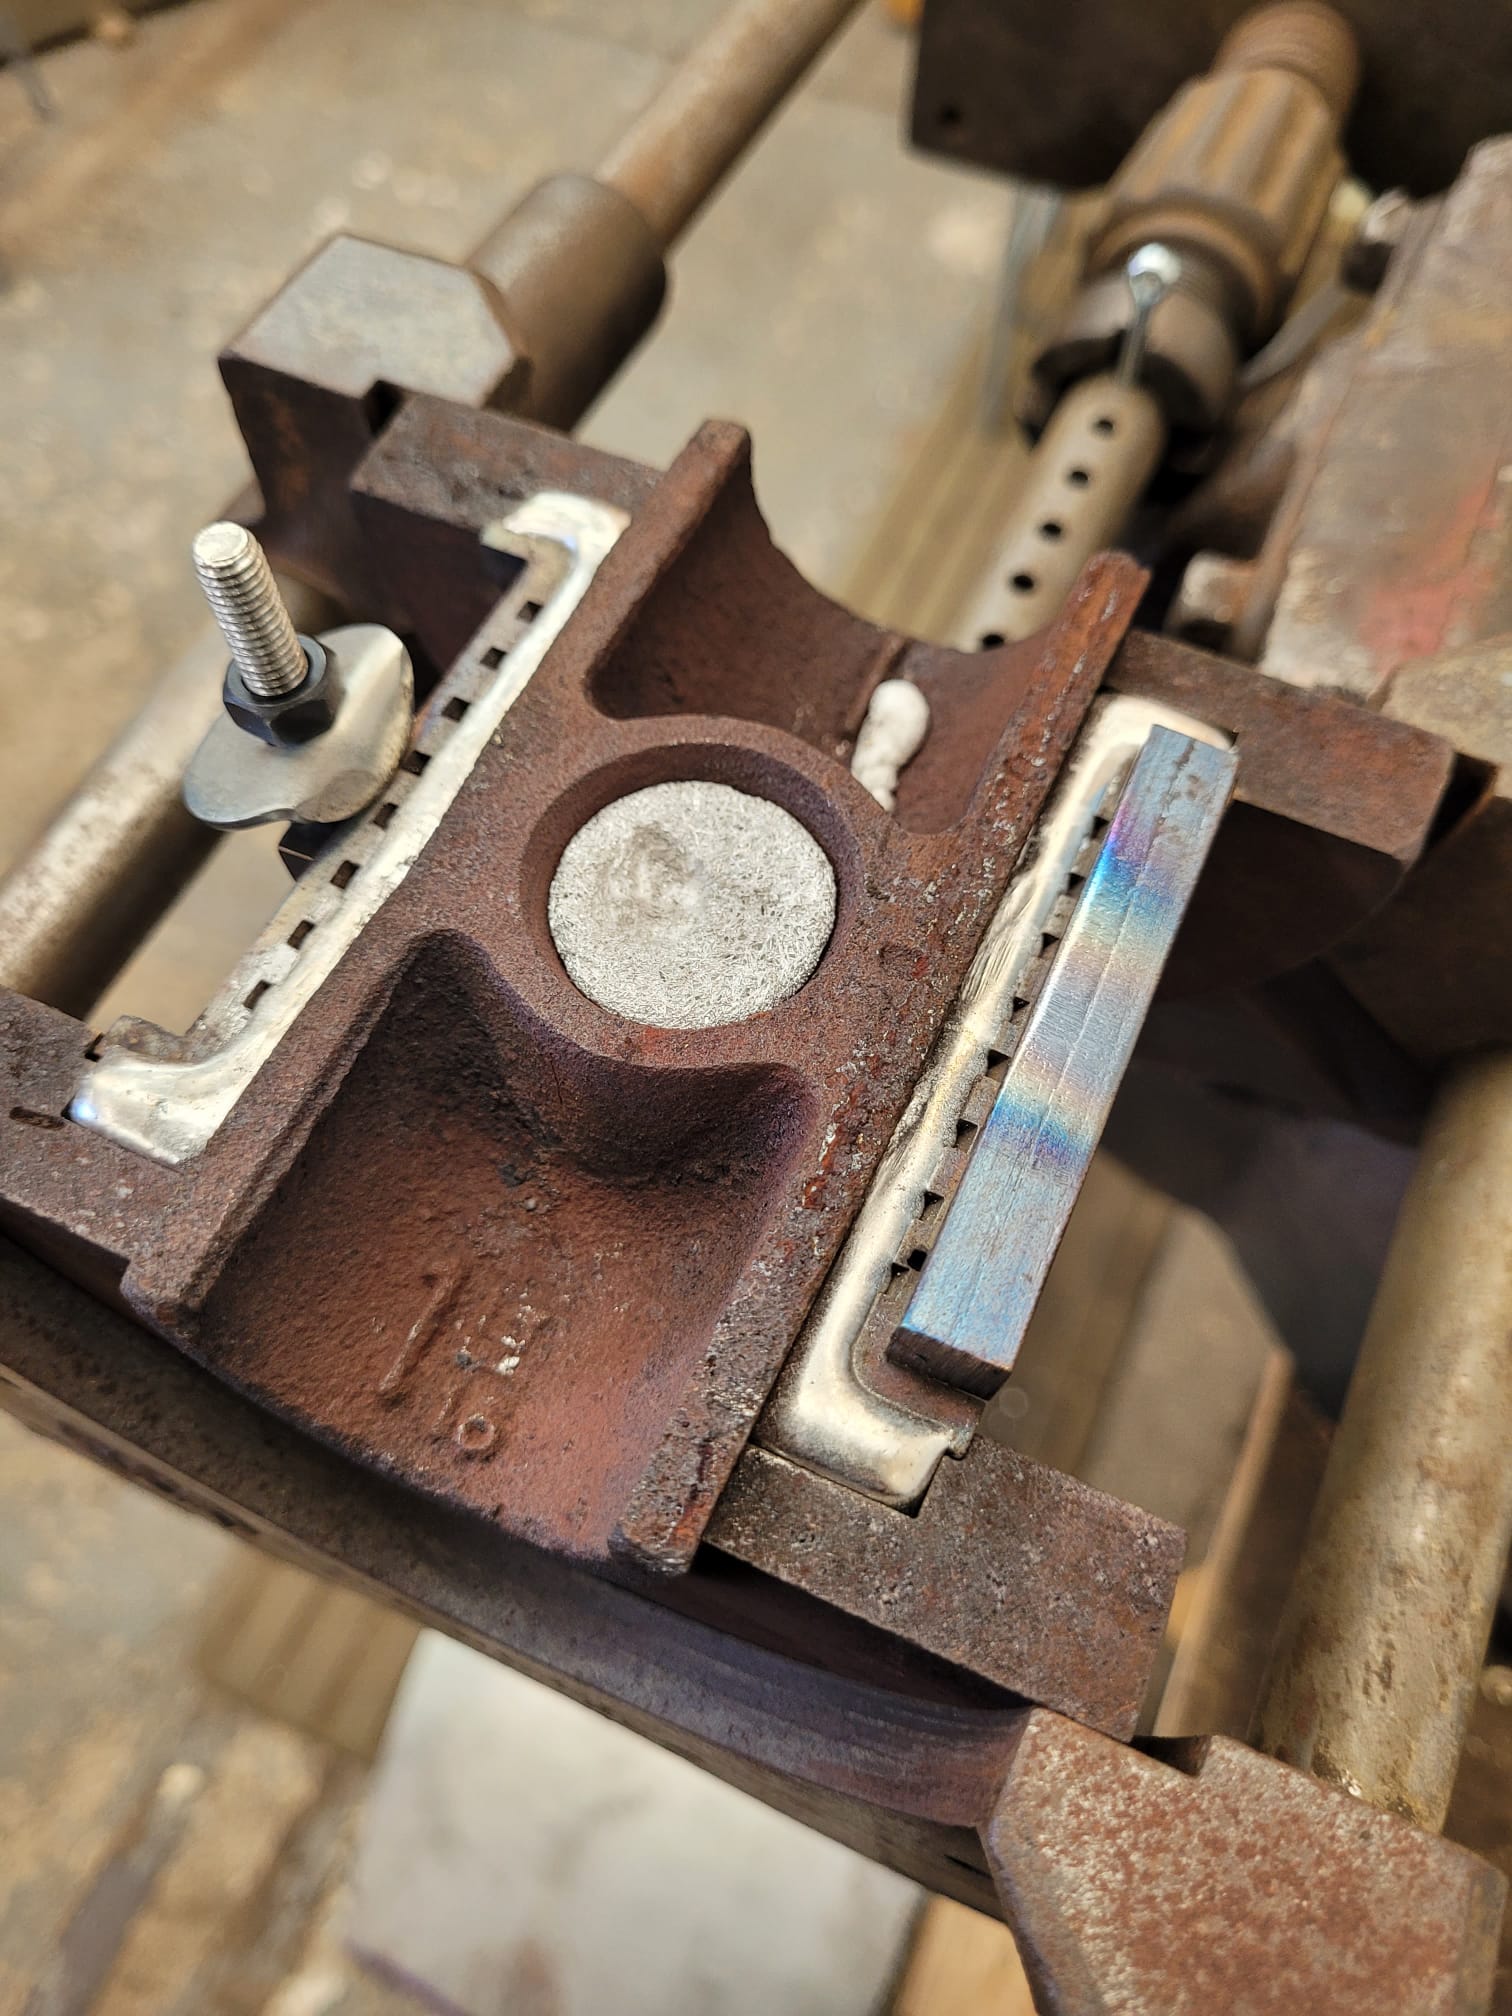
Below: The shell after removal from the apparatus, showing the outer component, with a healthy layer of White metal applied to it – not just on the main surface, but over and around the ends too. This is the great advantage of using this equipment, which is specifically made for metalling engine bearings.
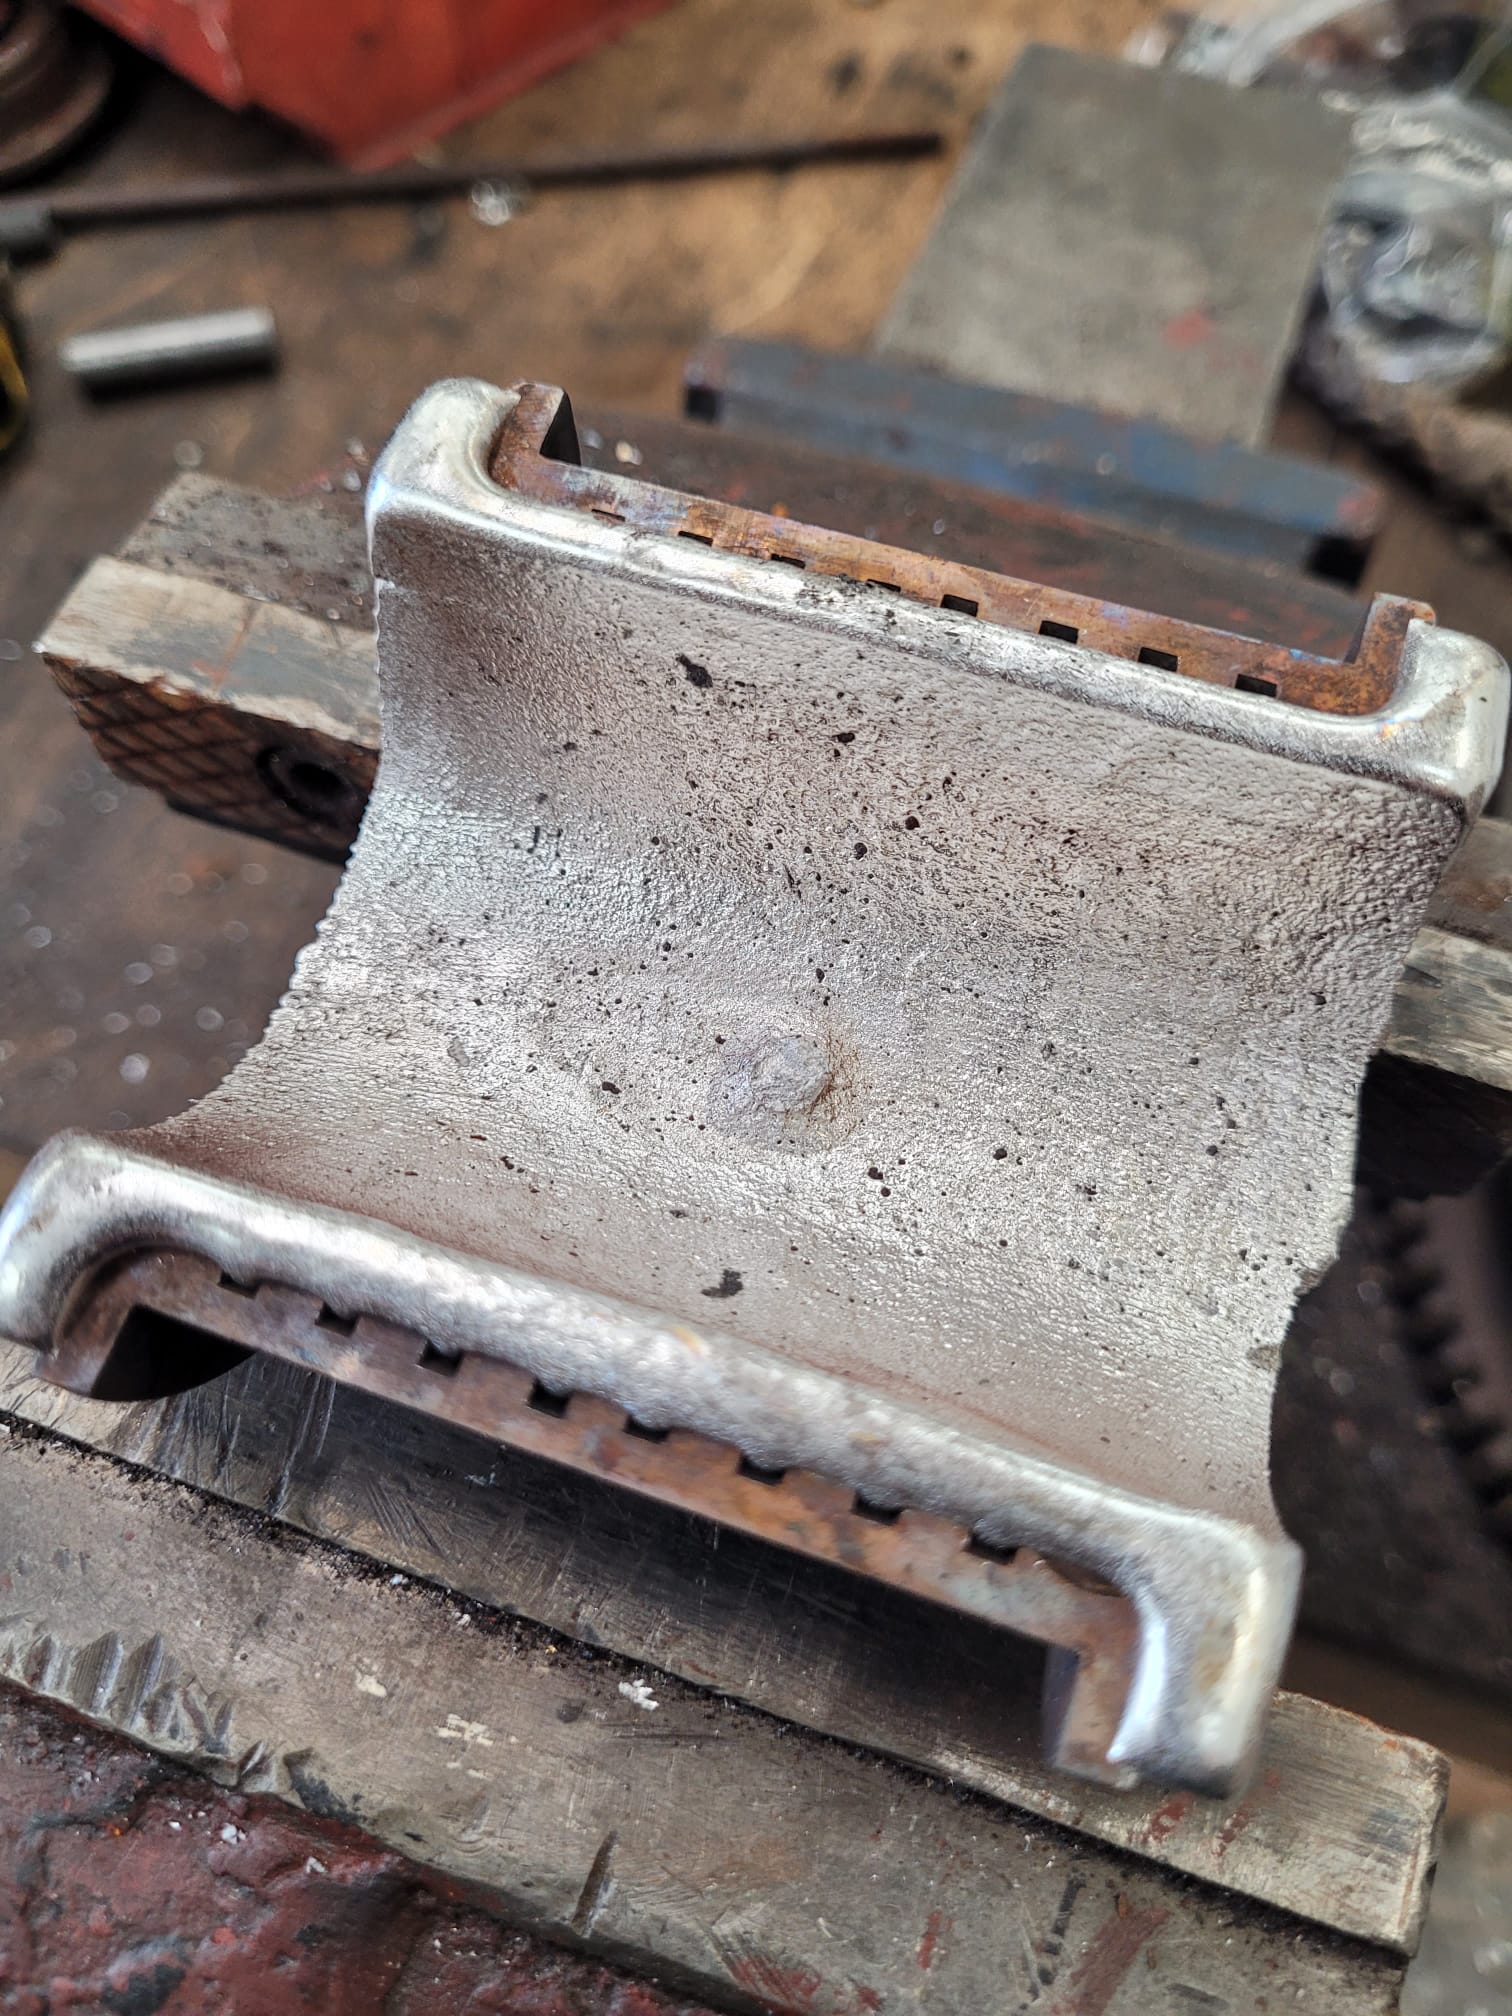
Below: The over-casting has been removed in order that the shells can clamp together, ready for the first stage of machining them.
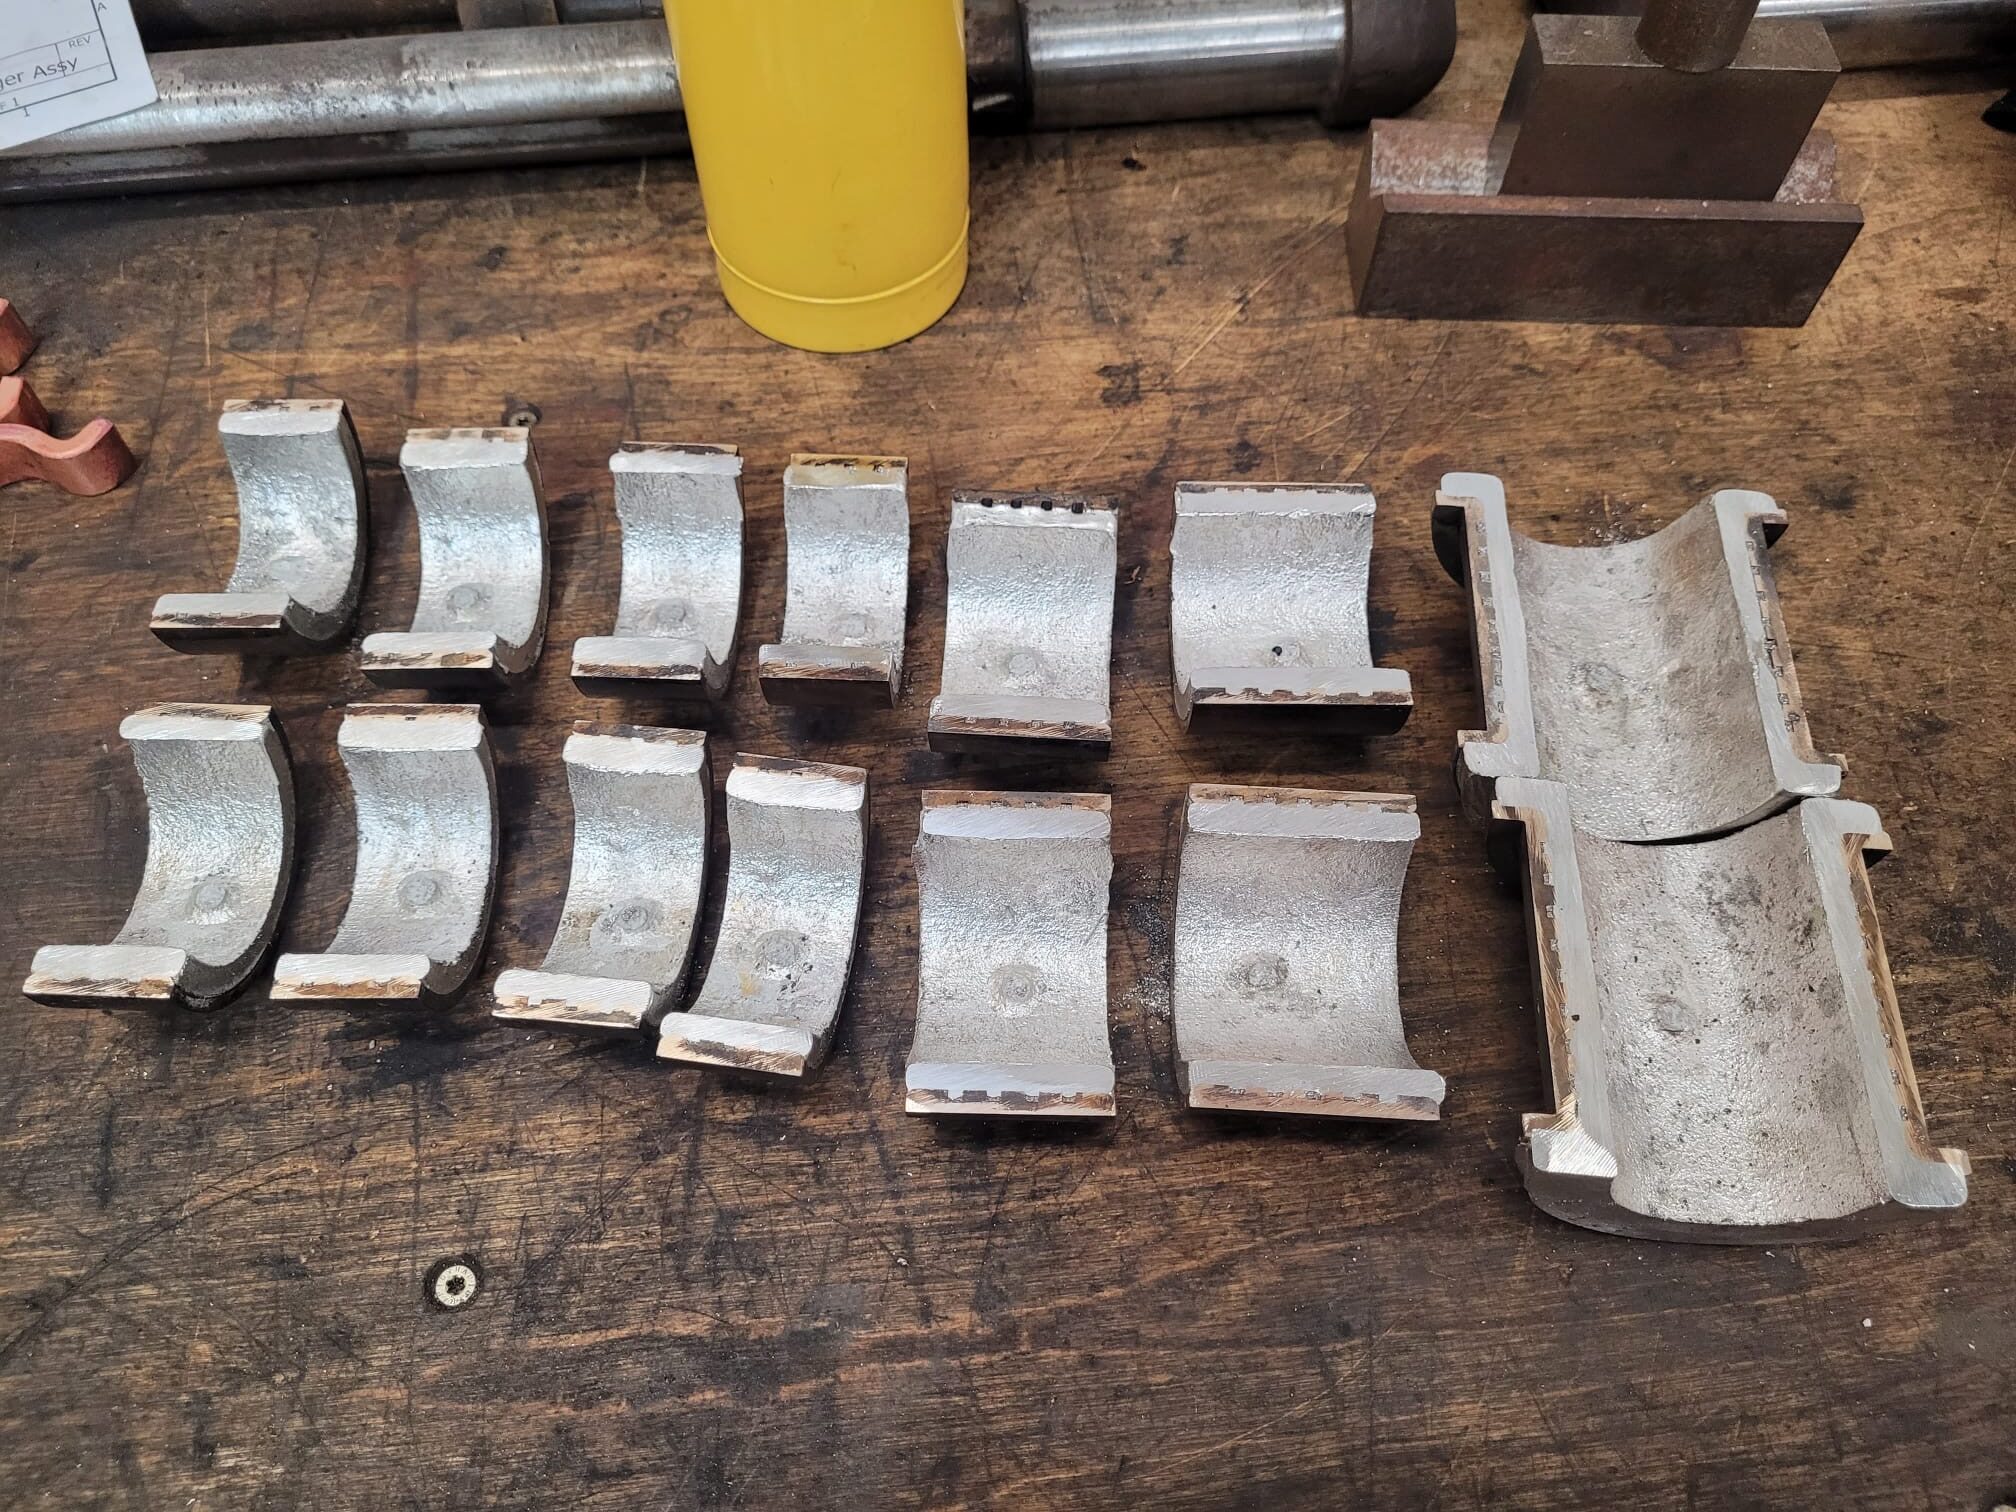
Below: The pairs of bearing shells are located in the lathe 3-jaw chuck, in such a way as not to distort them.
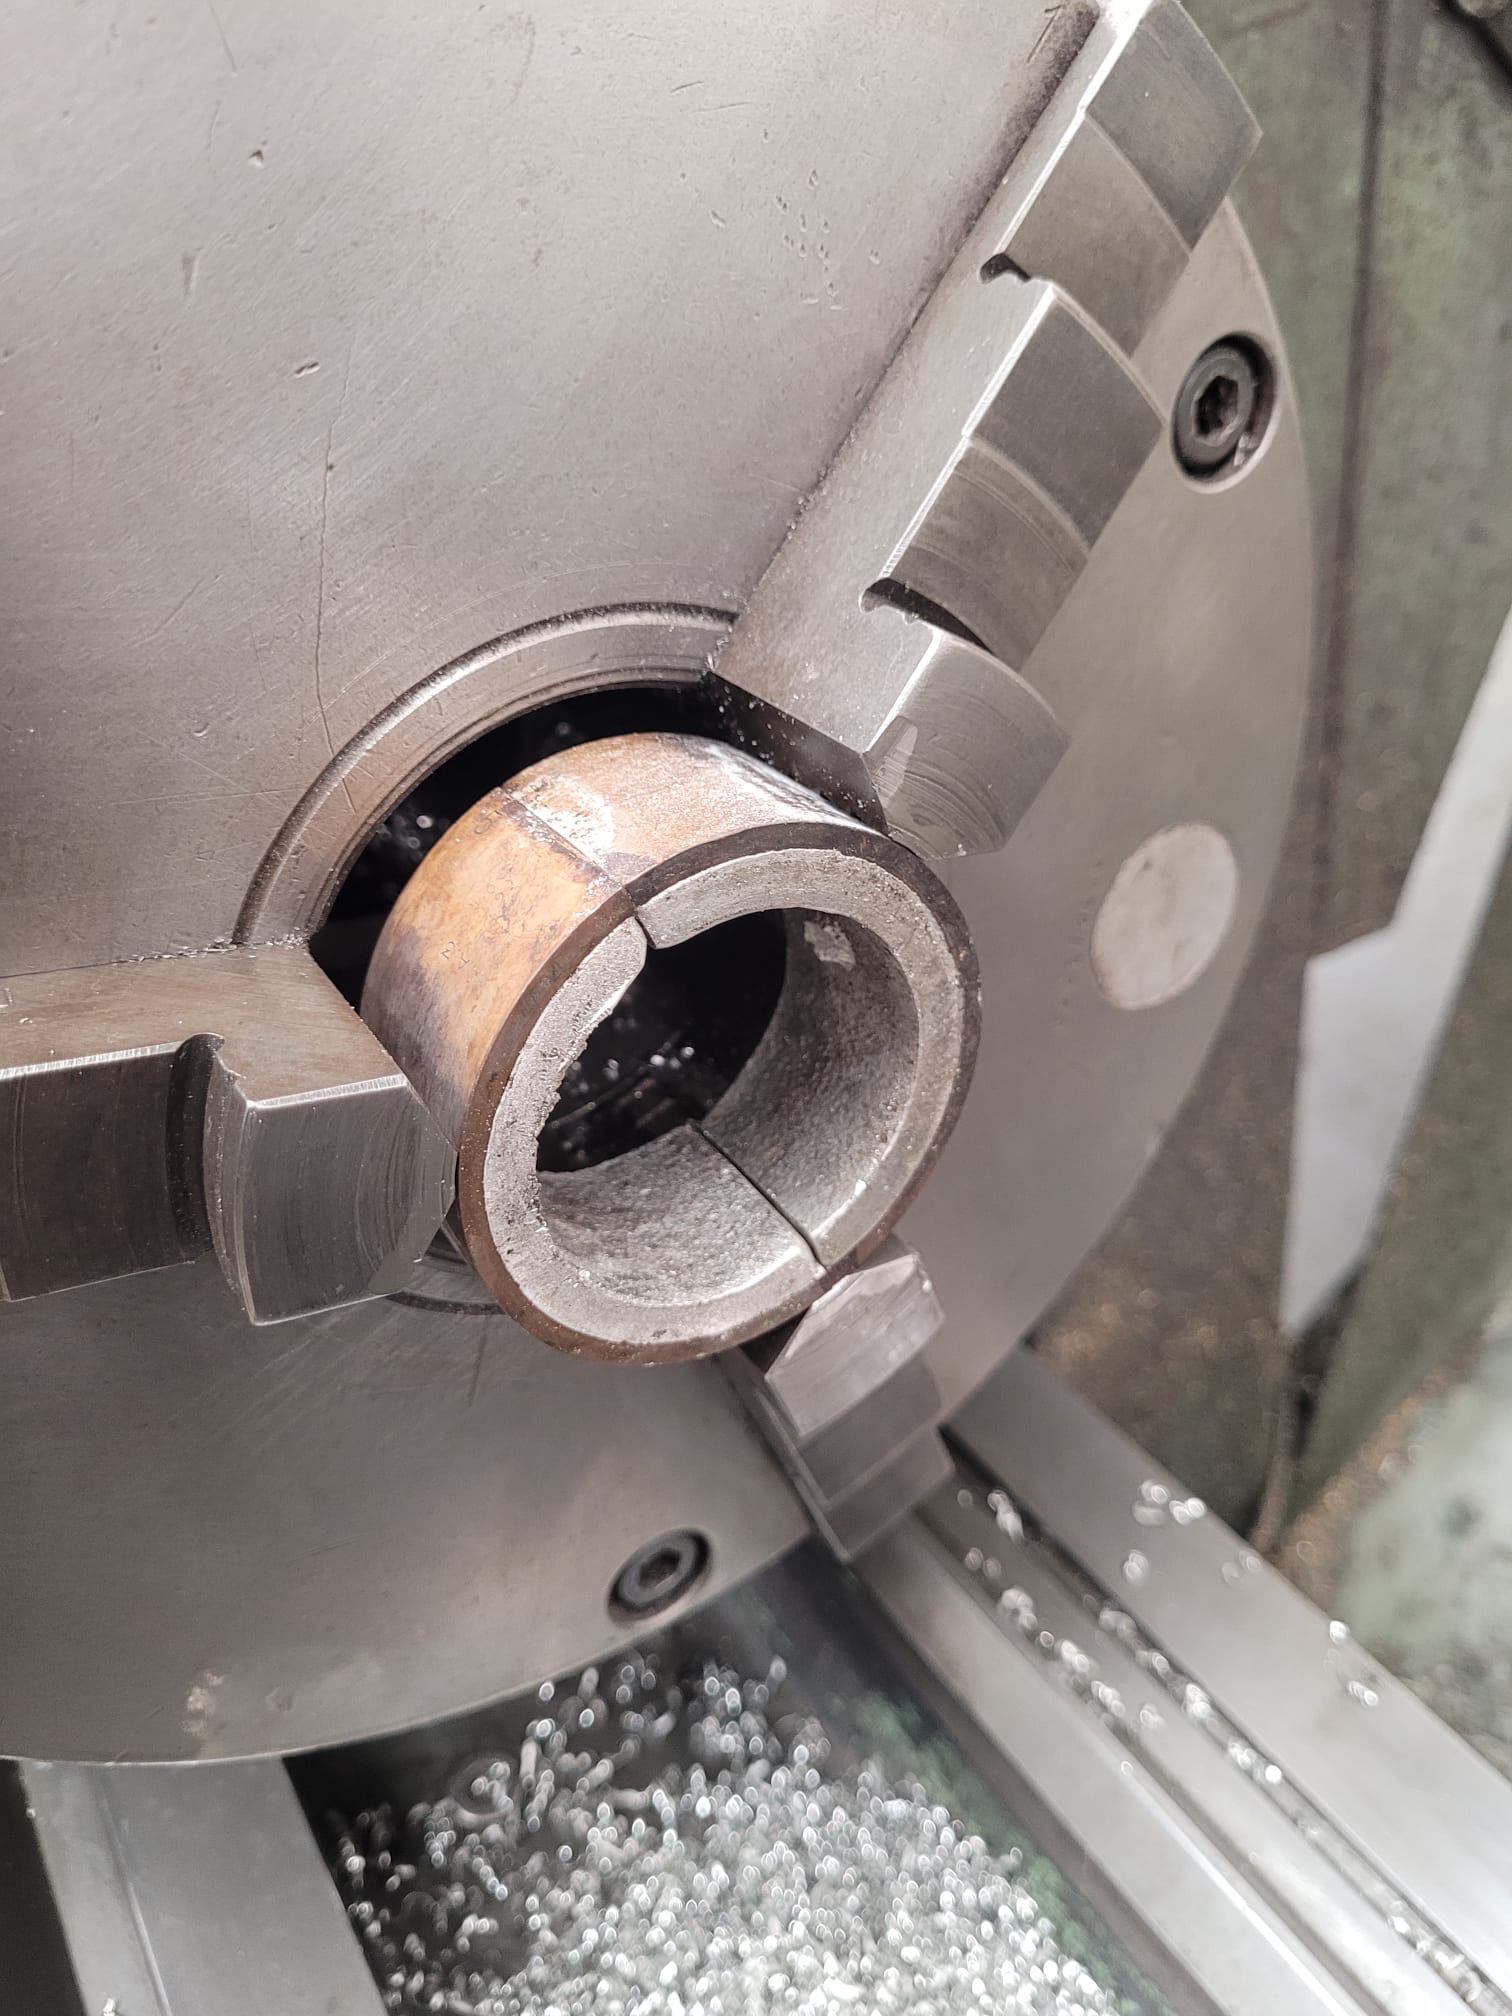
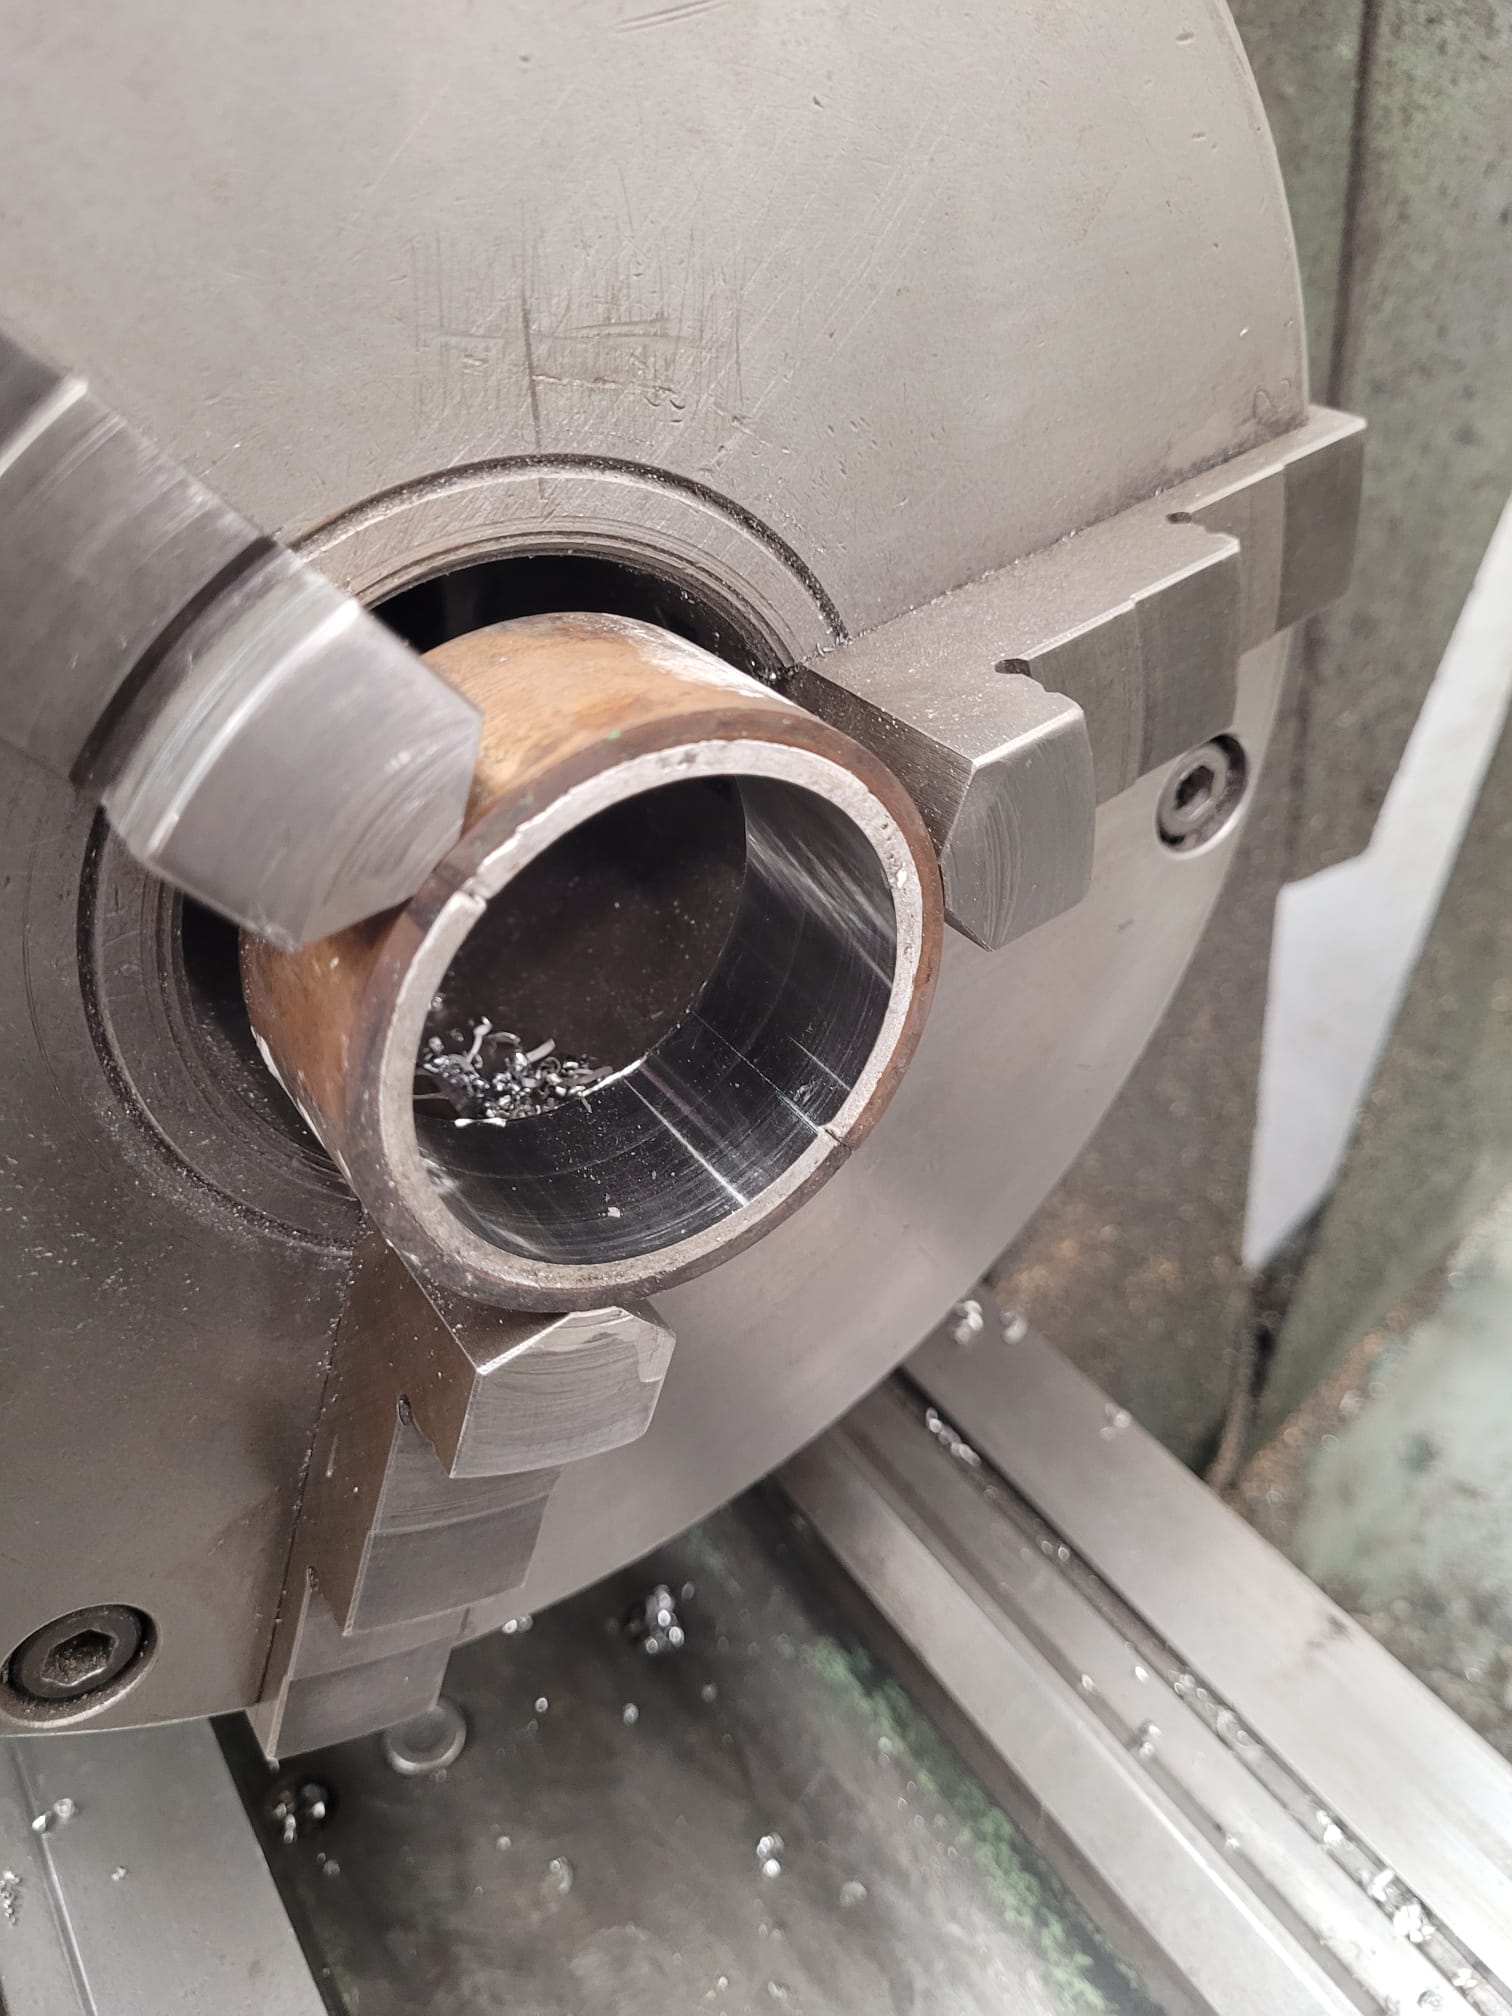
Below: The inside face is then bored through, leaving 0.060″ inch for finishing when the bearings are placed into the engine and then line-bored.
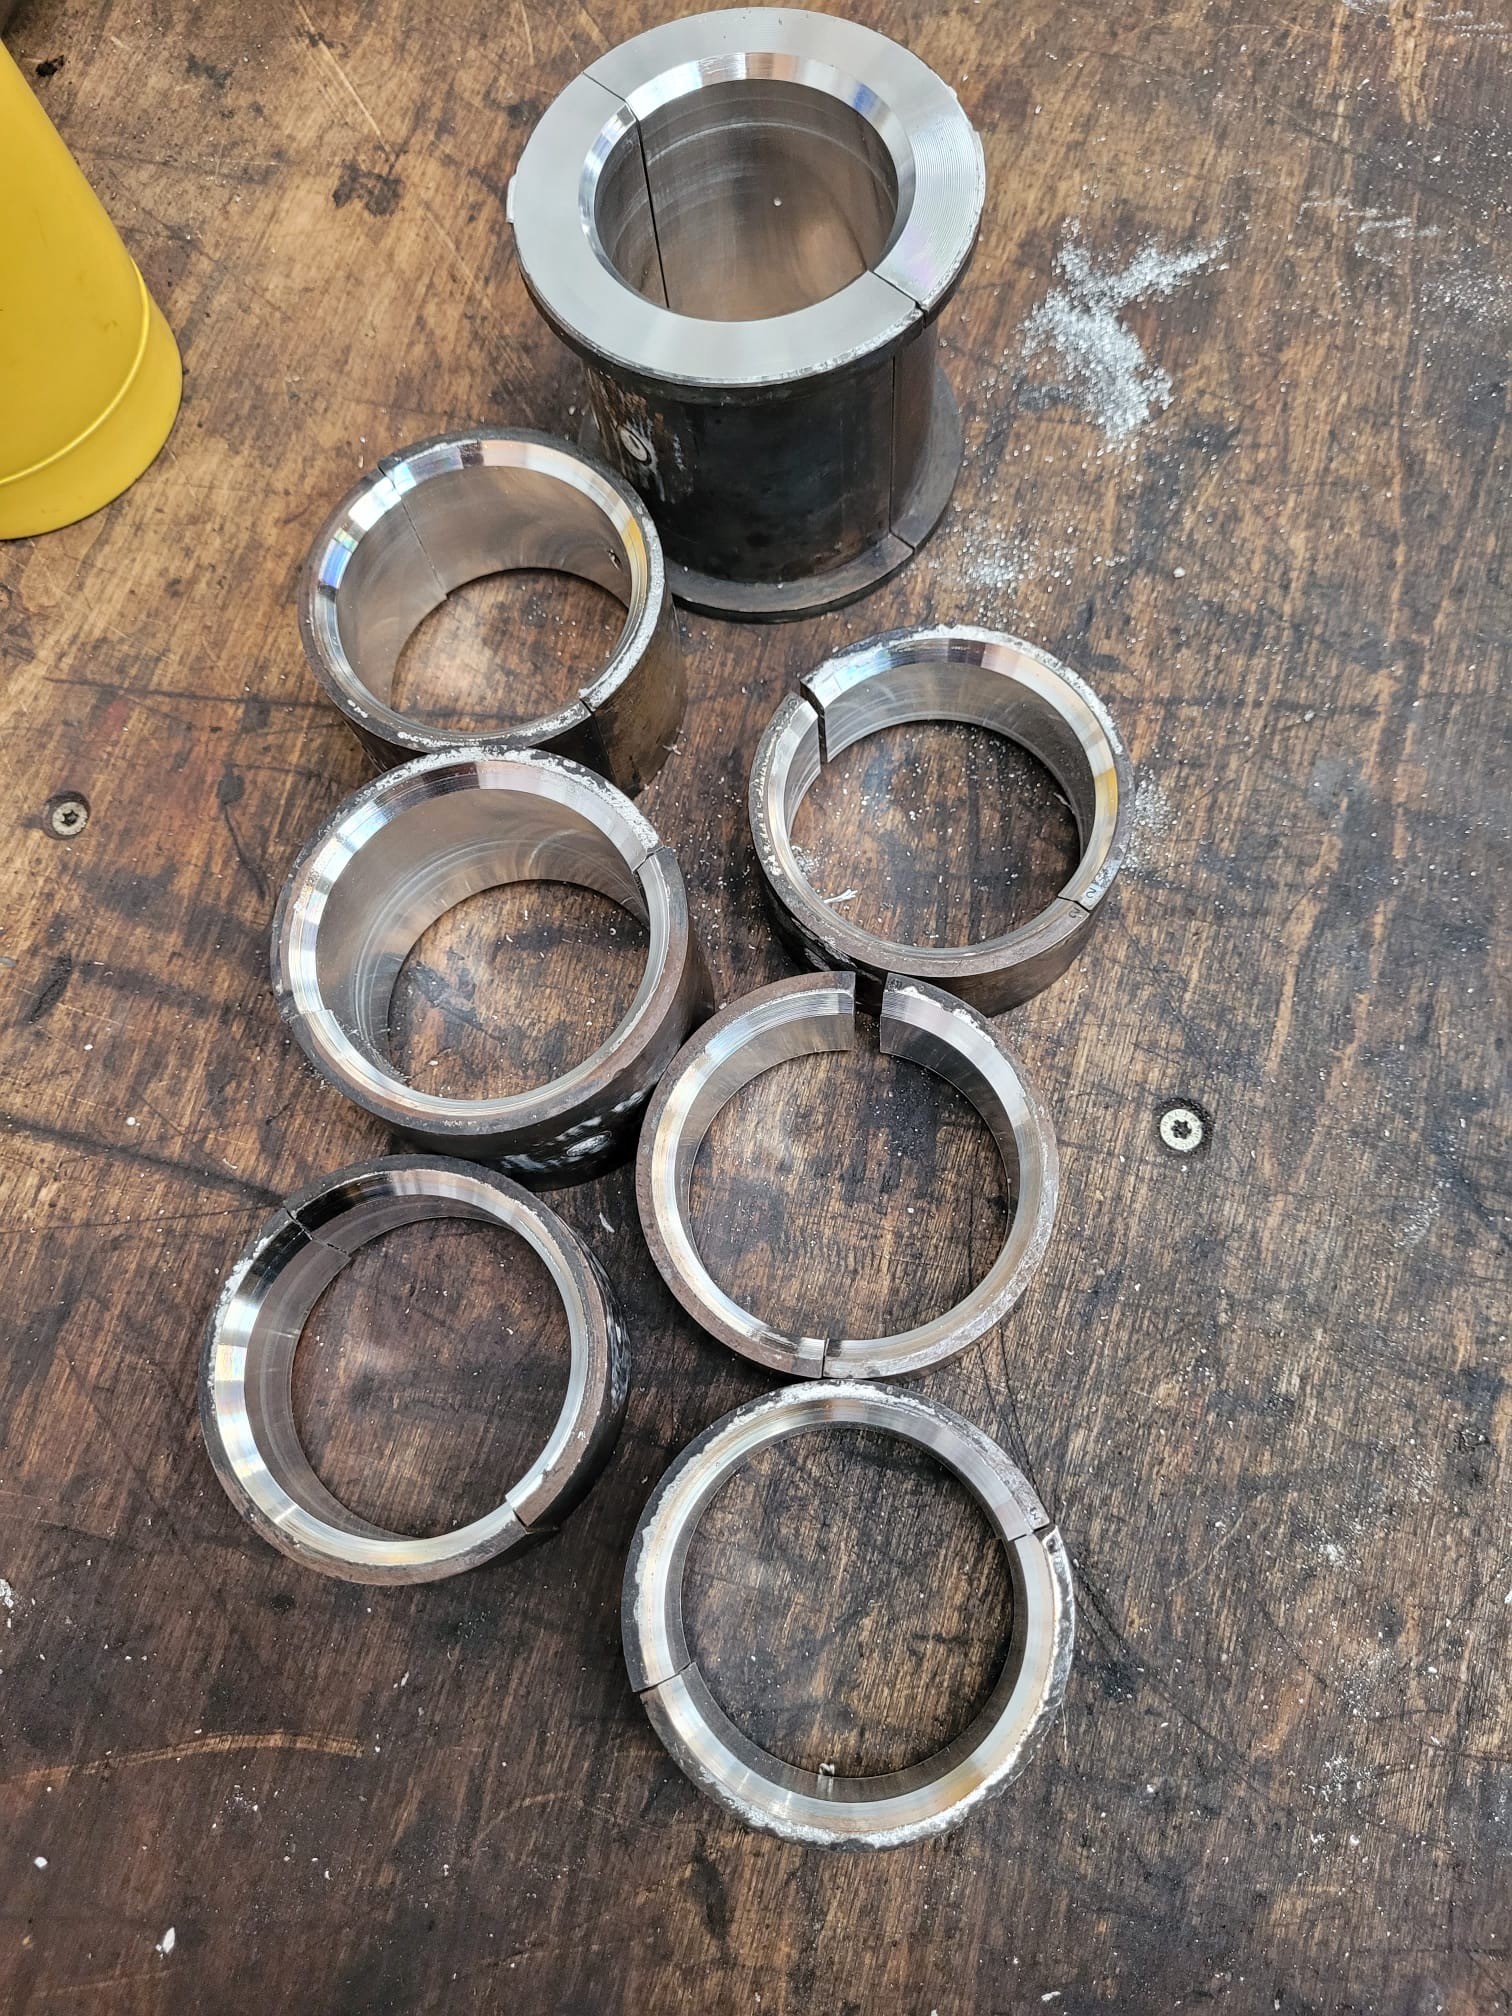
Below: The full set of bearings all roughed out ready for the next stage of machining.
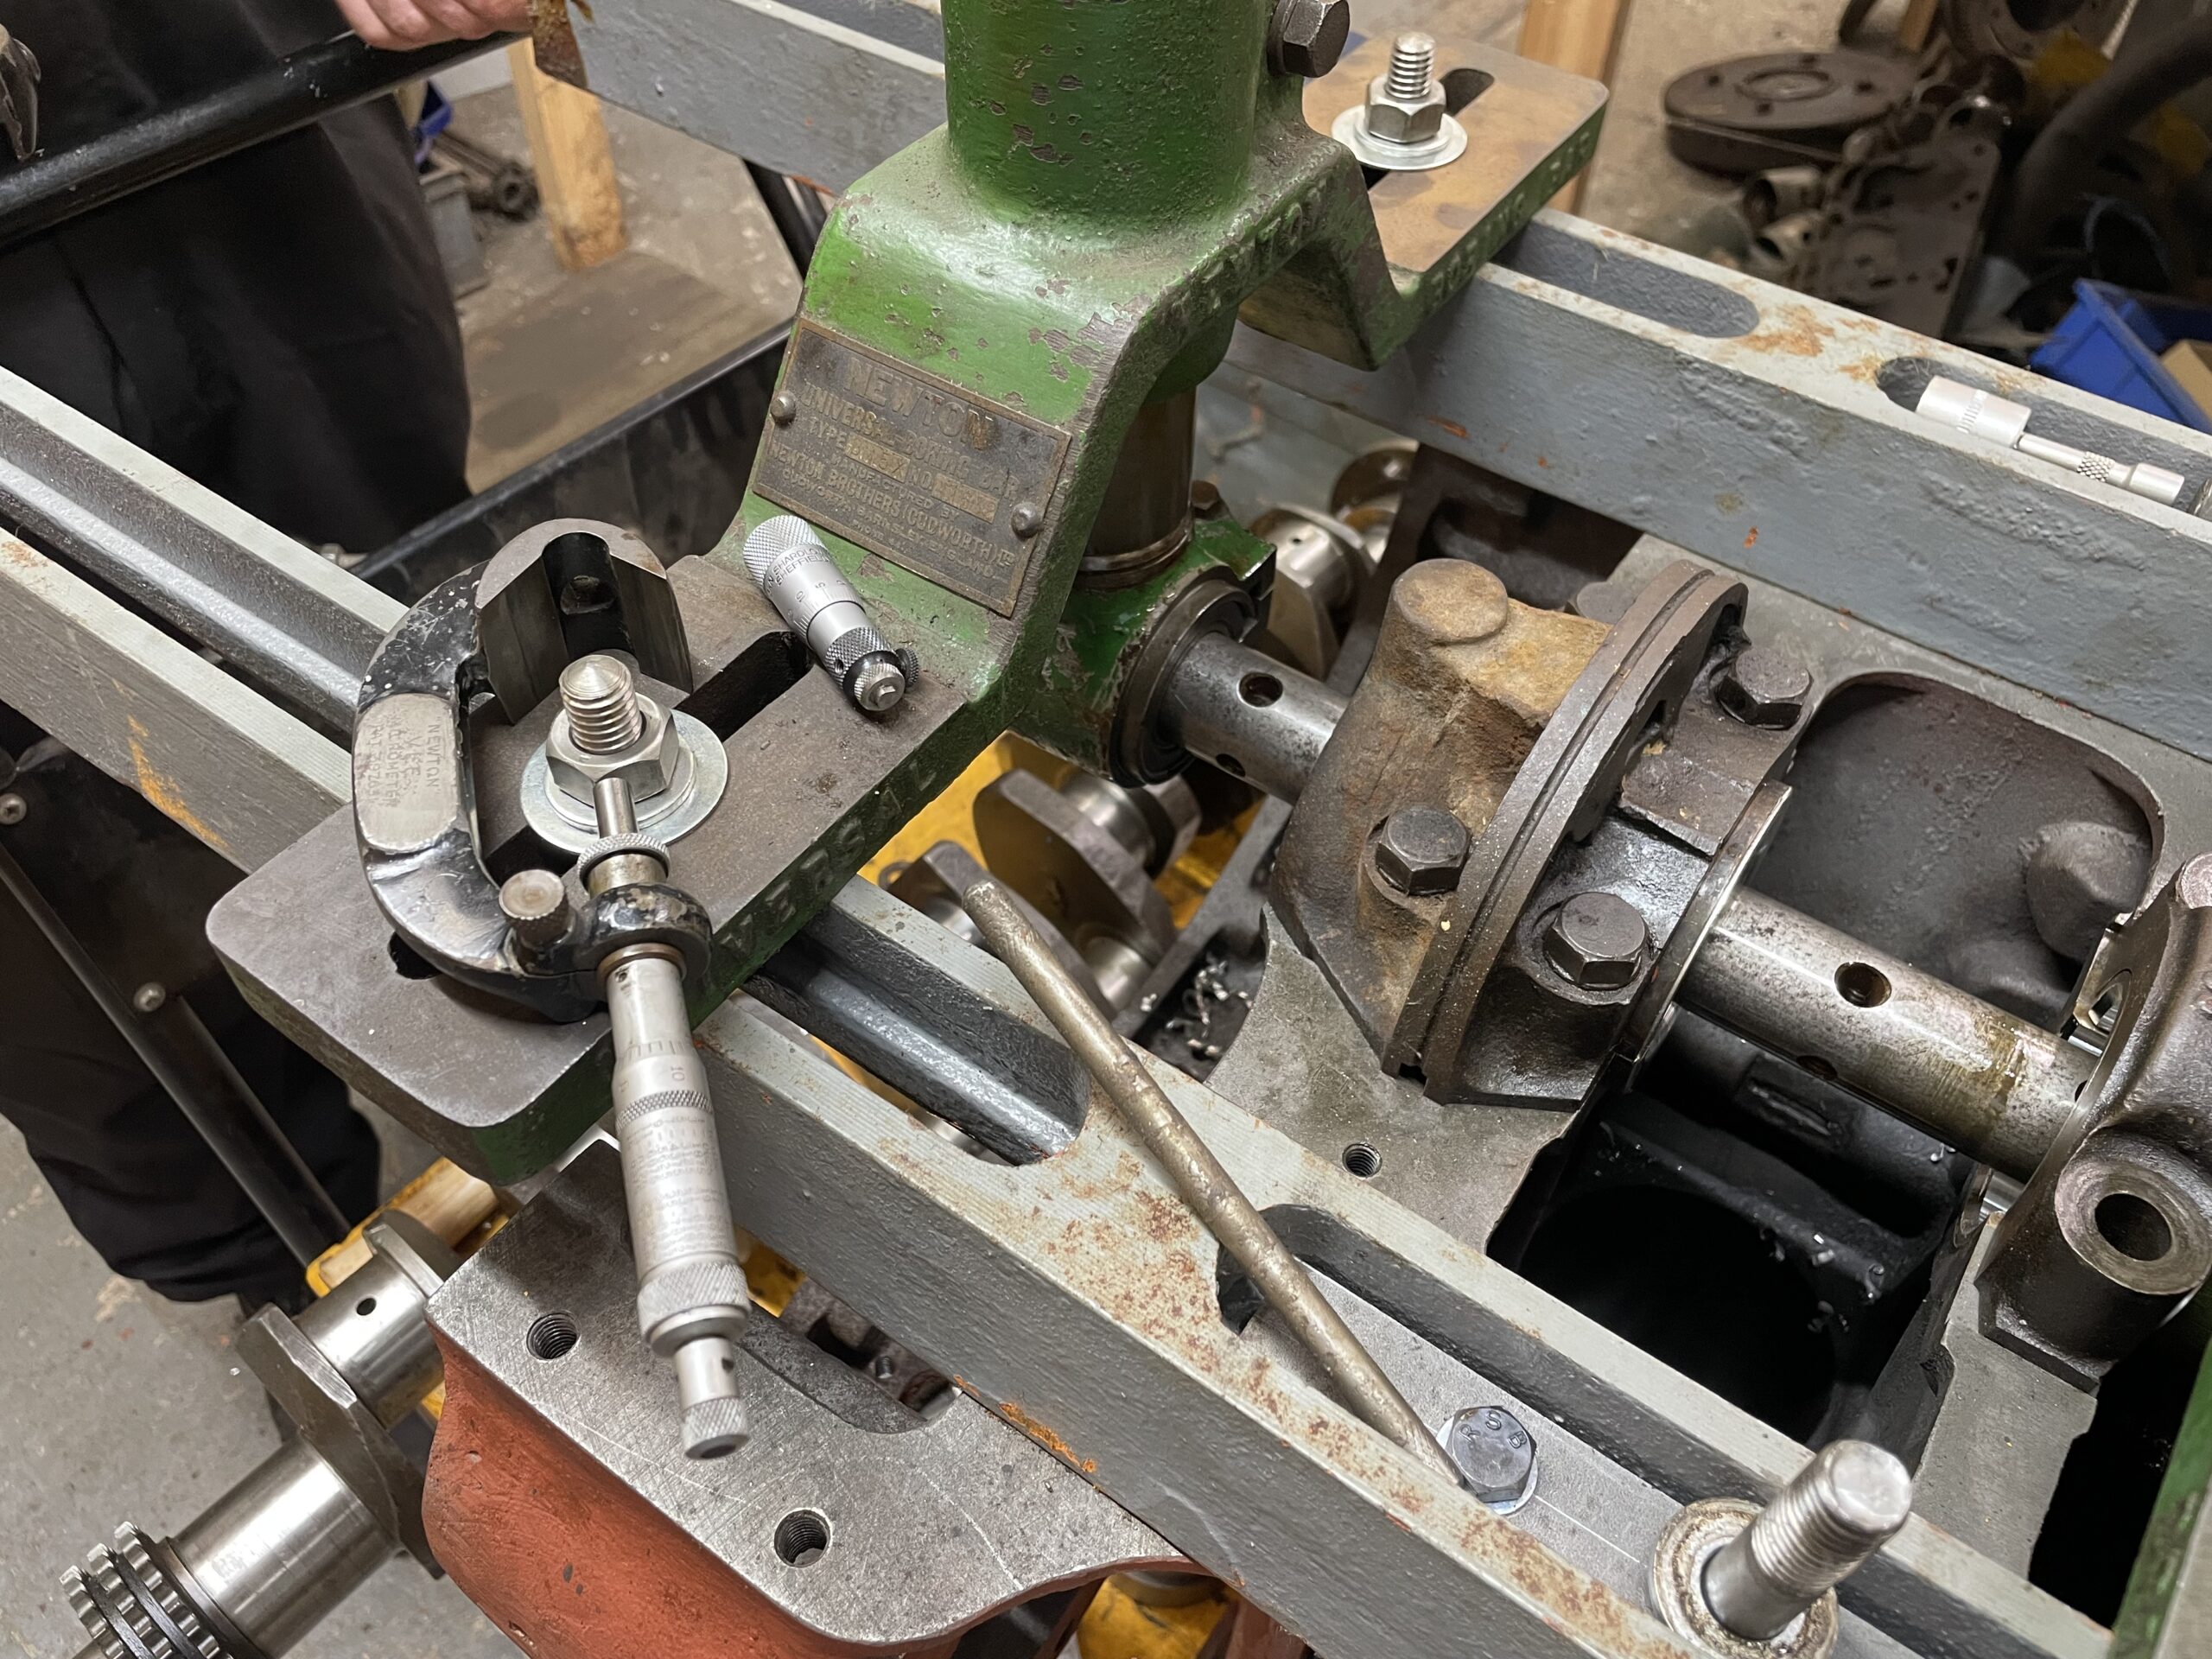
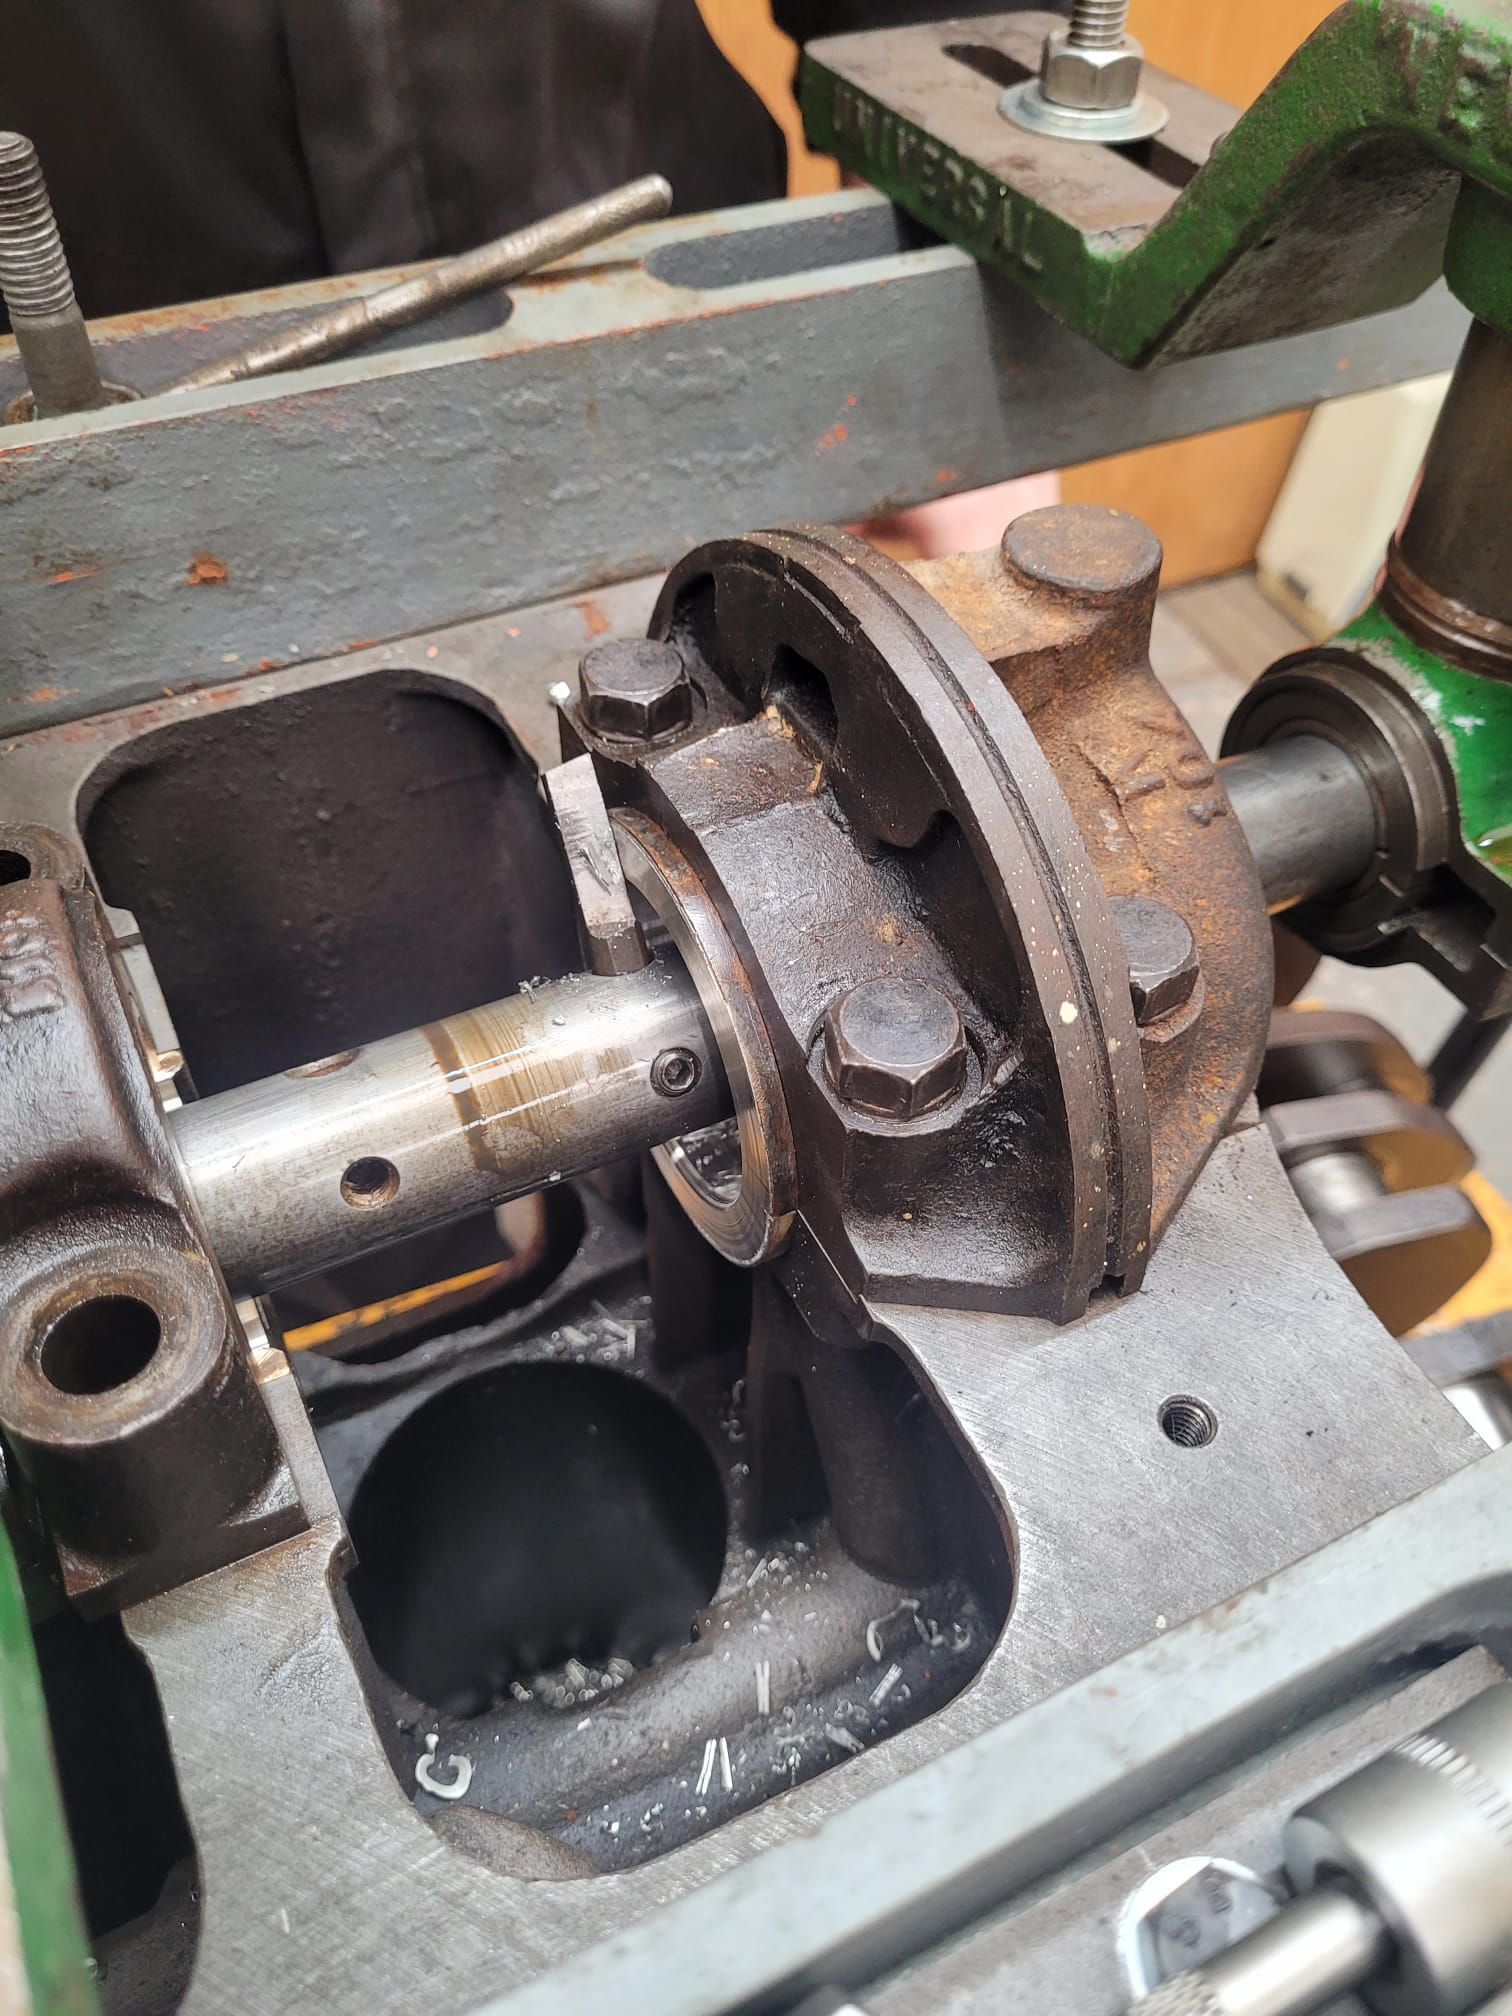
Below: With the rough-machined bearings fitted to the engine block, this apparatus is set up to line-bore them to a consistent size, along a repeatable and consistent axis.
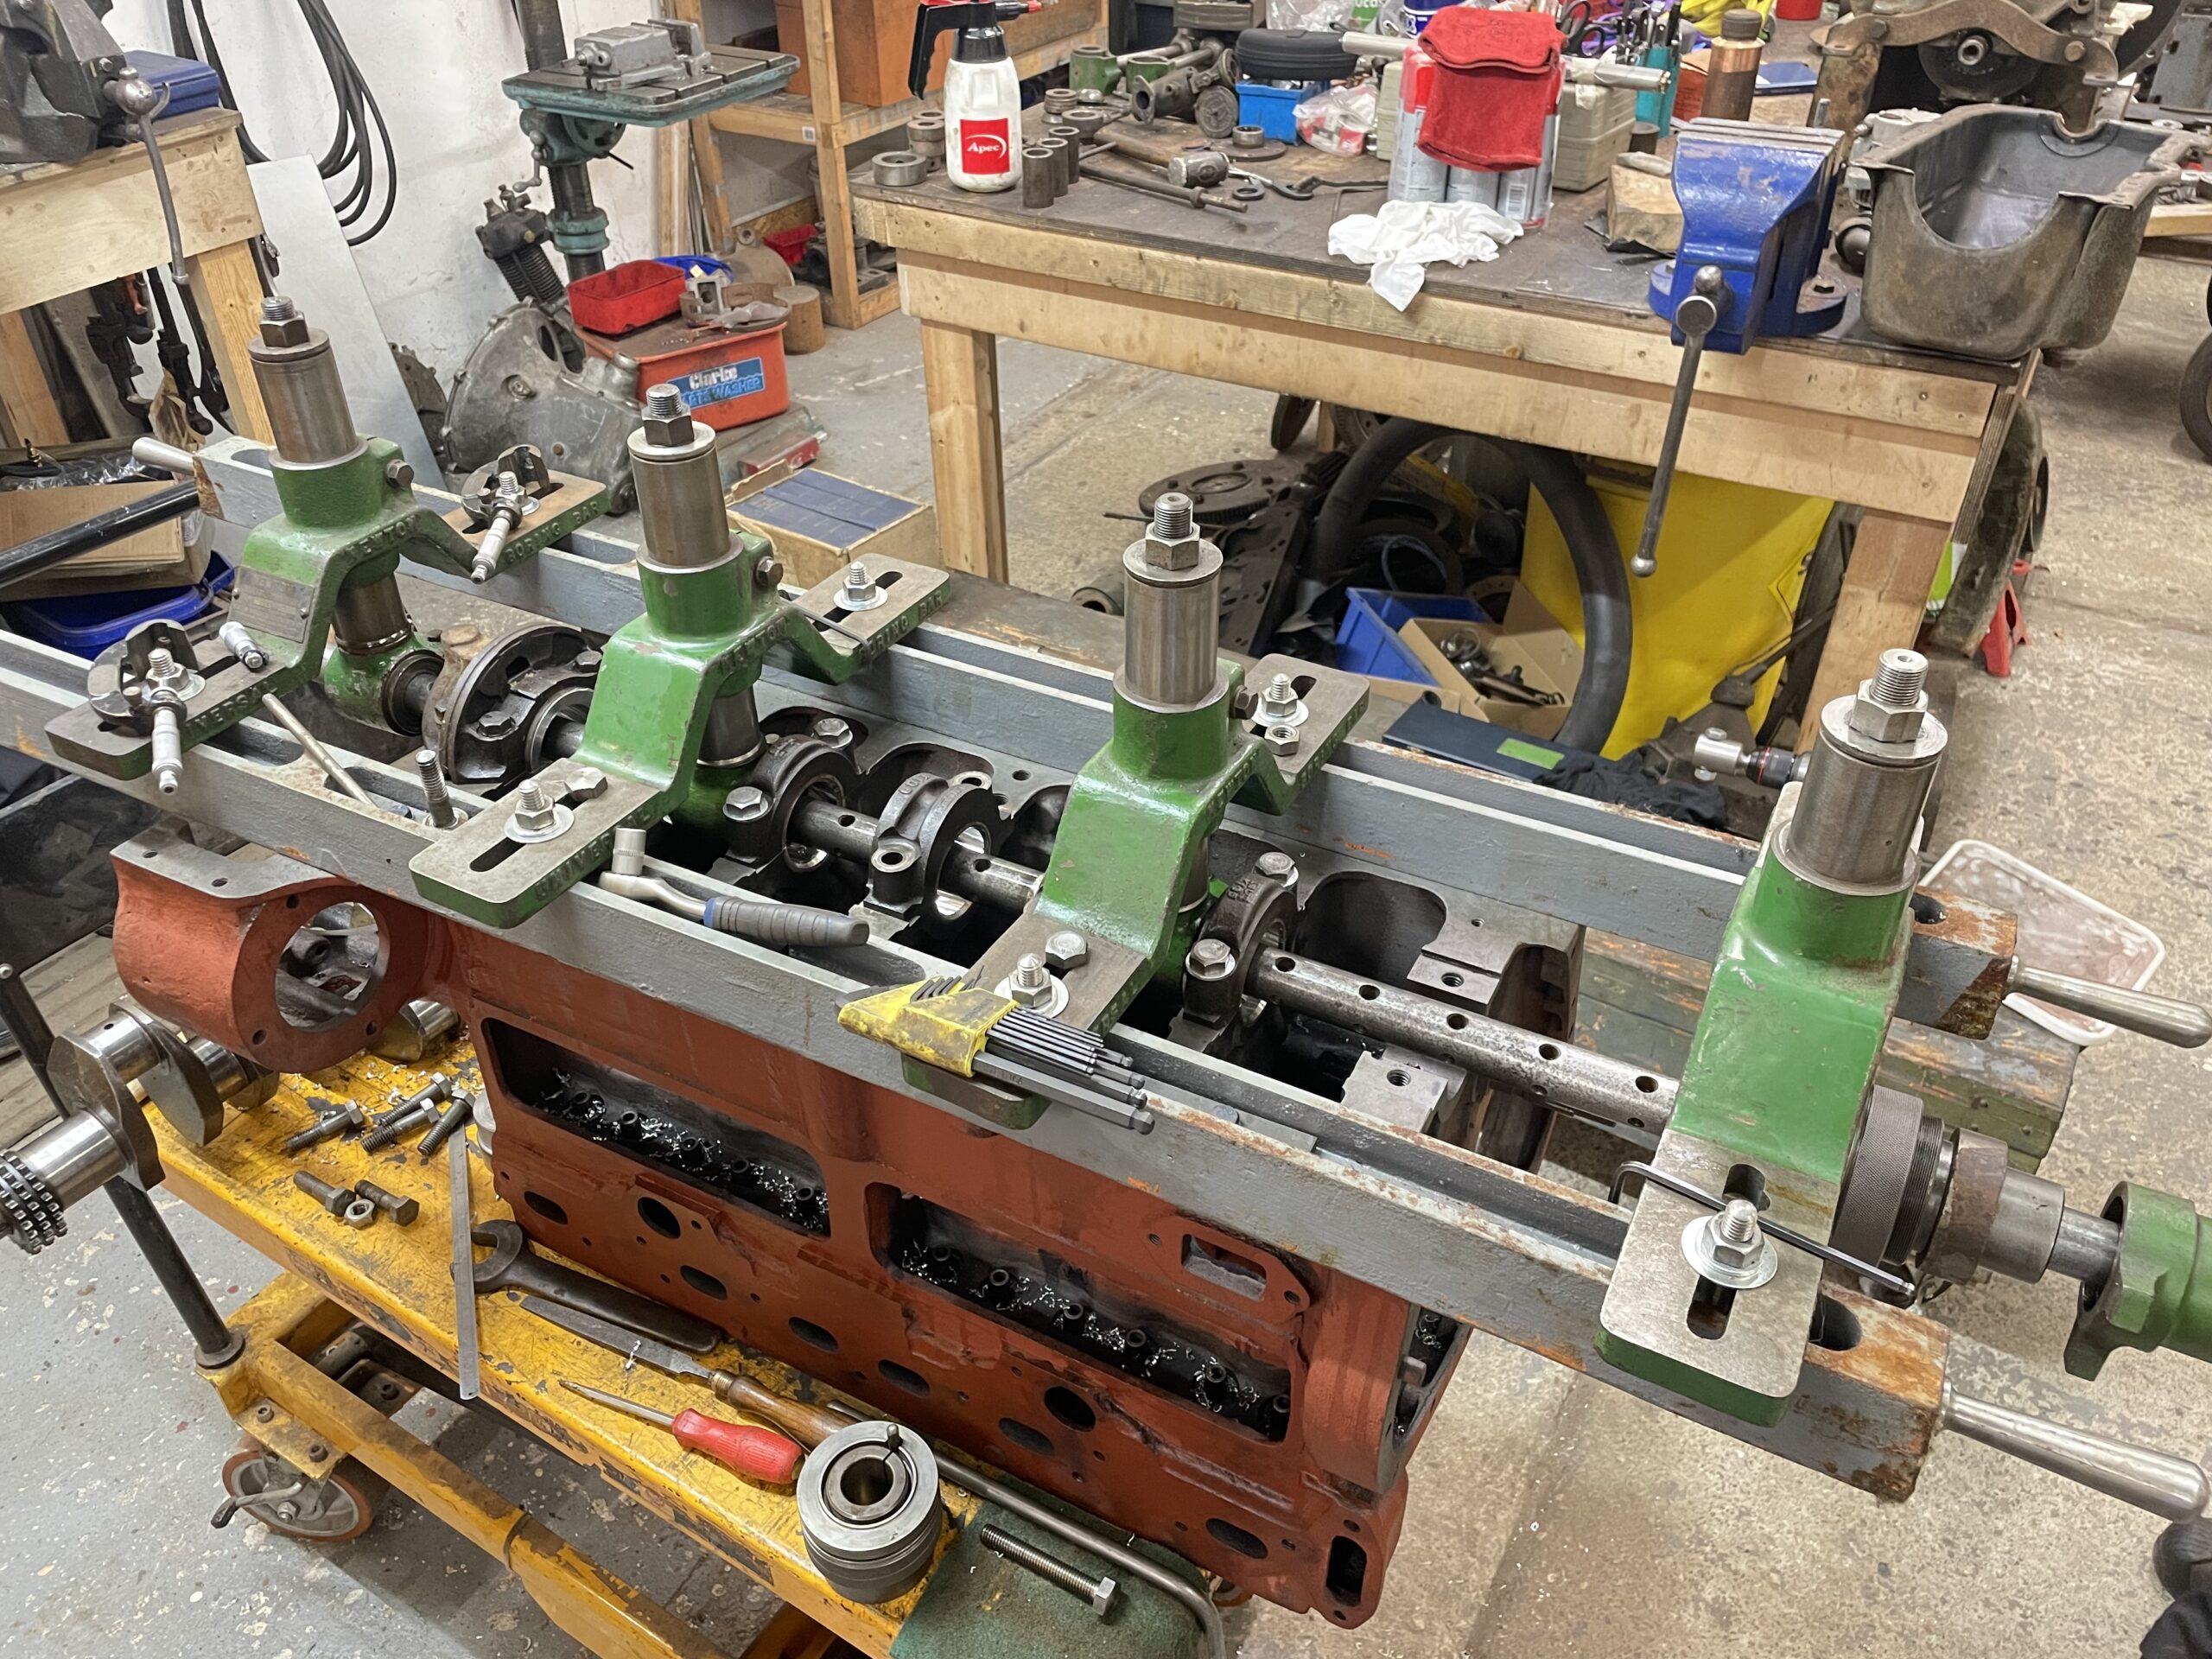
Below: The central shaft (with the holes in) is driven by an electric drill as the cutters are advanced (the shaft being designed so that it can be precisely adjusted to achieve this). Two verniers are set – one to a rough cut and the second to the finish cut required. The arrangement of the frame and shaft ensures that each bearing can be machined, one by one, with repeatable and accurate adjustments to ensure consistency through all of the bearings.
Below: The finished job, noting that the edges have been chamfered and the oil holes re-established (for lubrication).
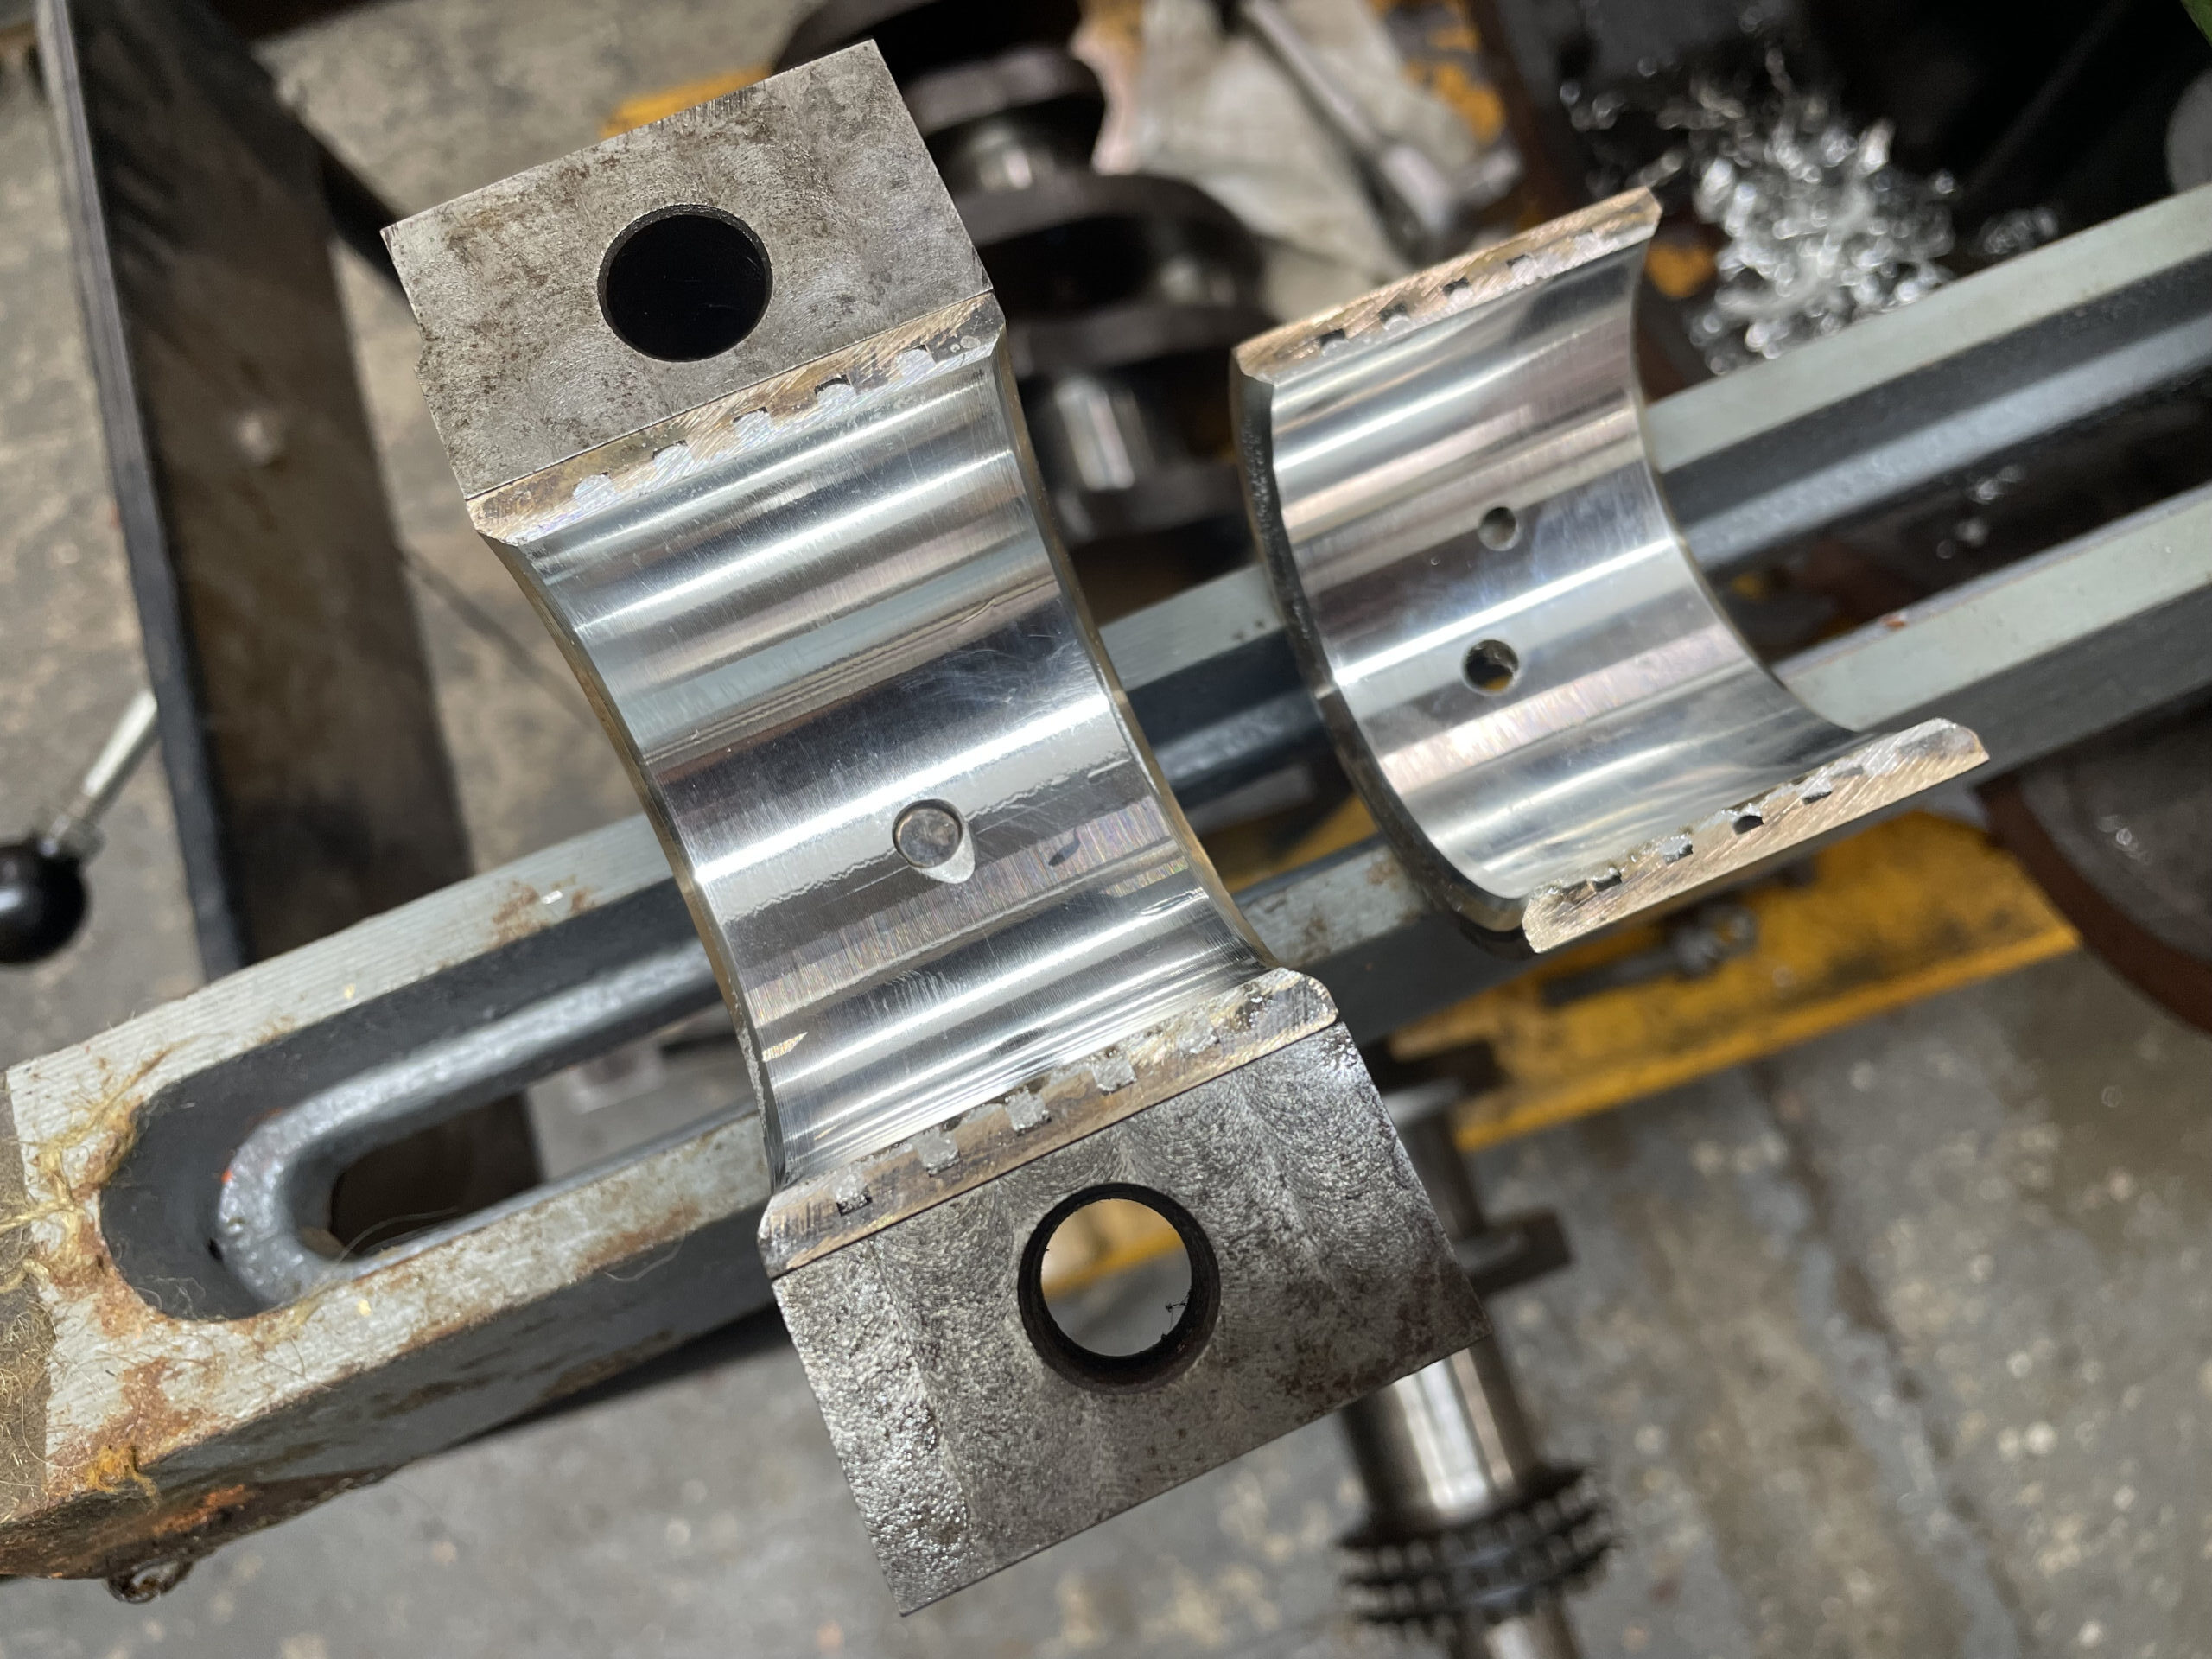
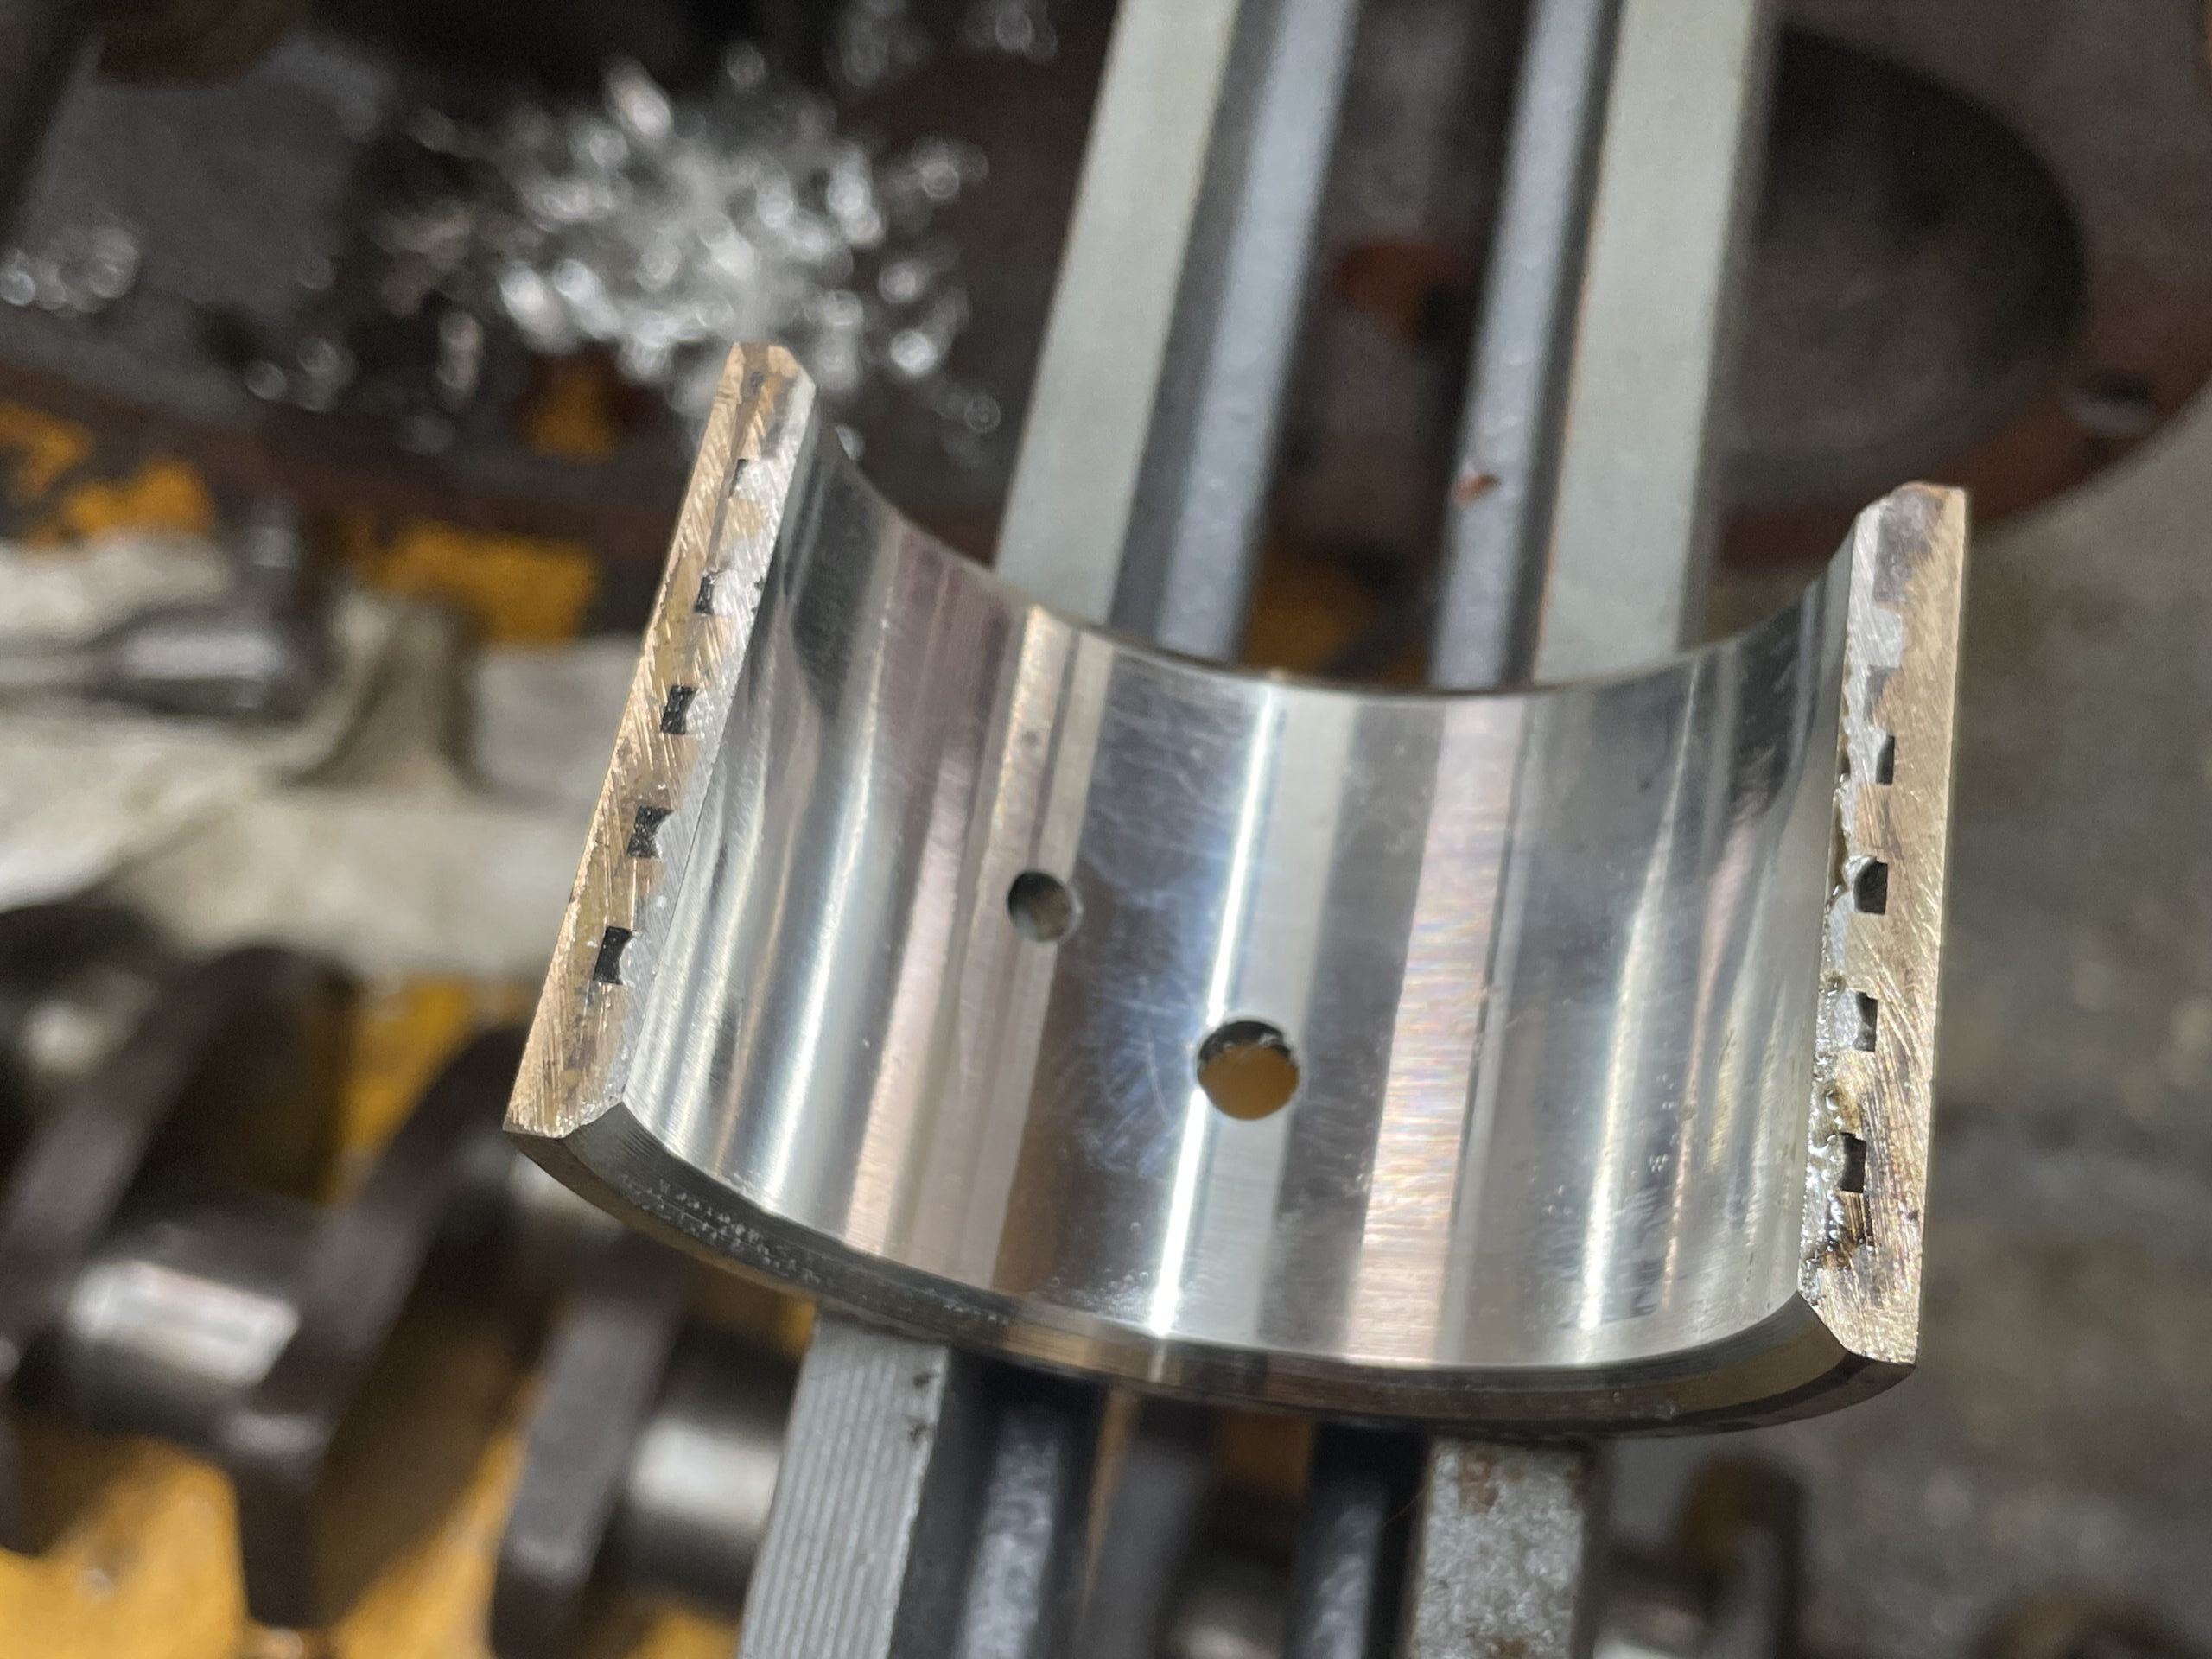
Below: Cutting the thrust faces onto the paired bearing shells.
New valve springs have been ordered from a local spring manufacturer (along with spares for the shelf), as work on the engine overhaul continues in and amongst other projects.
Weardale Motor Services KPT 909
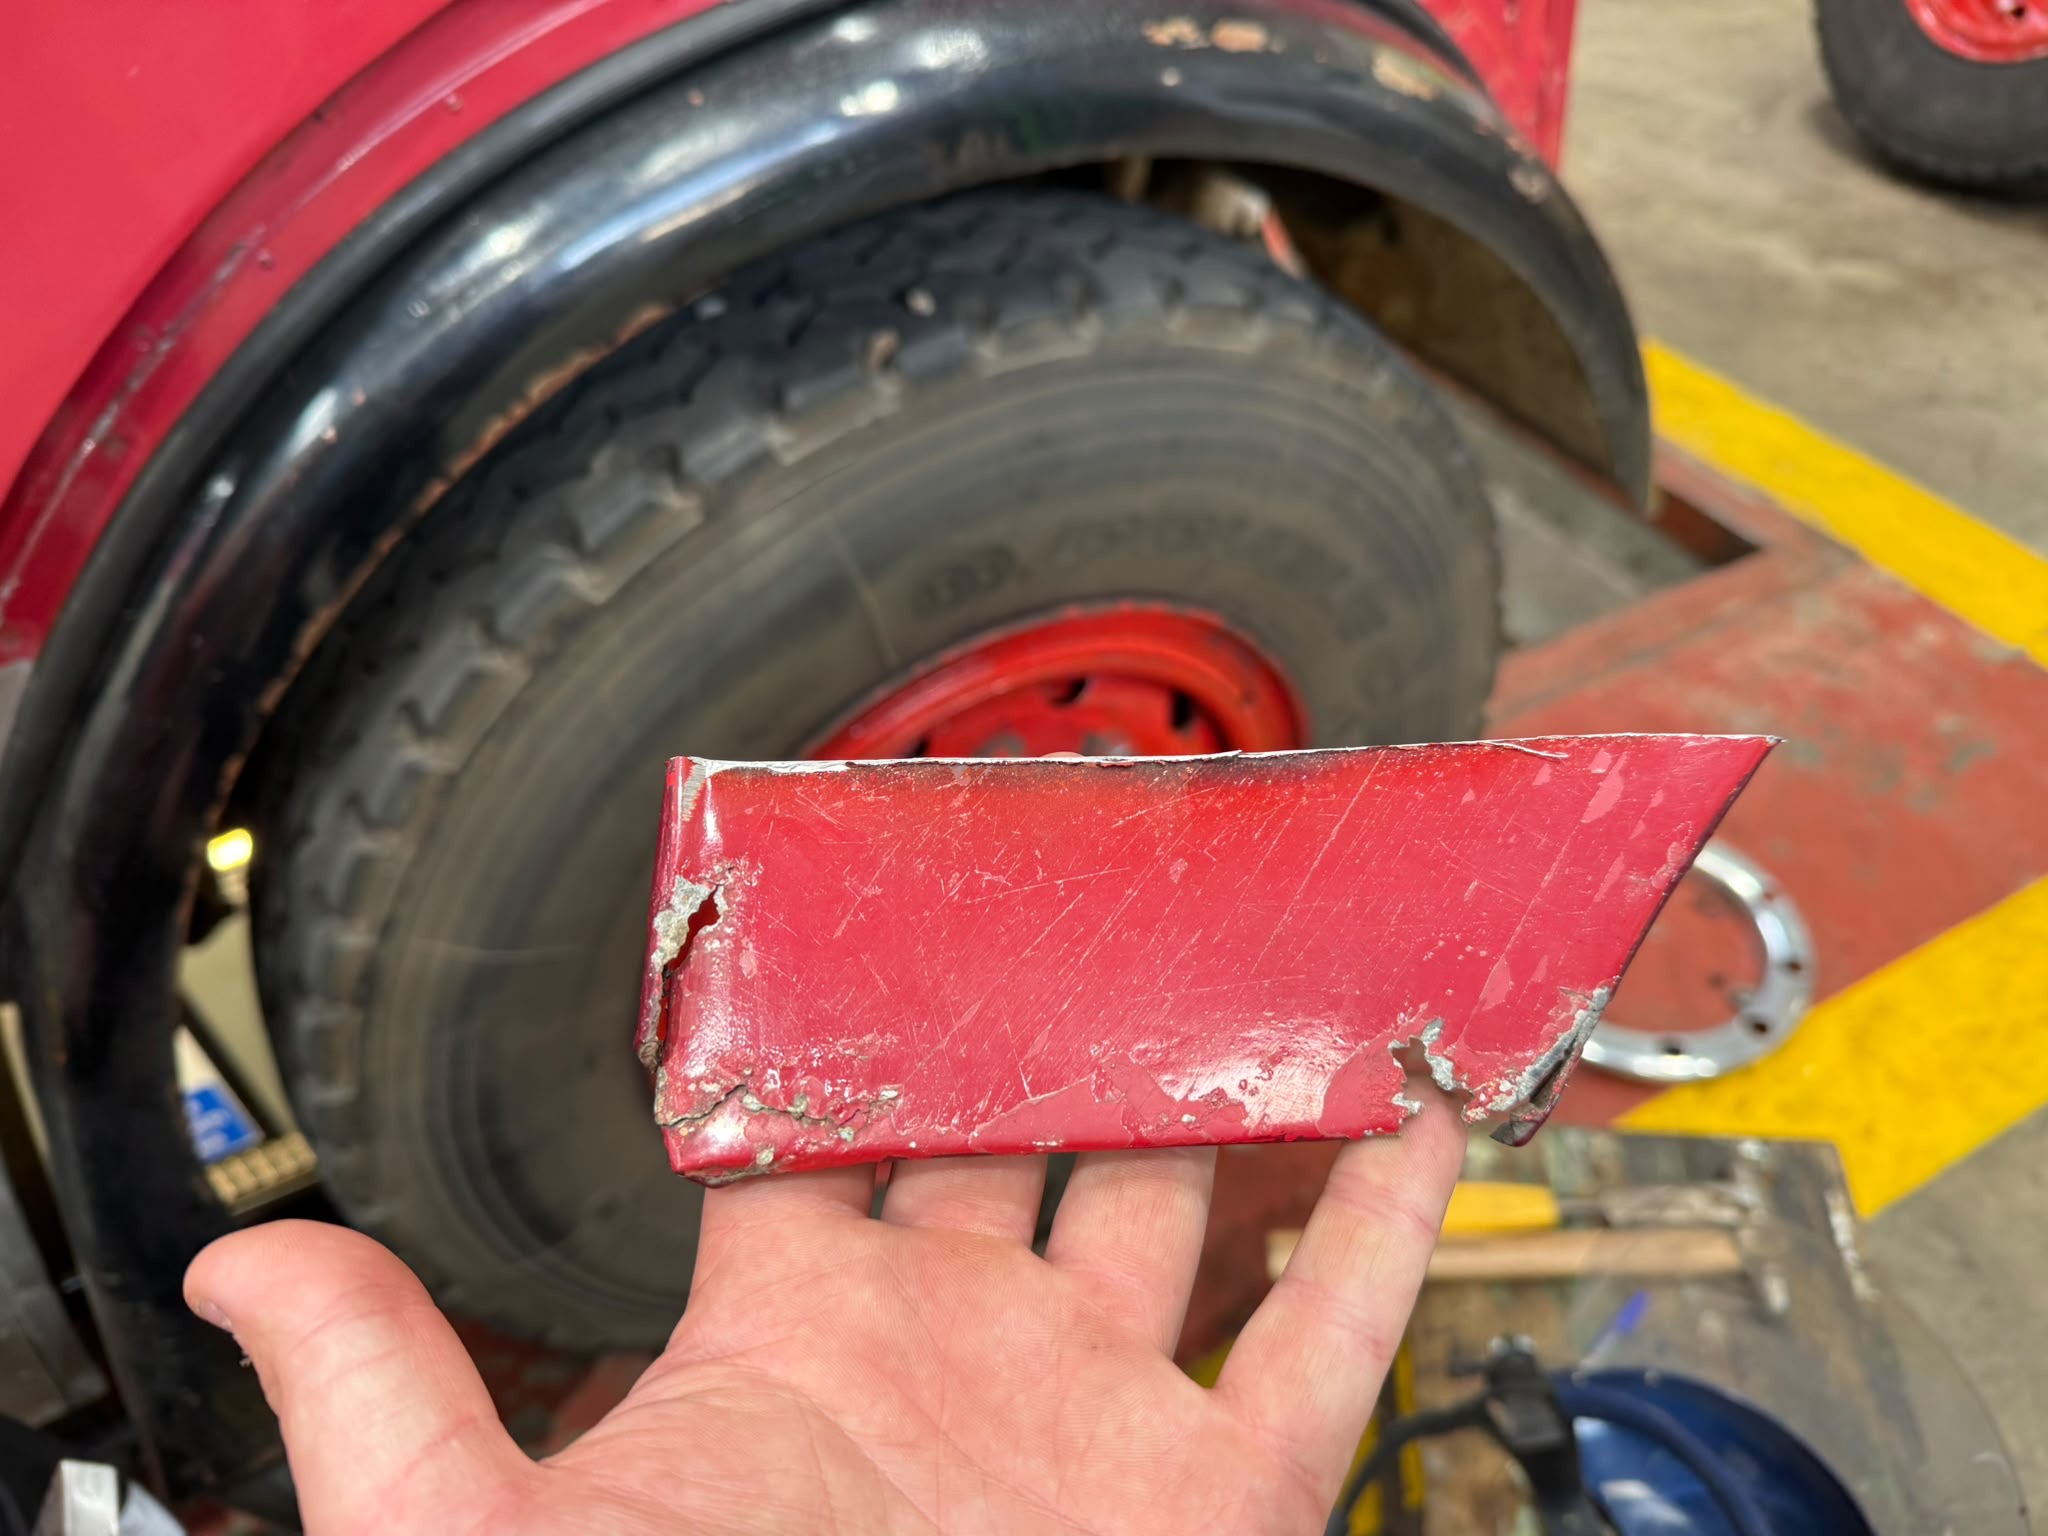
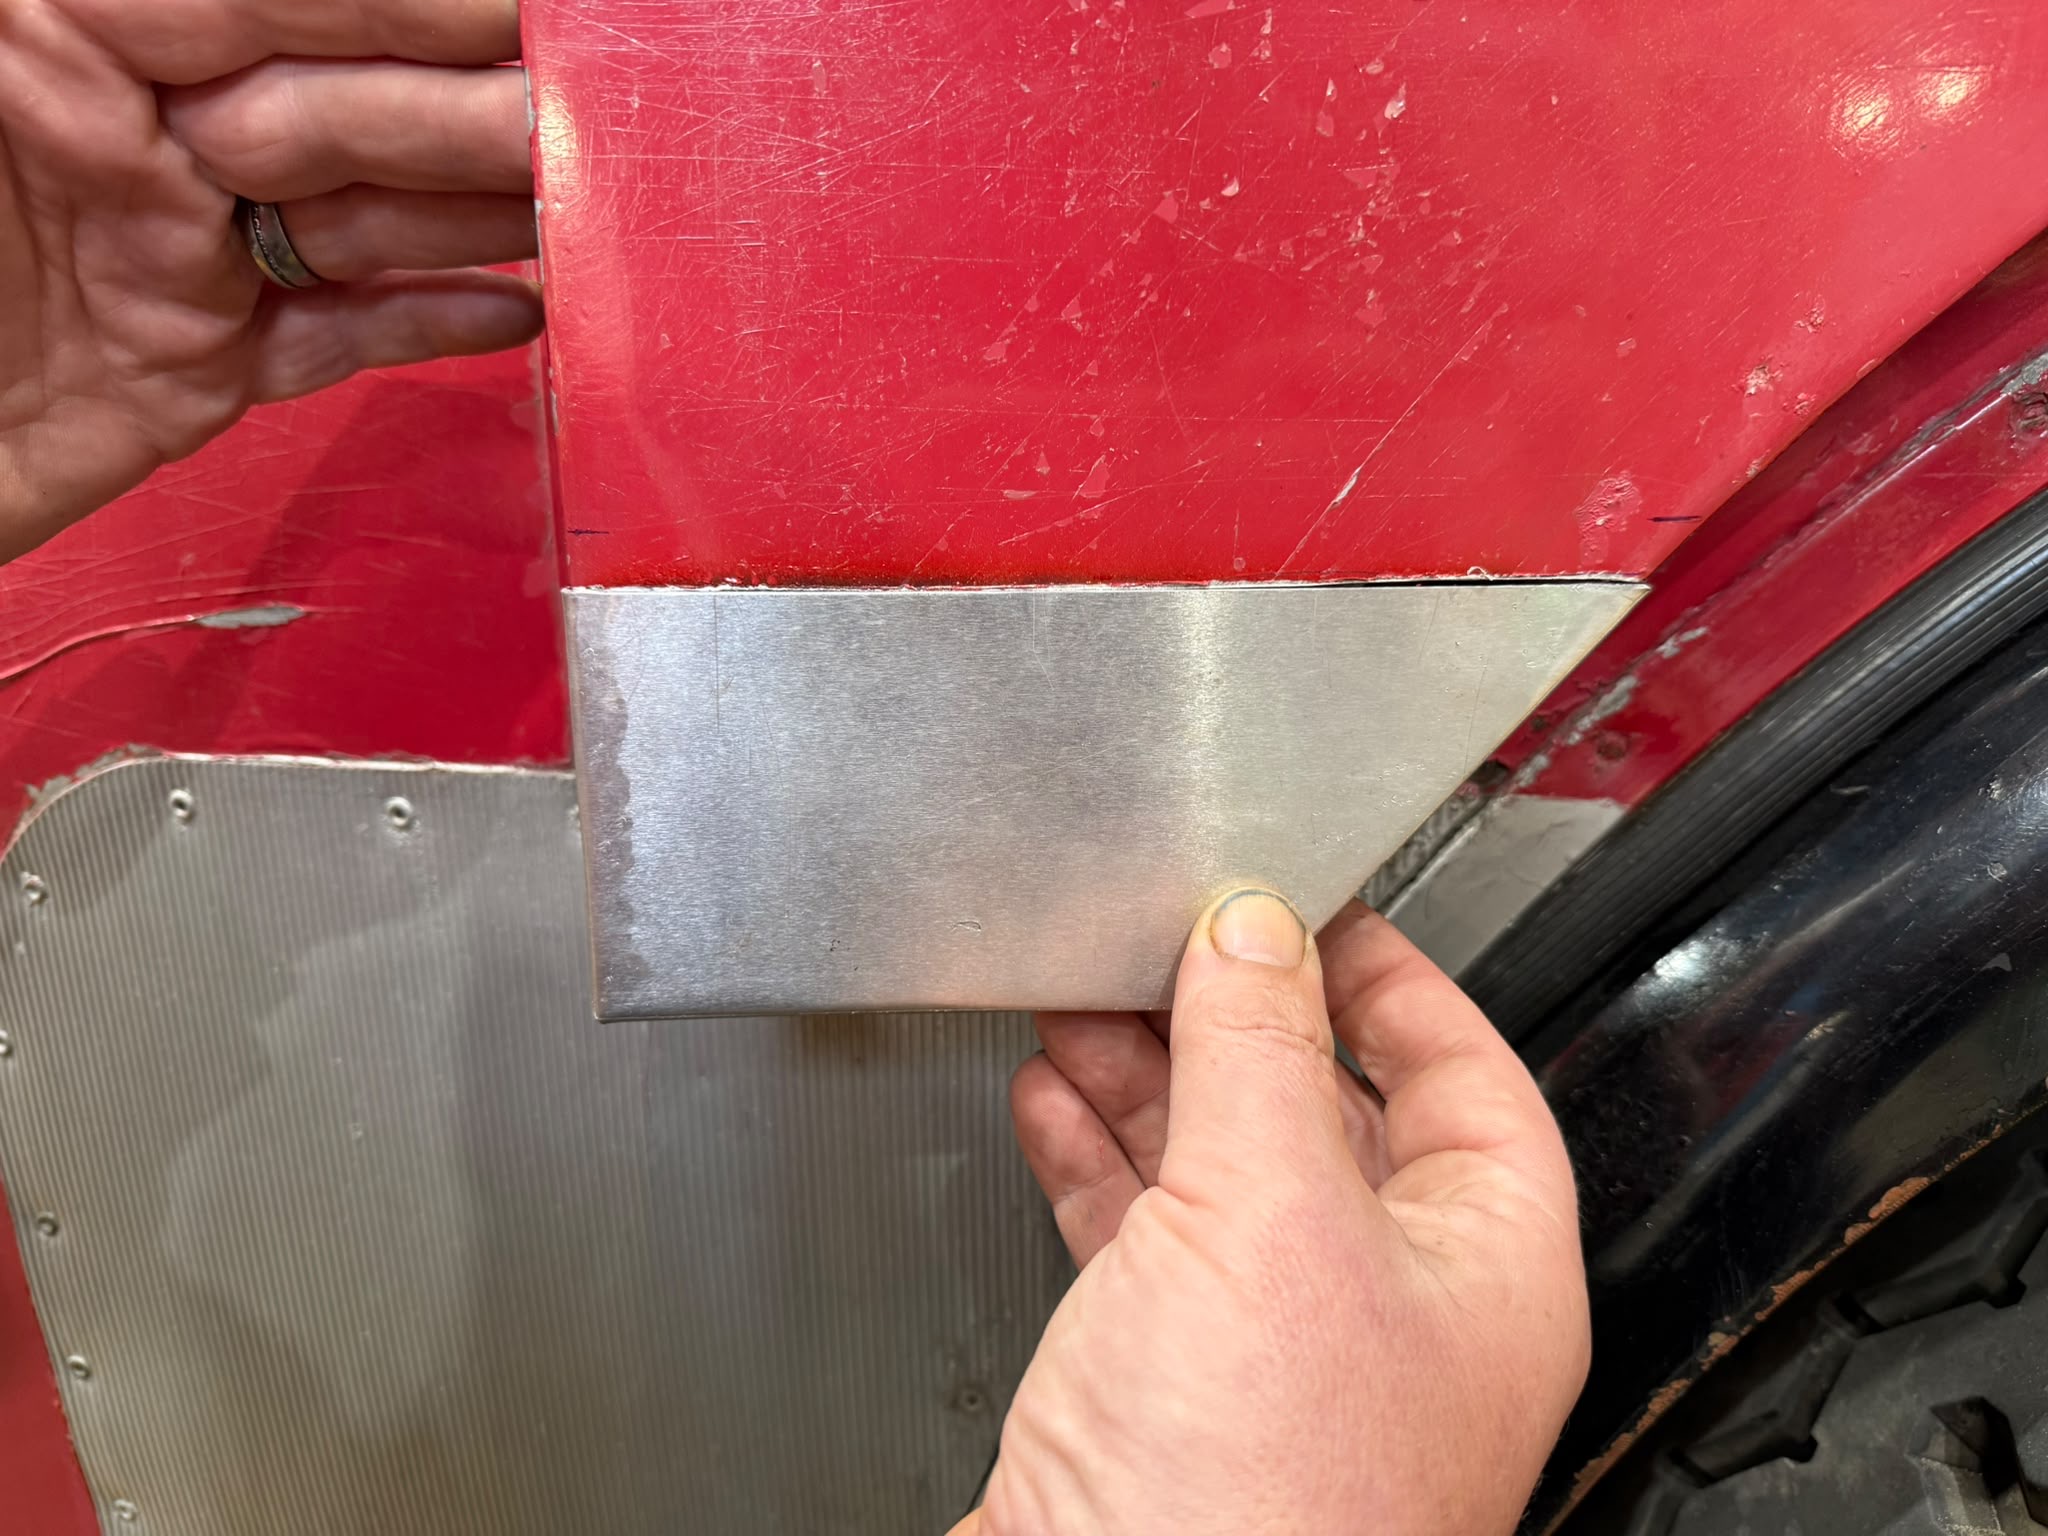
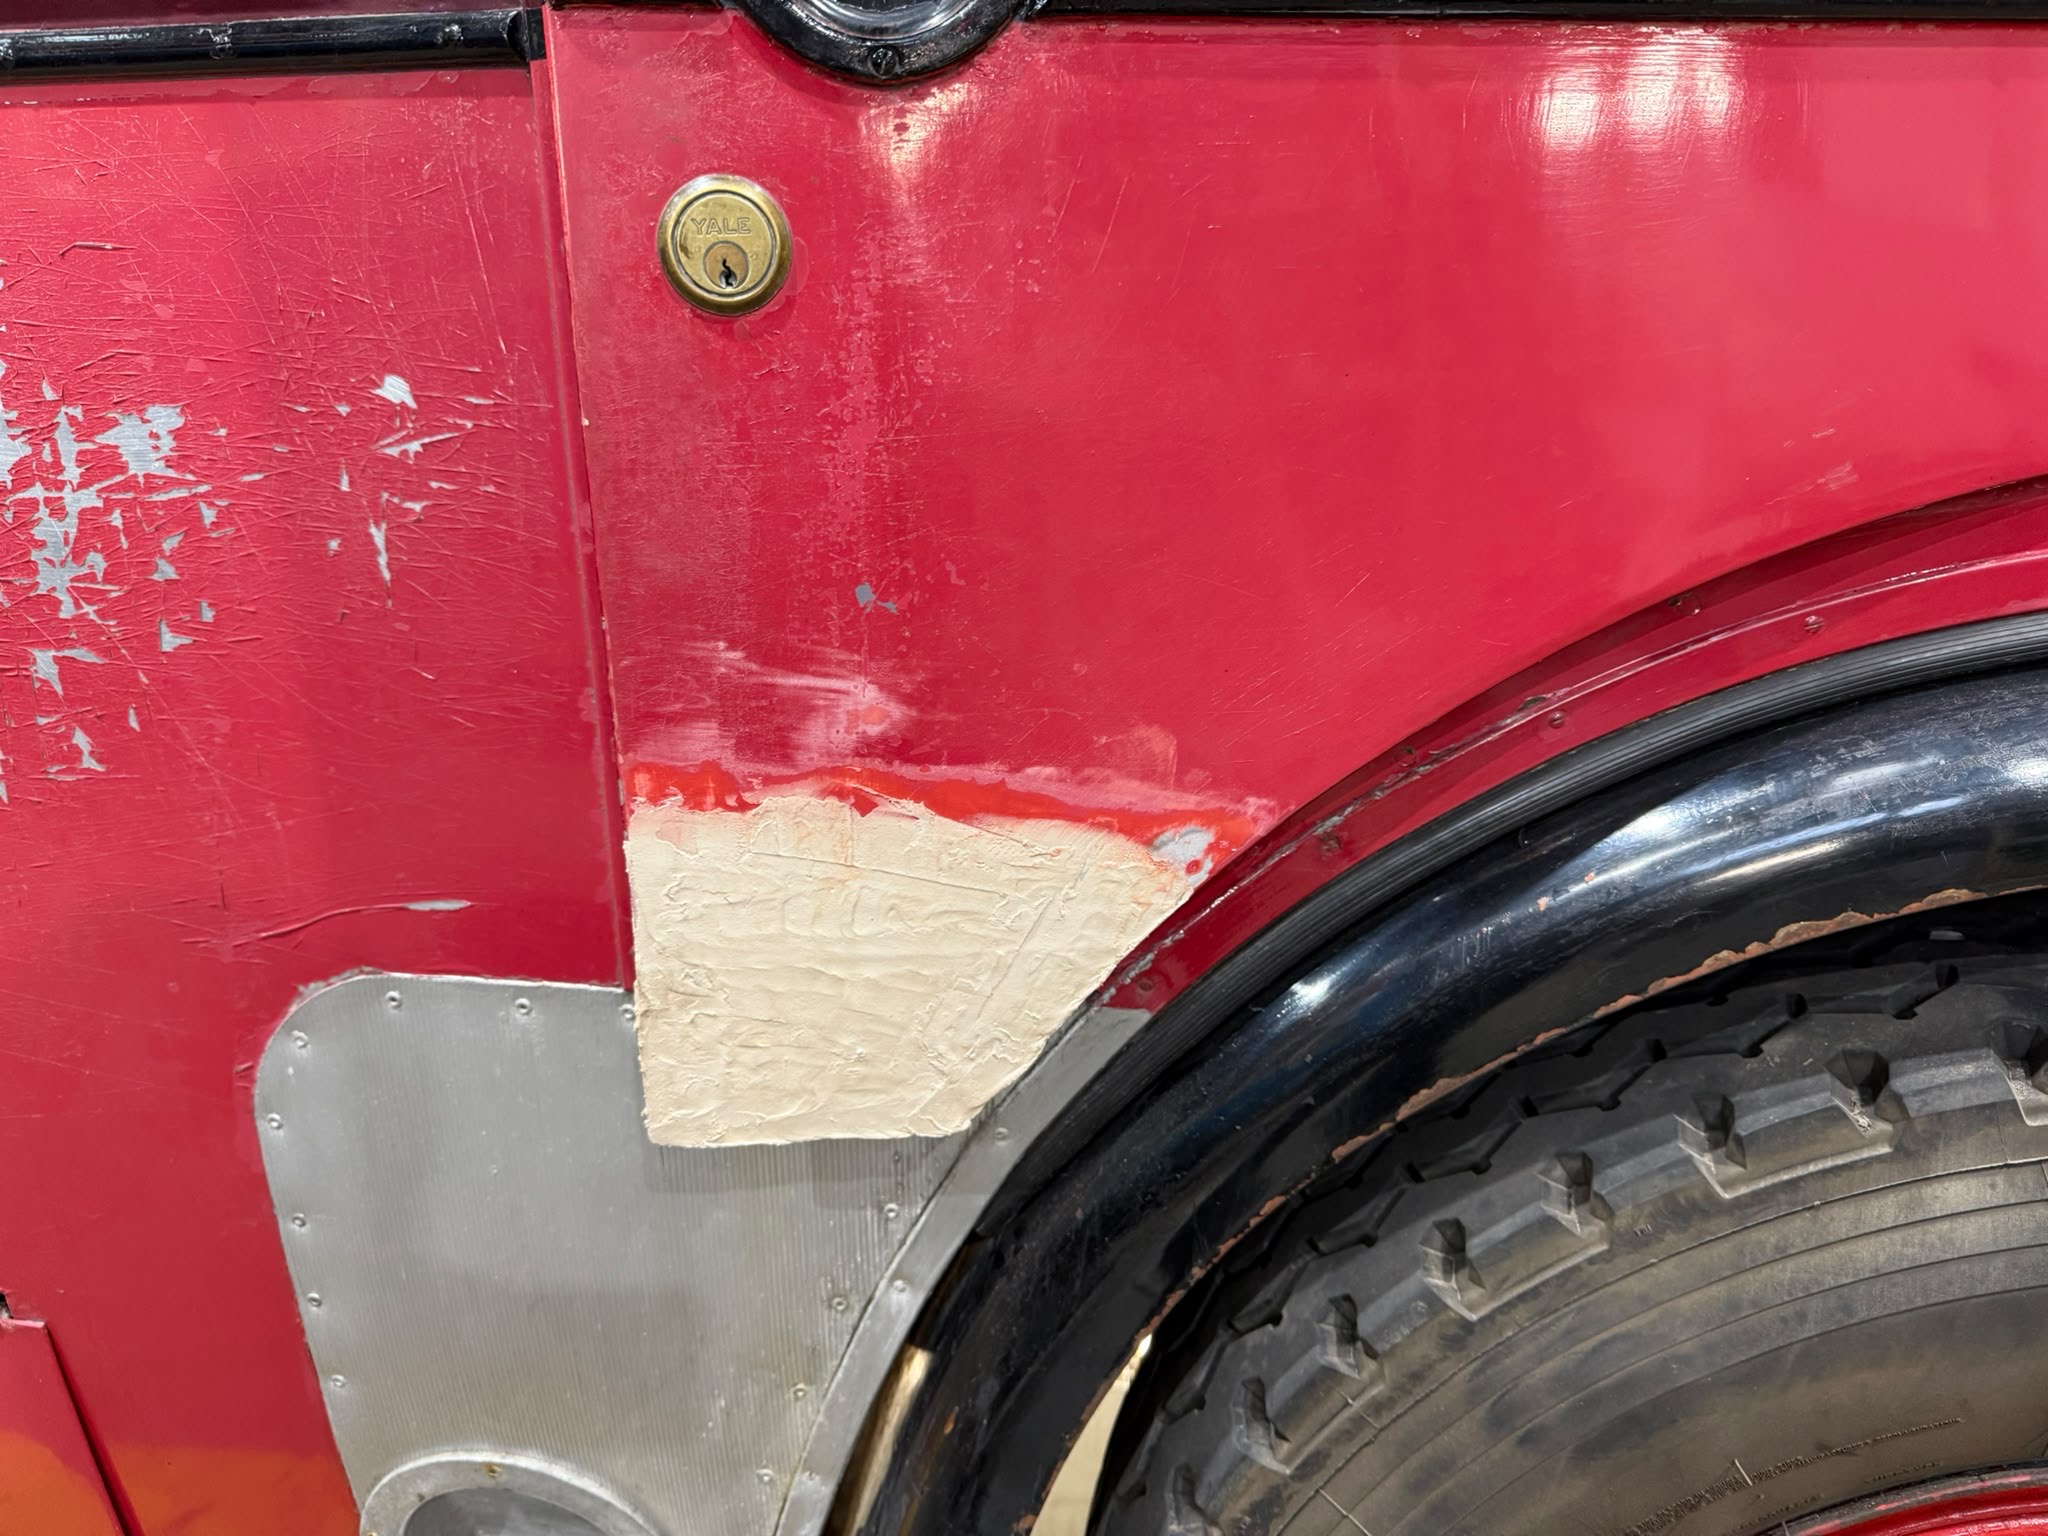
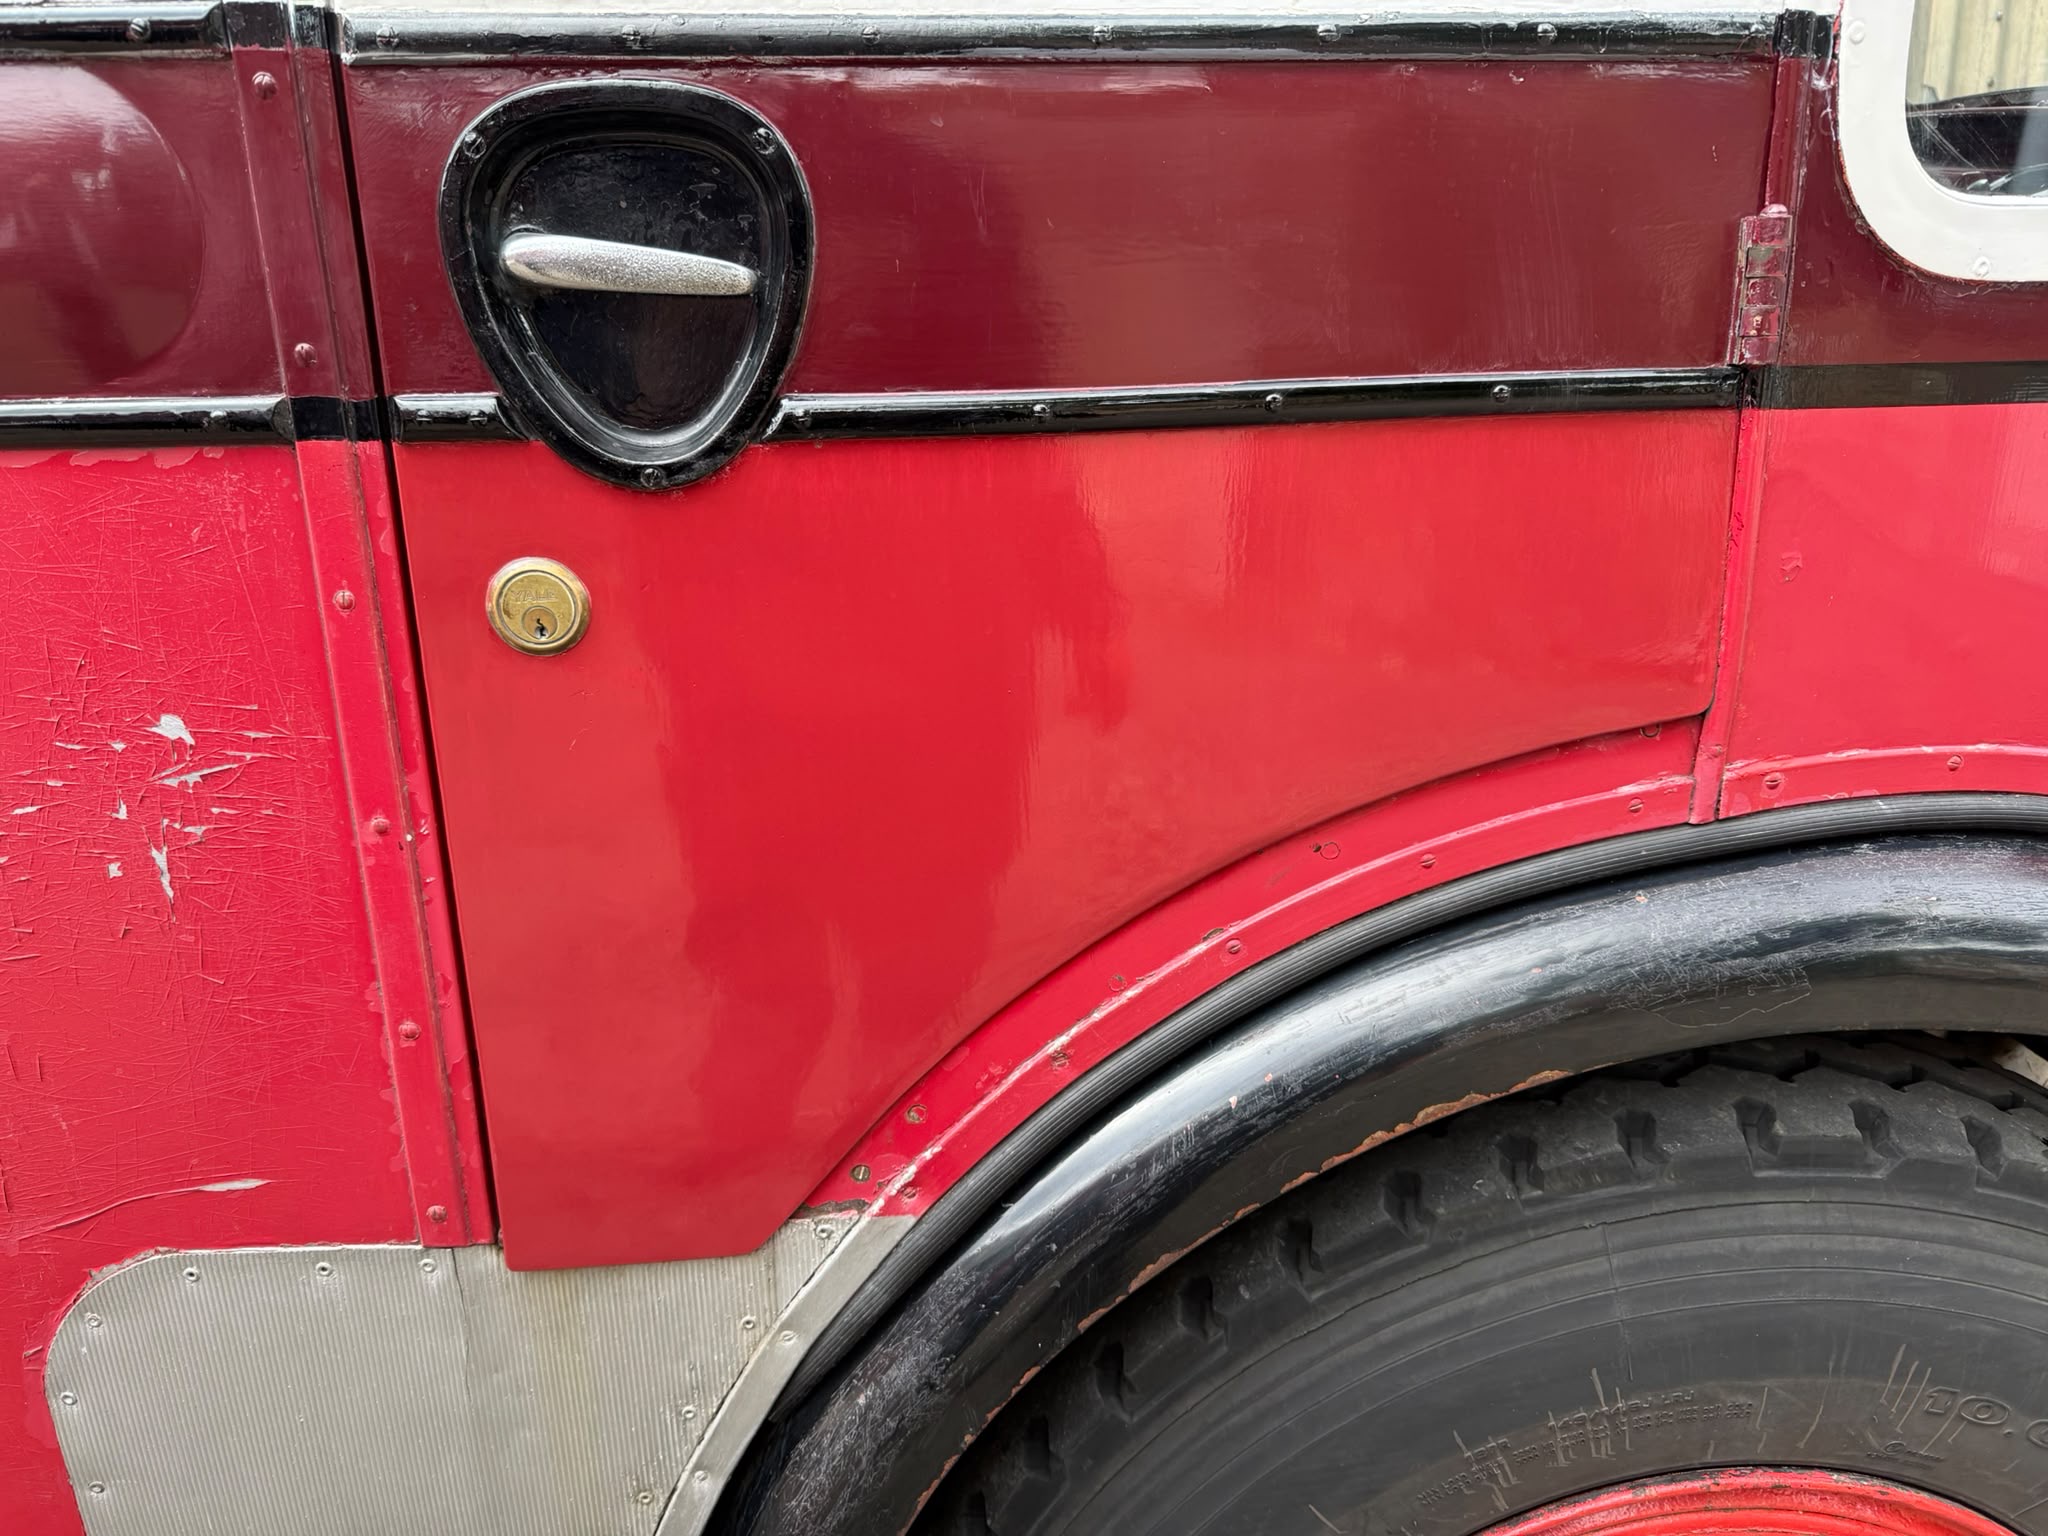
Below: A defect on the driver’s door of 909 was probed and found to be a fairly substantial old repair. This was cut back to solid metal and a new piece made to fit.
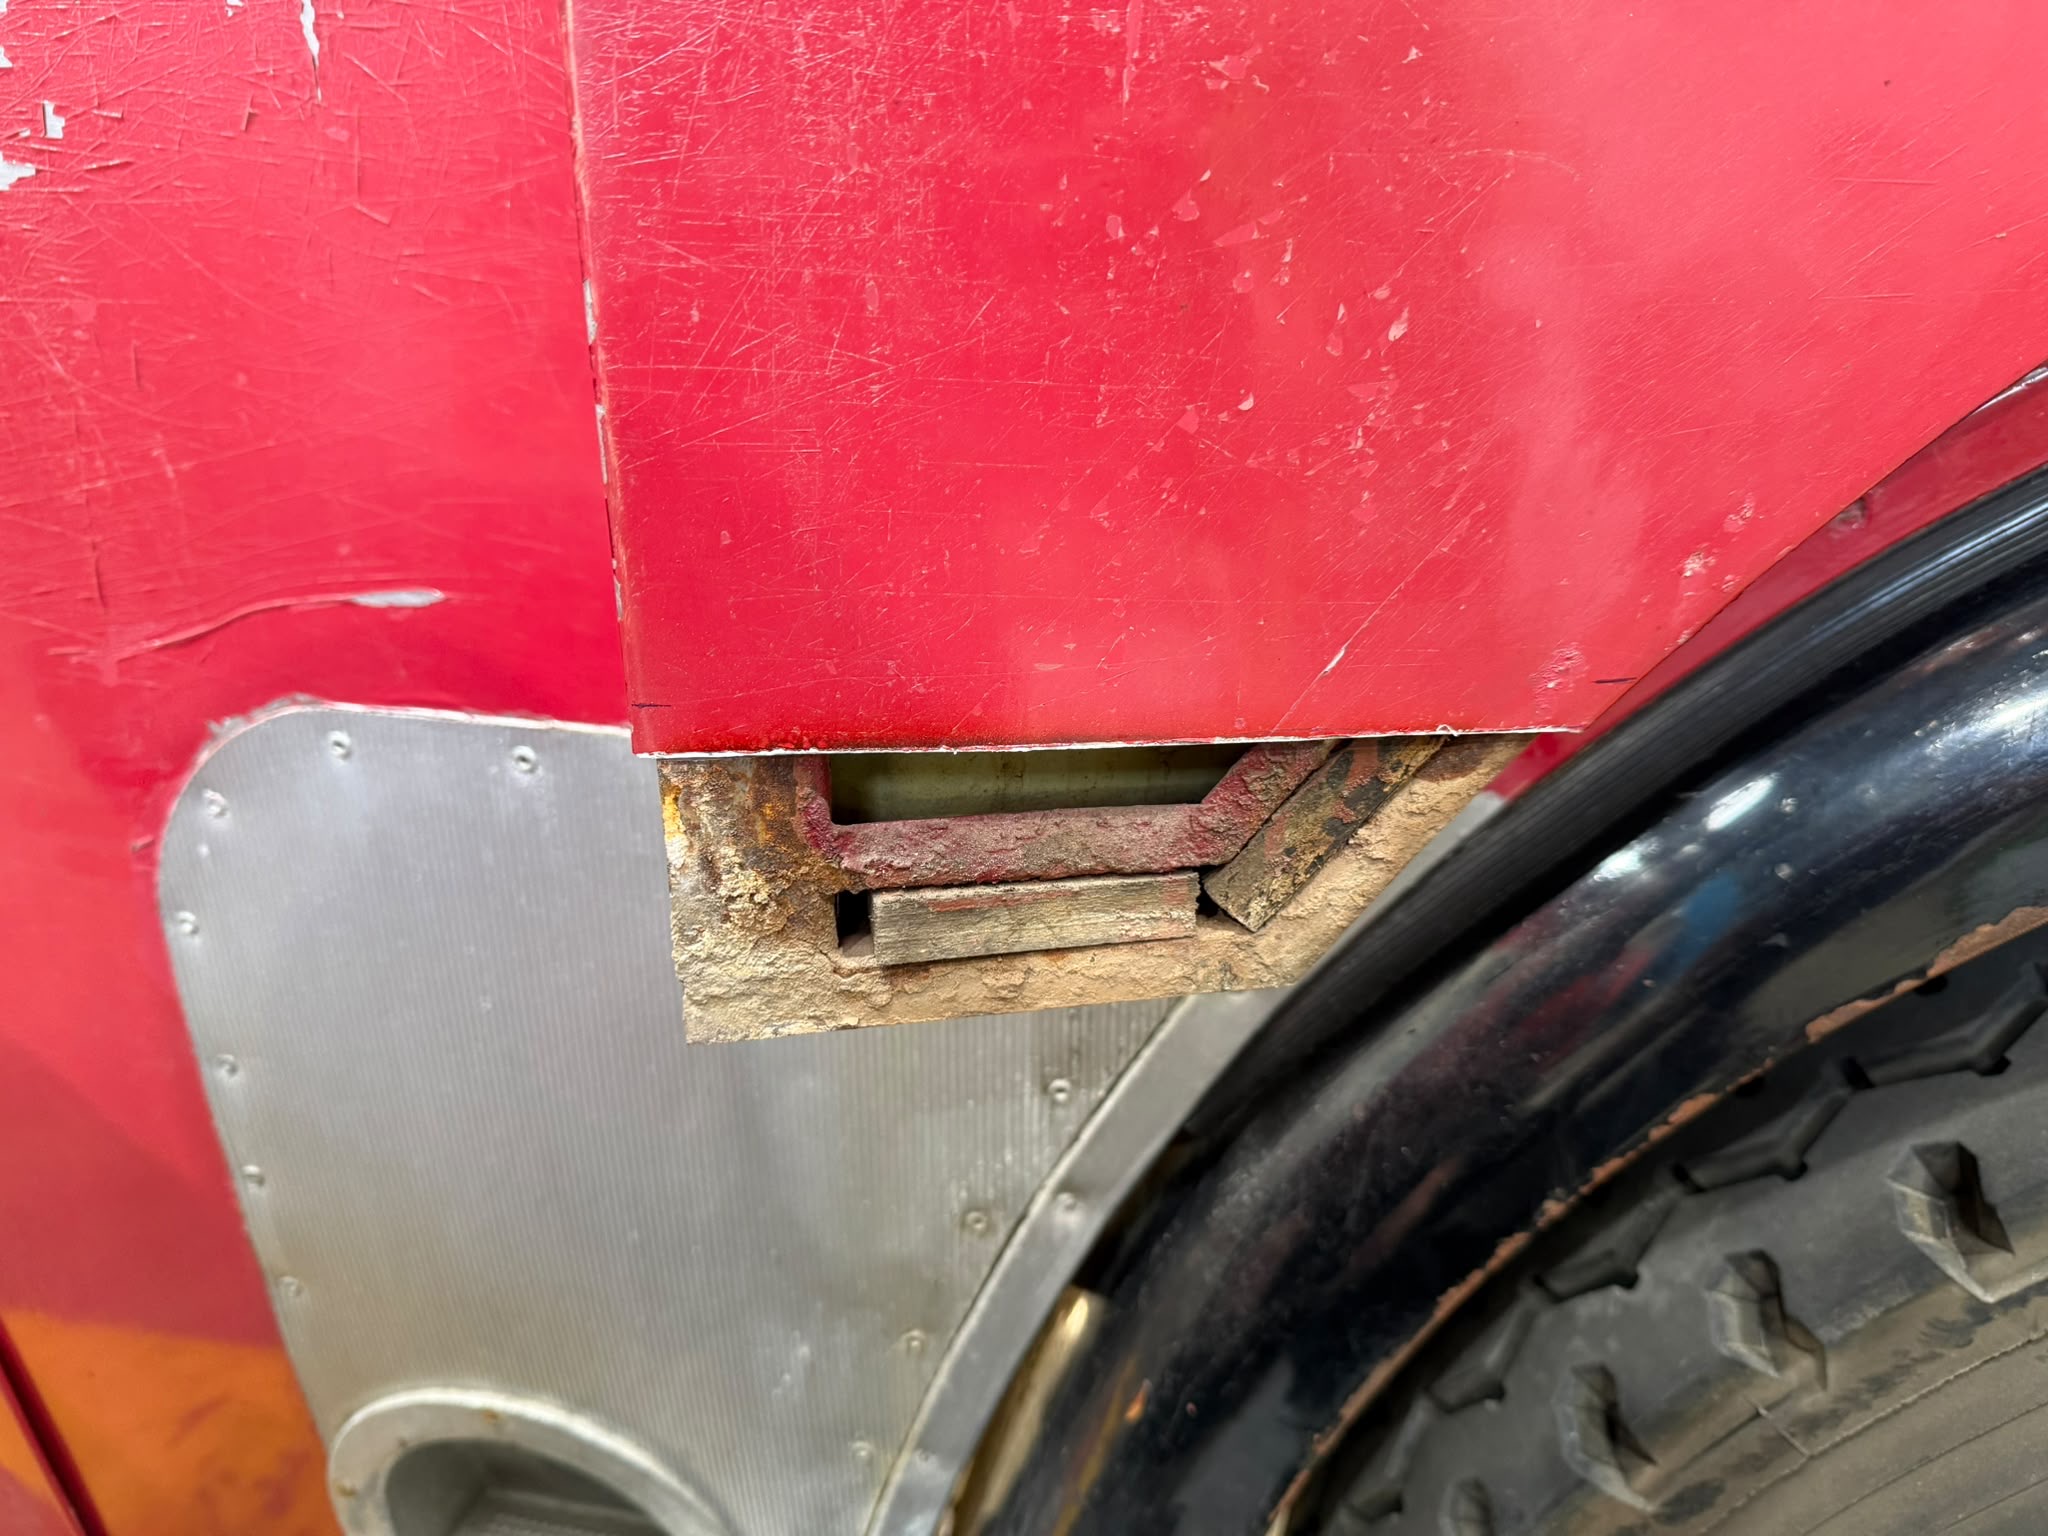
Below: The old repair after removal.
Below: The new section of metal is offered up.
Below: After attachment, the area was filled and rubbed down.
Below: Then primed…
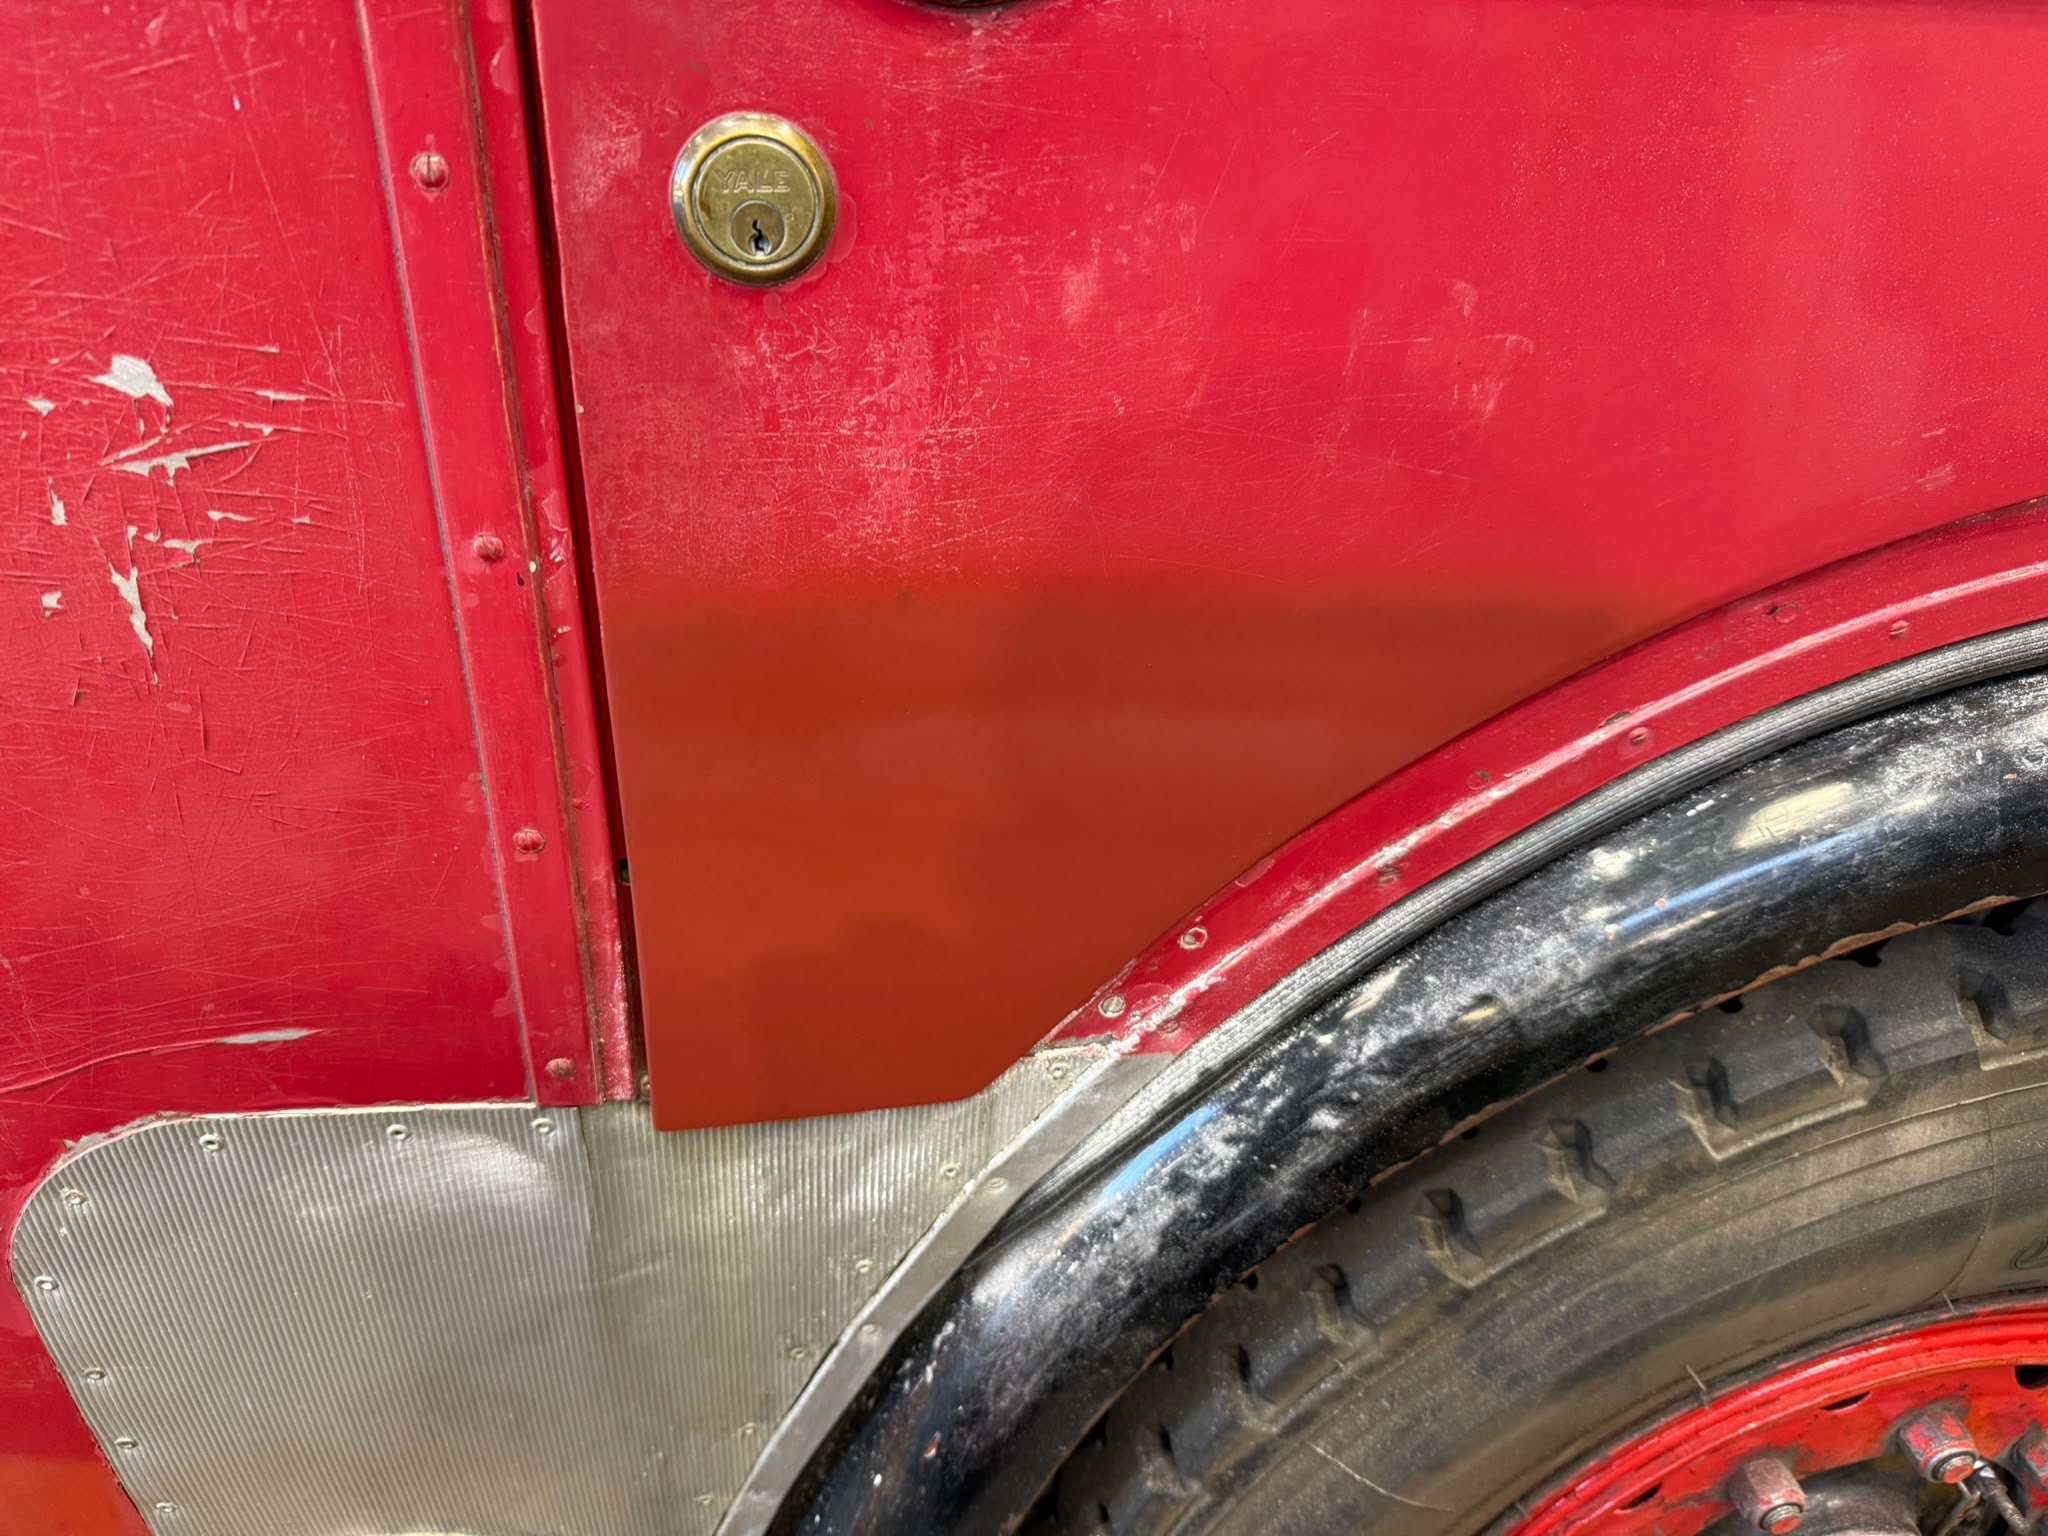
Below: Before the body colour was applied. This highlights the need to progress with the repaint of the rest of the lower-deck paintwork – work that is planned for this winter.
Permanent Way & Infrastructure
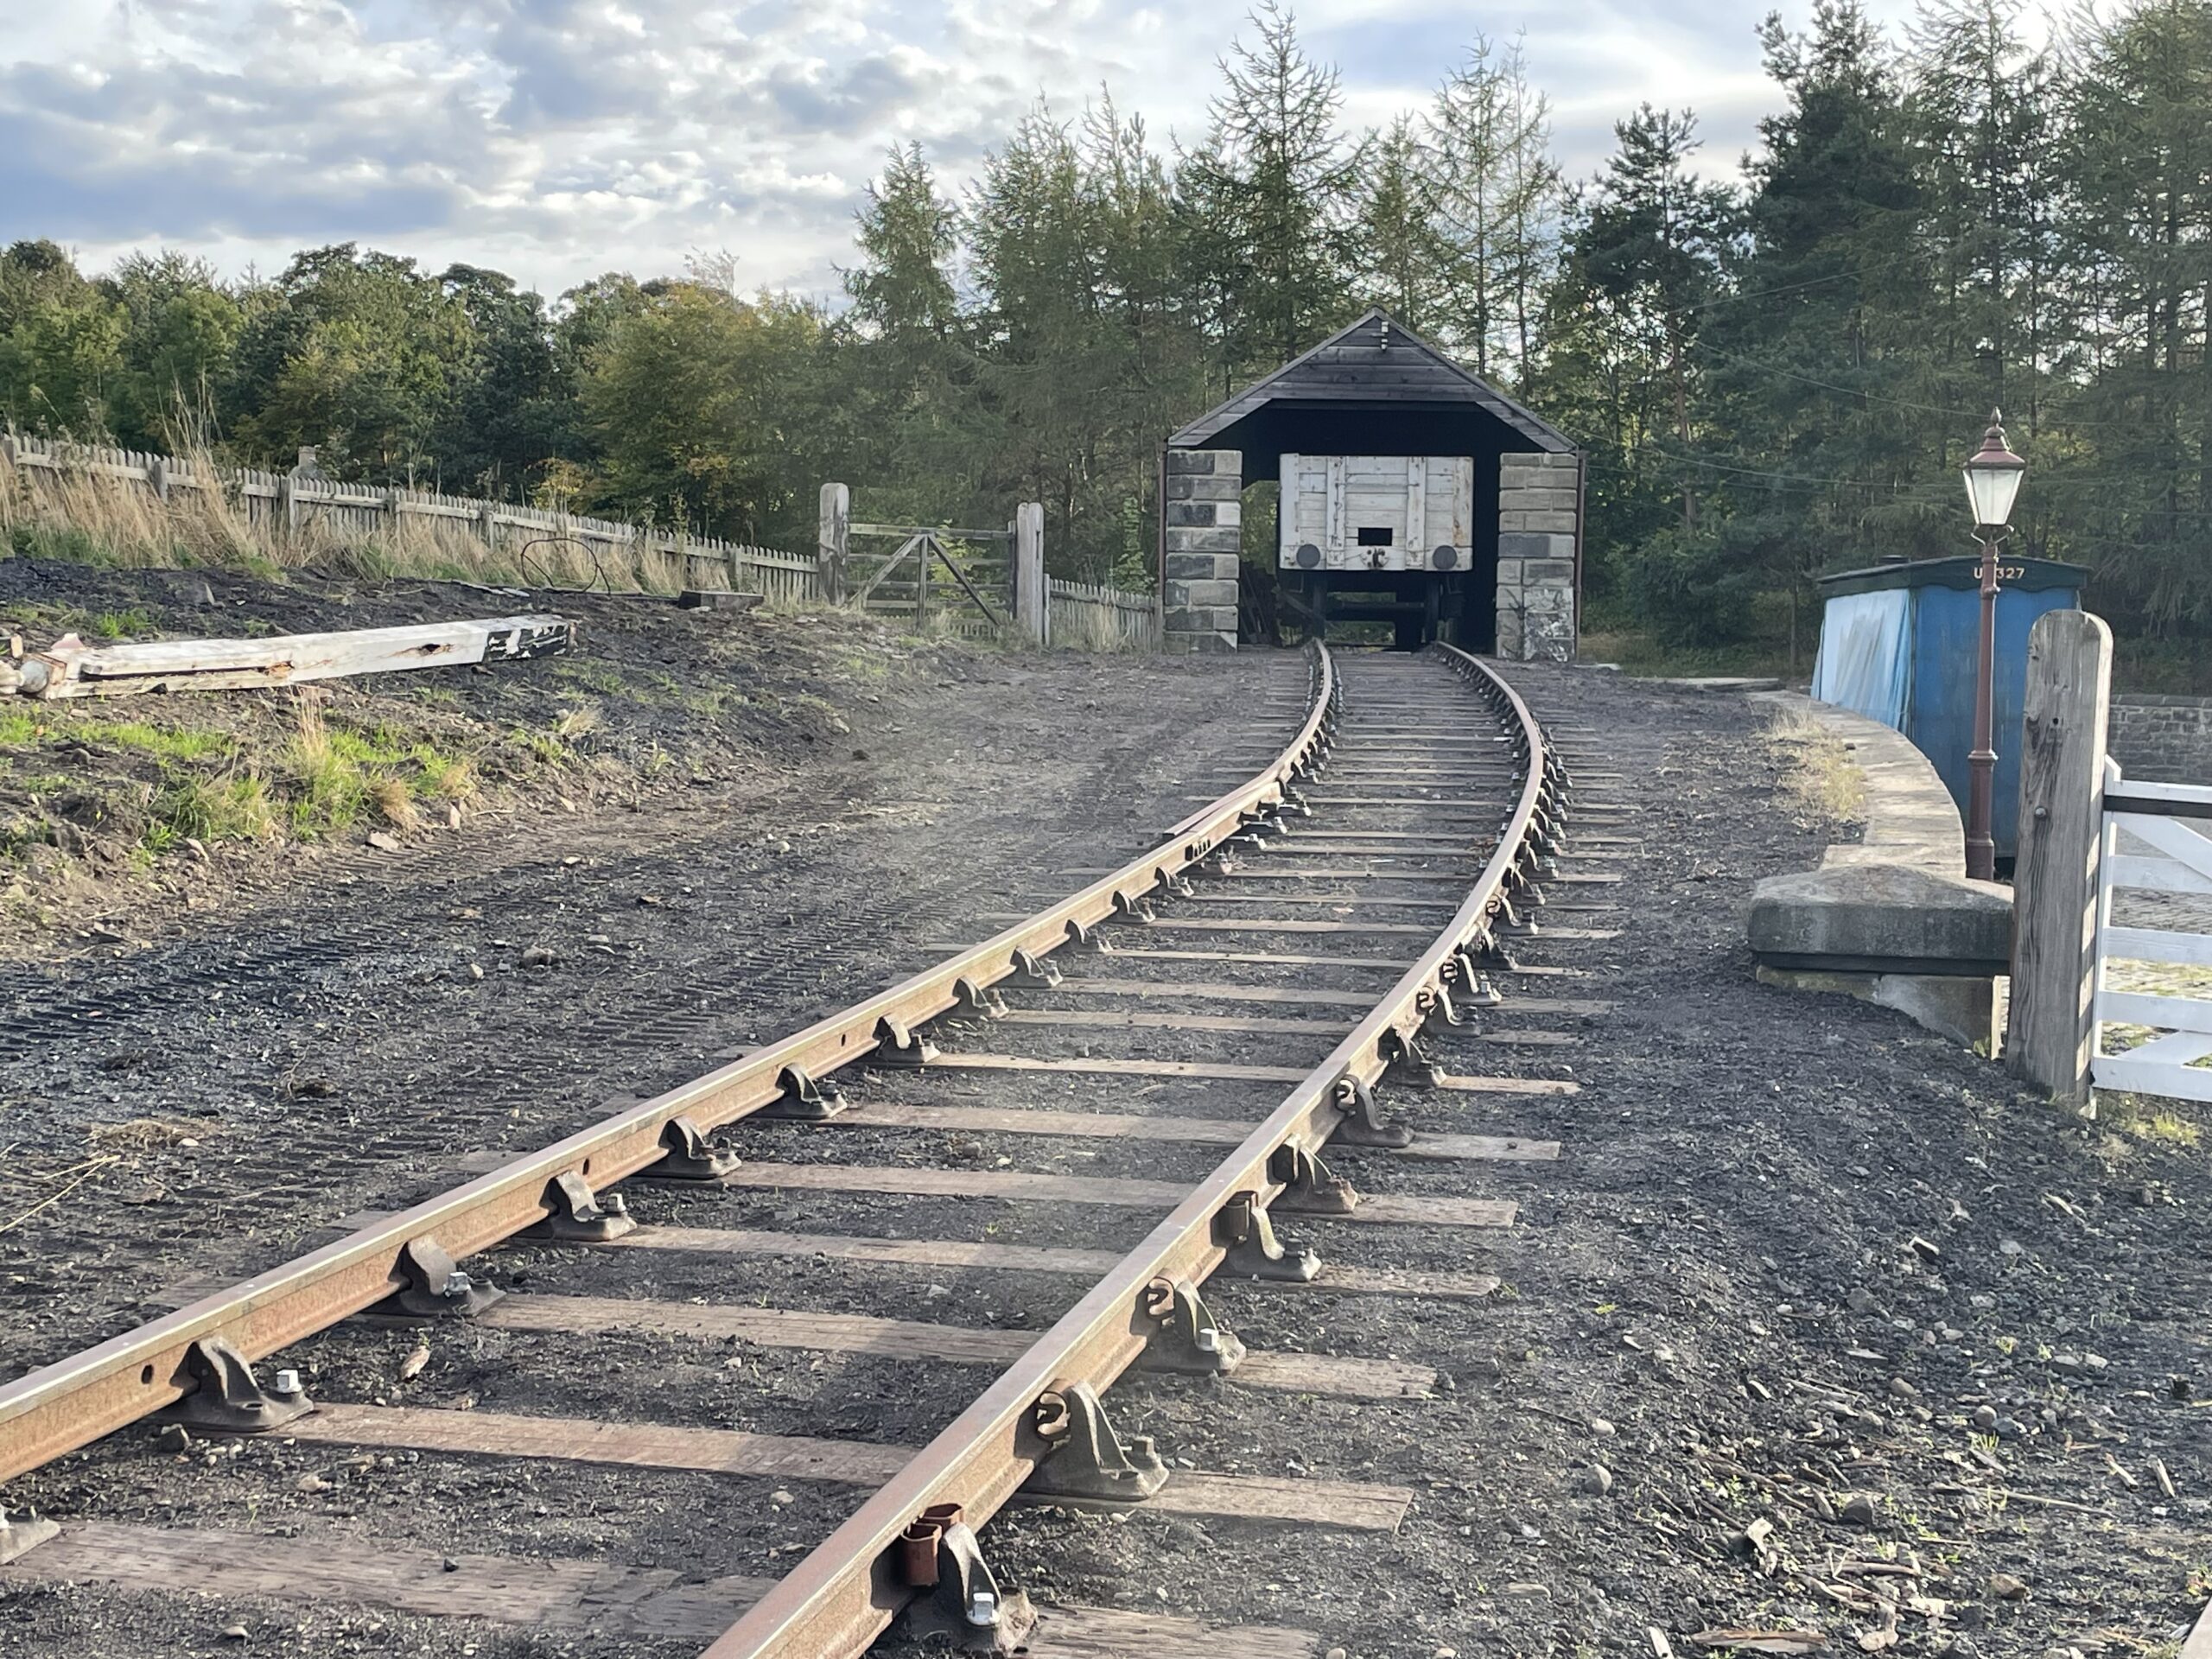
Below: The coal drop siding has now been completed and dressed – making a substantial improvement to its appearance and sense of function in the wider station setting.
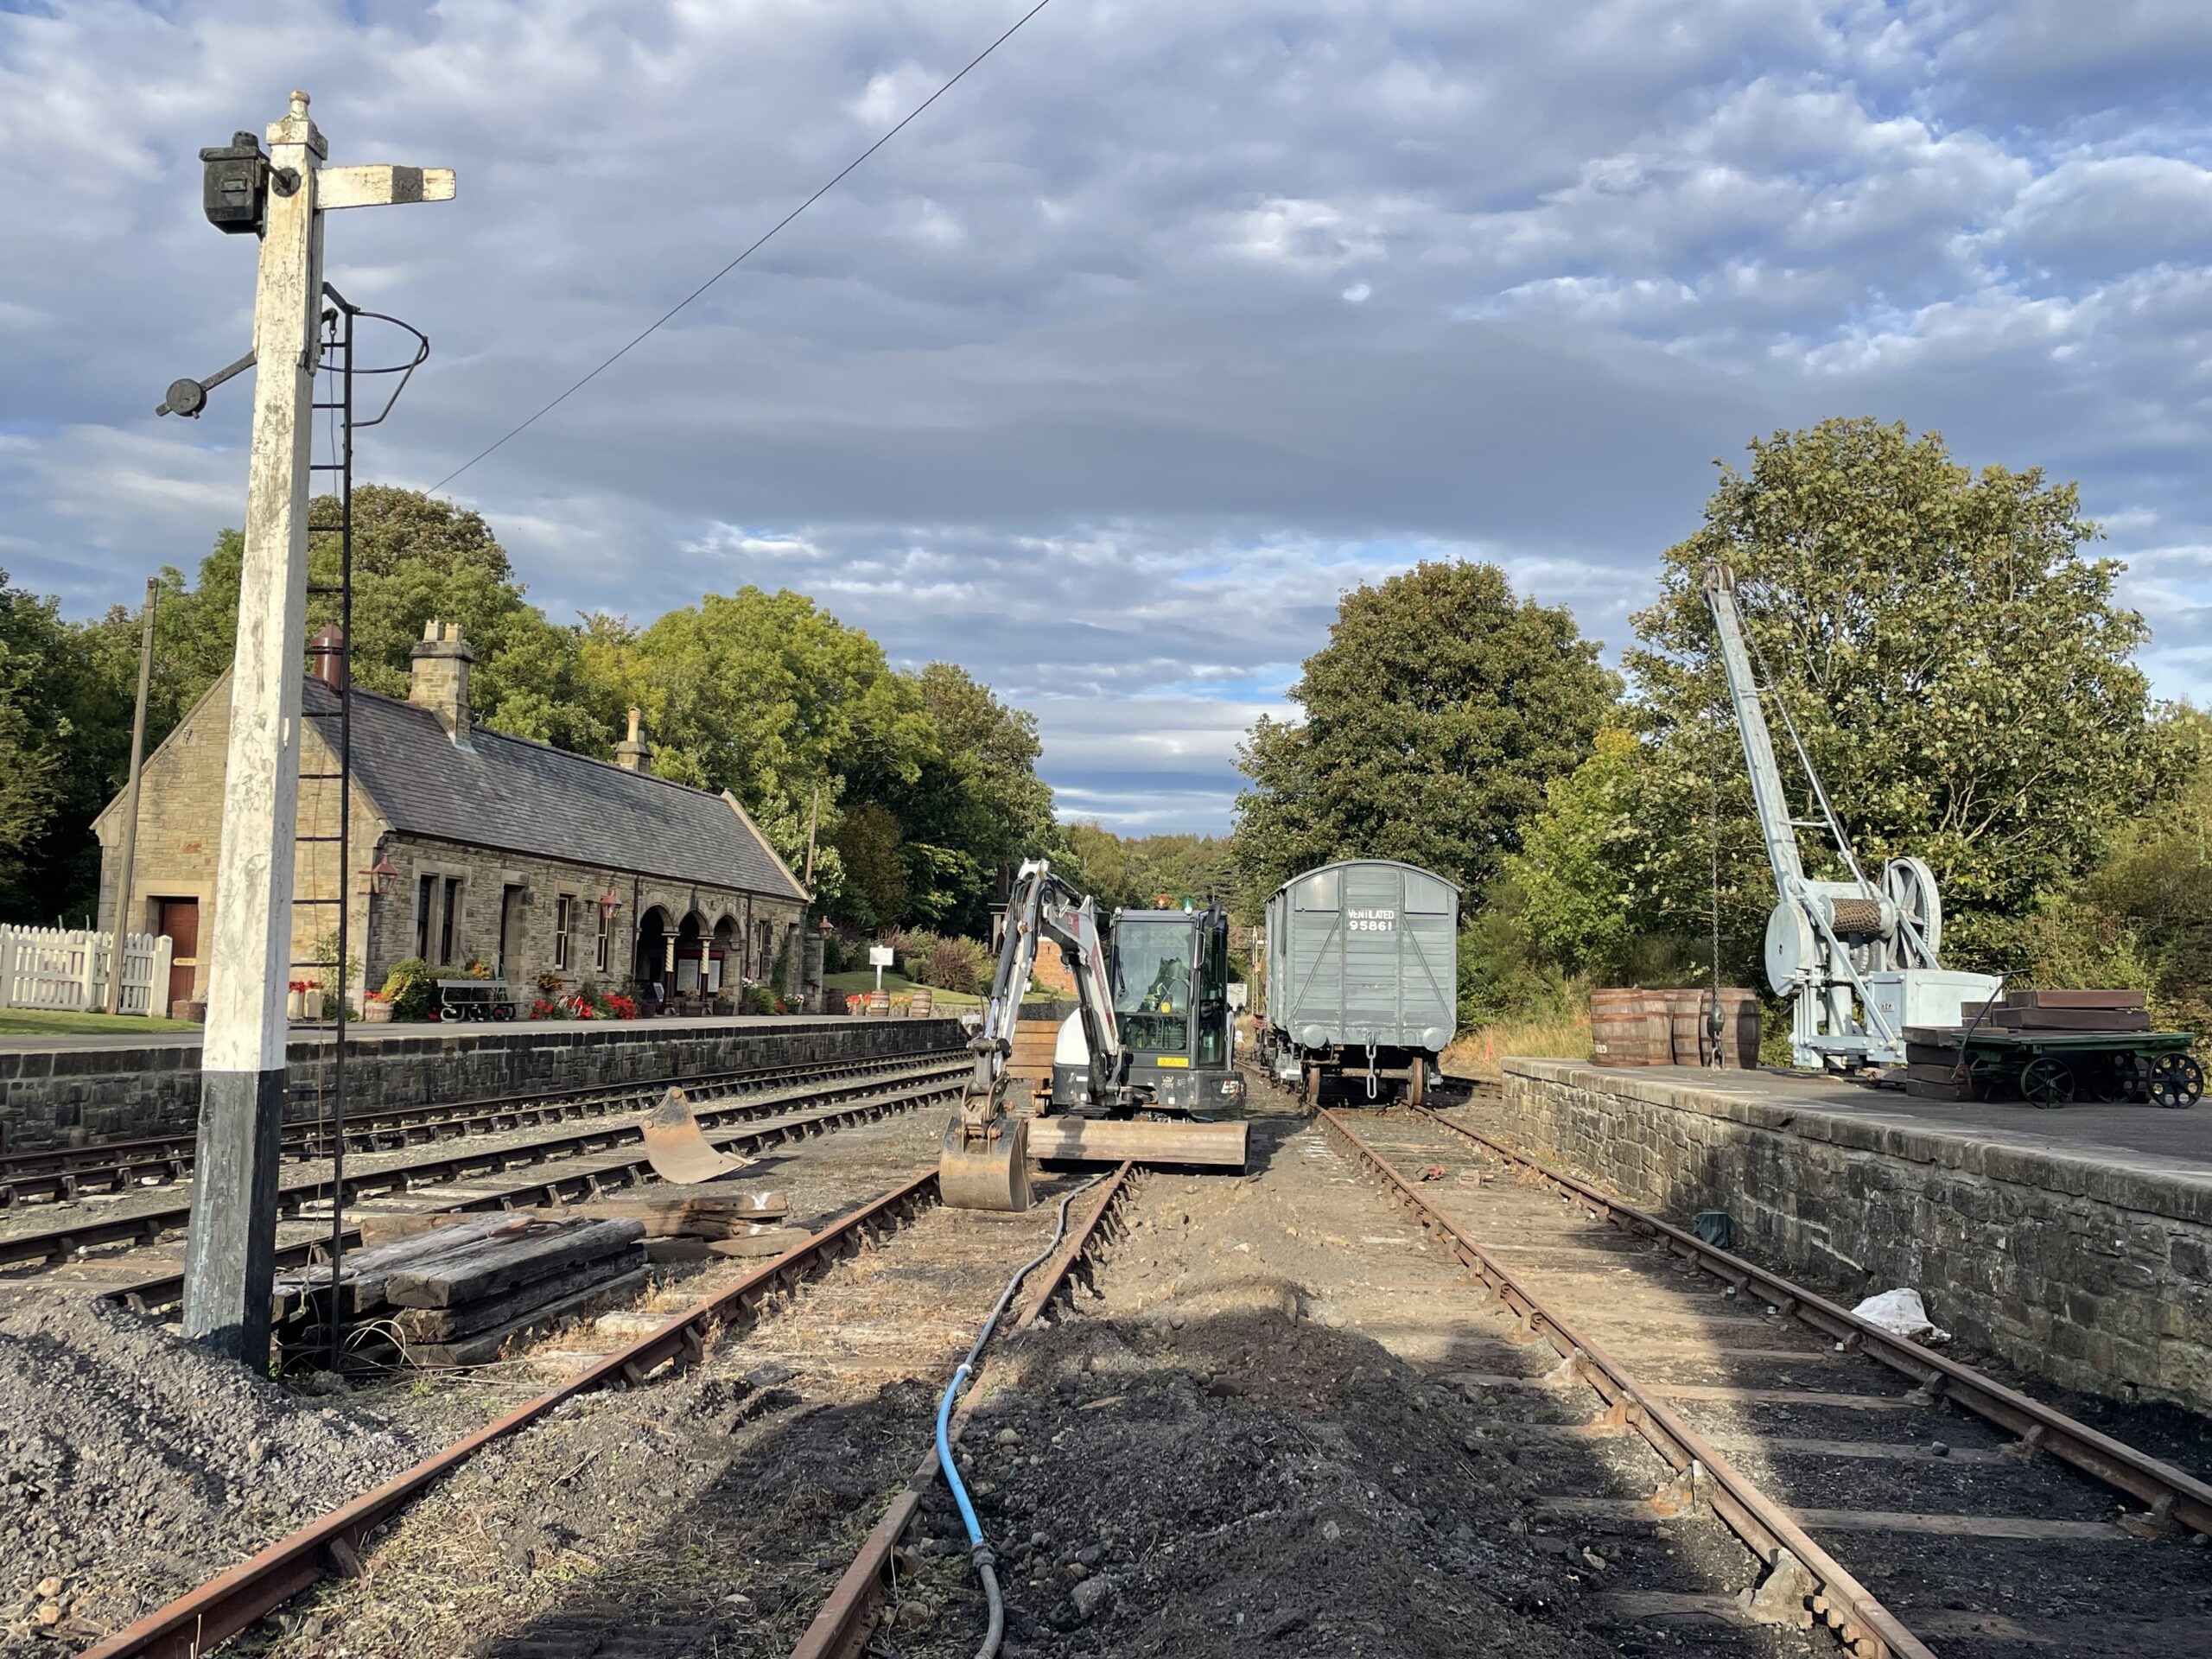
Below: Work has now turned to the sidings around the goods shed, with new sleepers being installed in this area towards the end of the month.
Gateshead 10
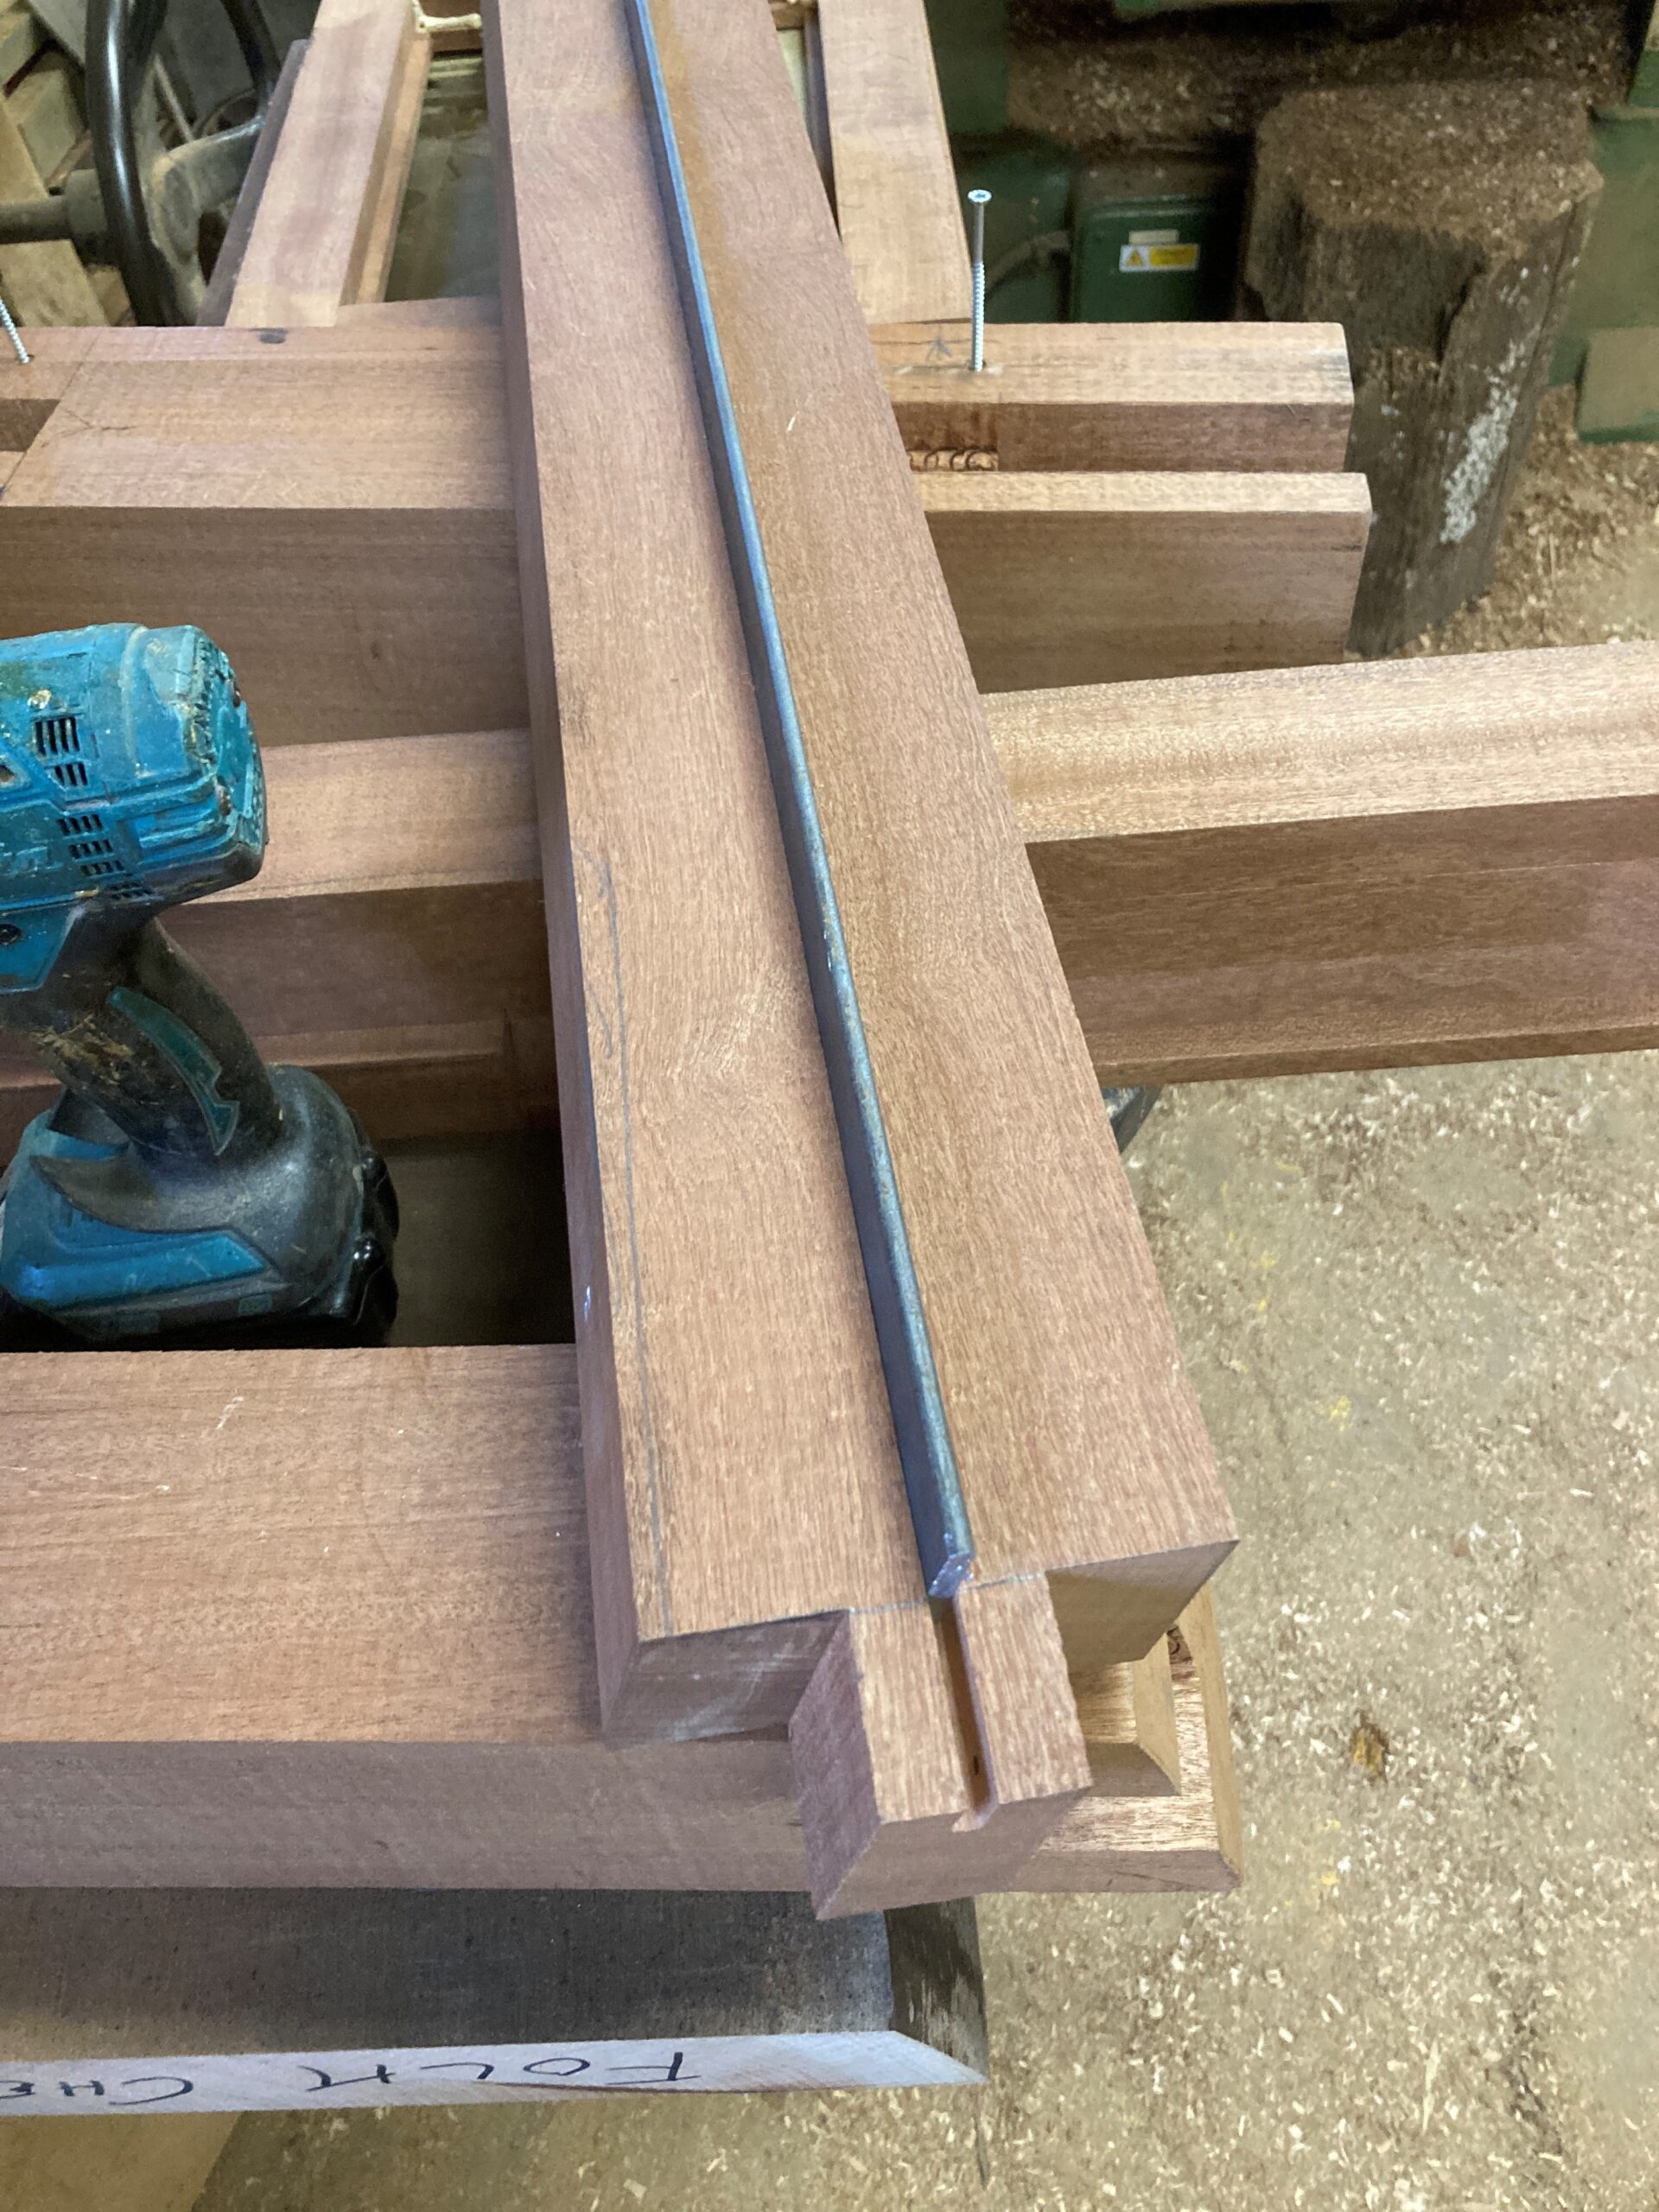
Something absent from the sliding platform doors previously were rubbing strips to engage within the serrated metal guides located on the floor. Shaun machined the doors so that brass strip could be incorporated at the base of each of the two sliding doors, along with an end cap, to reduce wear and ensure the door runs along the guides more smoothly and with less tendency to rattle. These are positioned at the base of each door, on both sides.
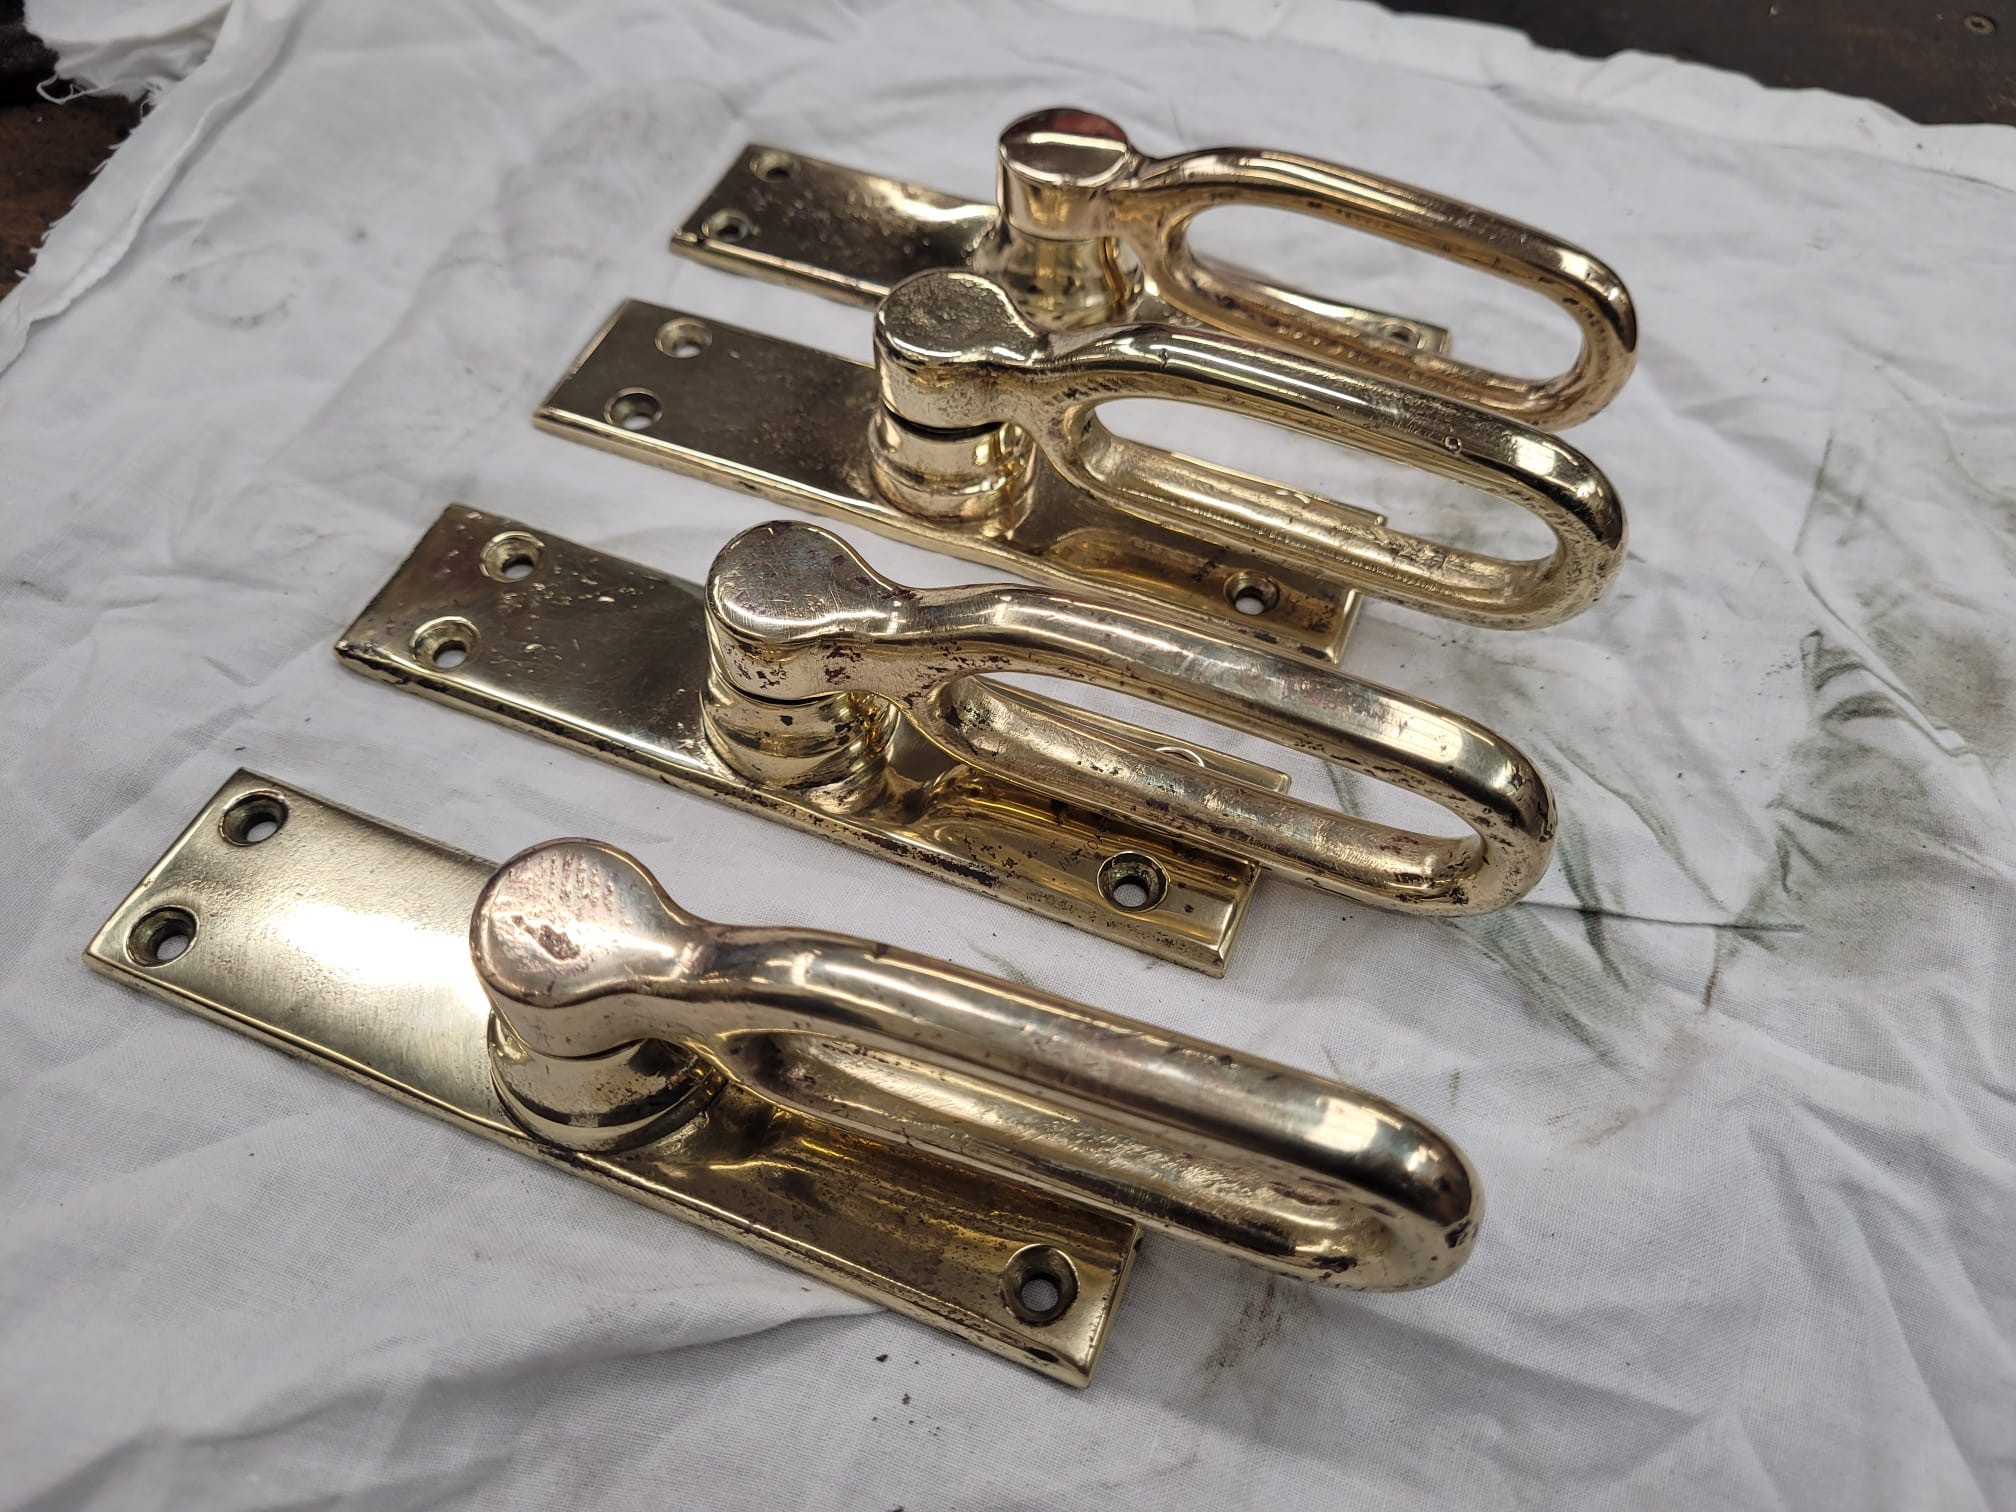
Below: The overhauled and modified door handles were sent away for professional polishing, and have returned ready for fitting to the tram. No doubt the full set of originals from 10 will now turn up! As I type this, the tram has just passed my office window as it continues to accumulate running-in mileage, before museum opening hours.
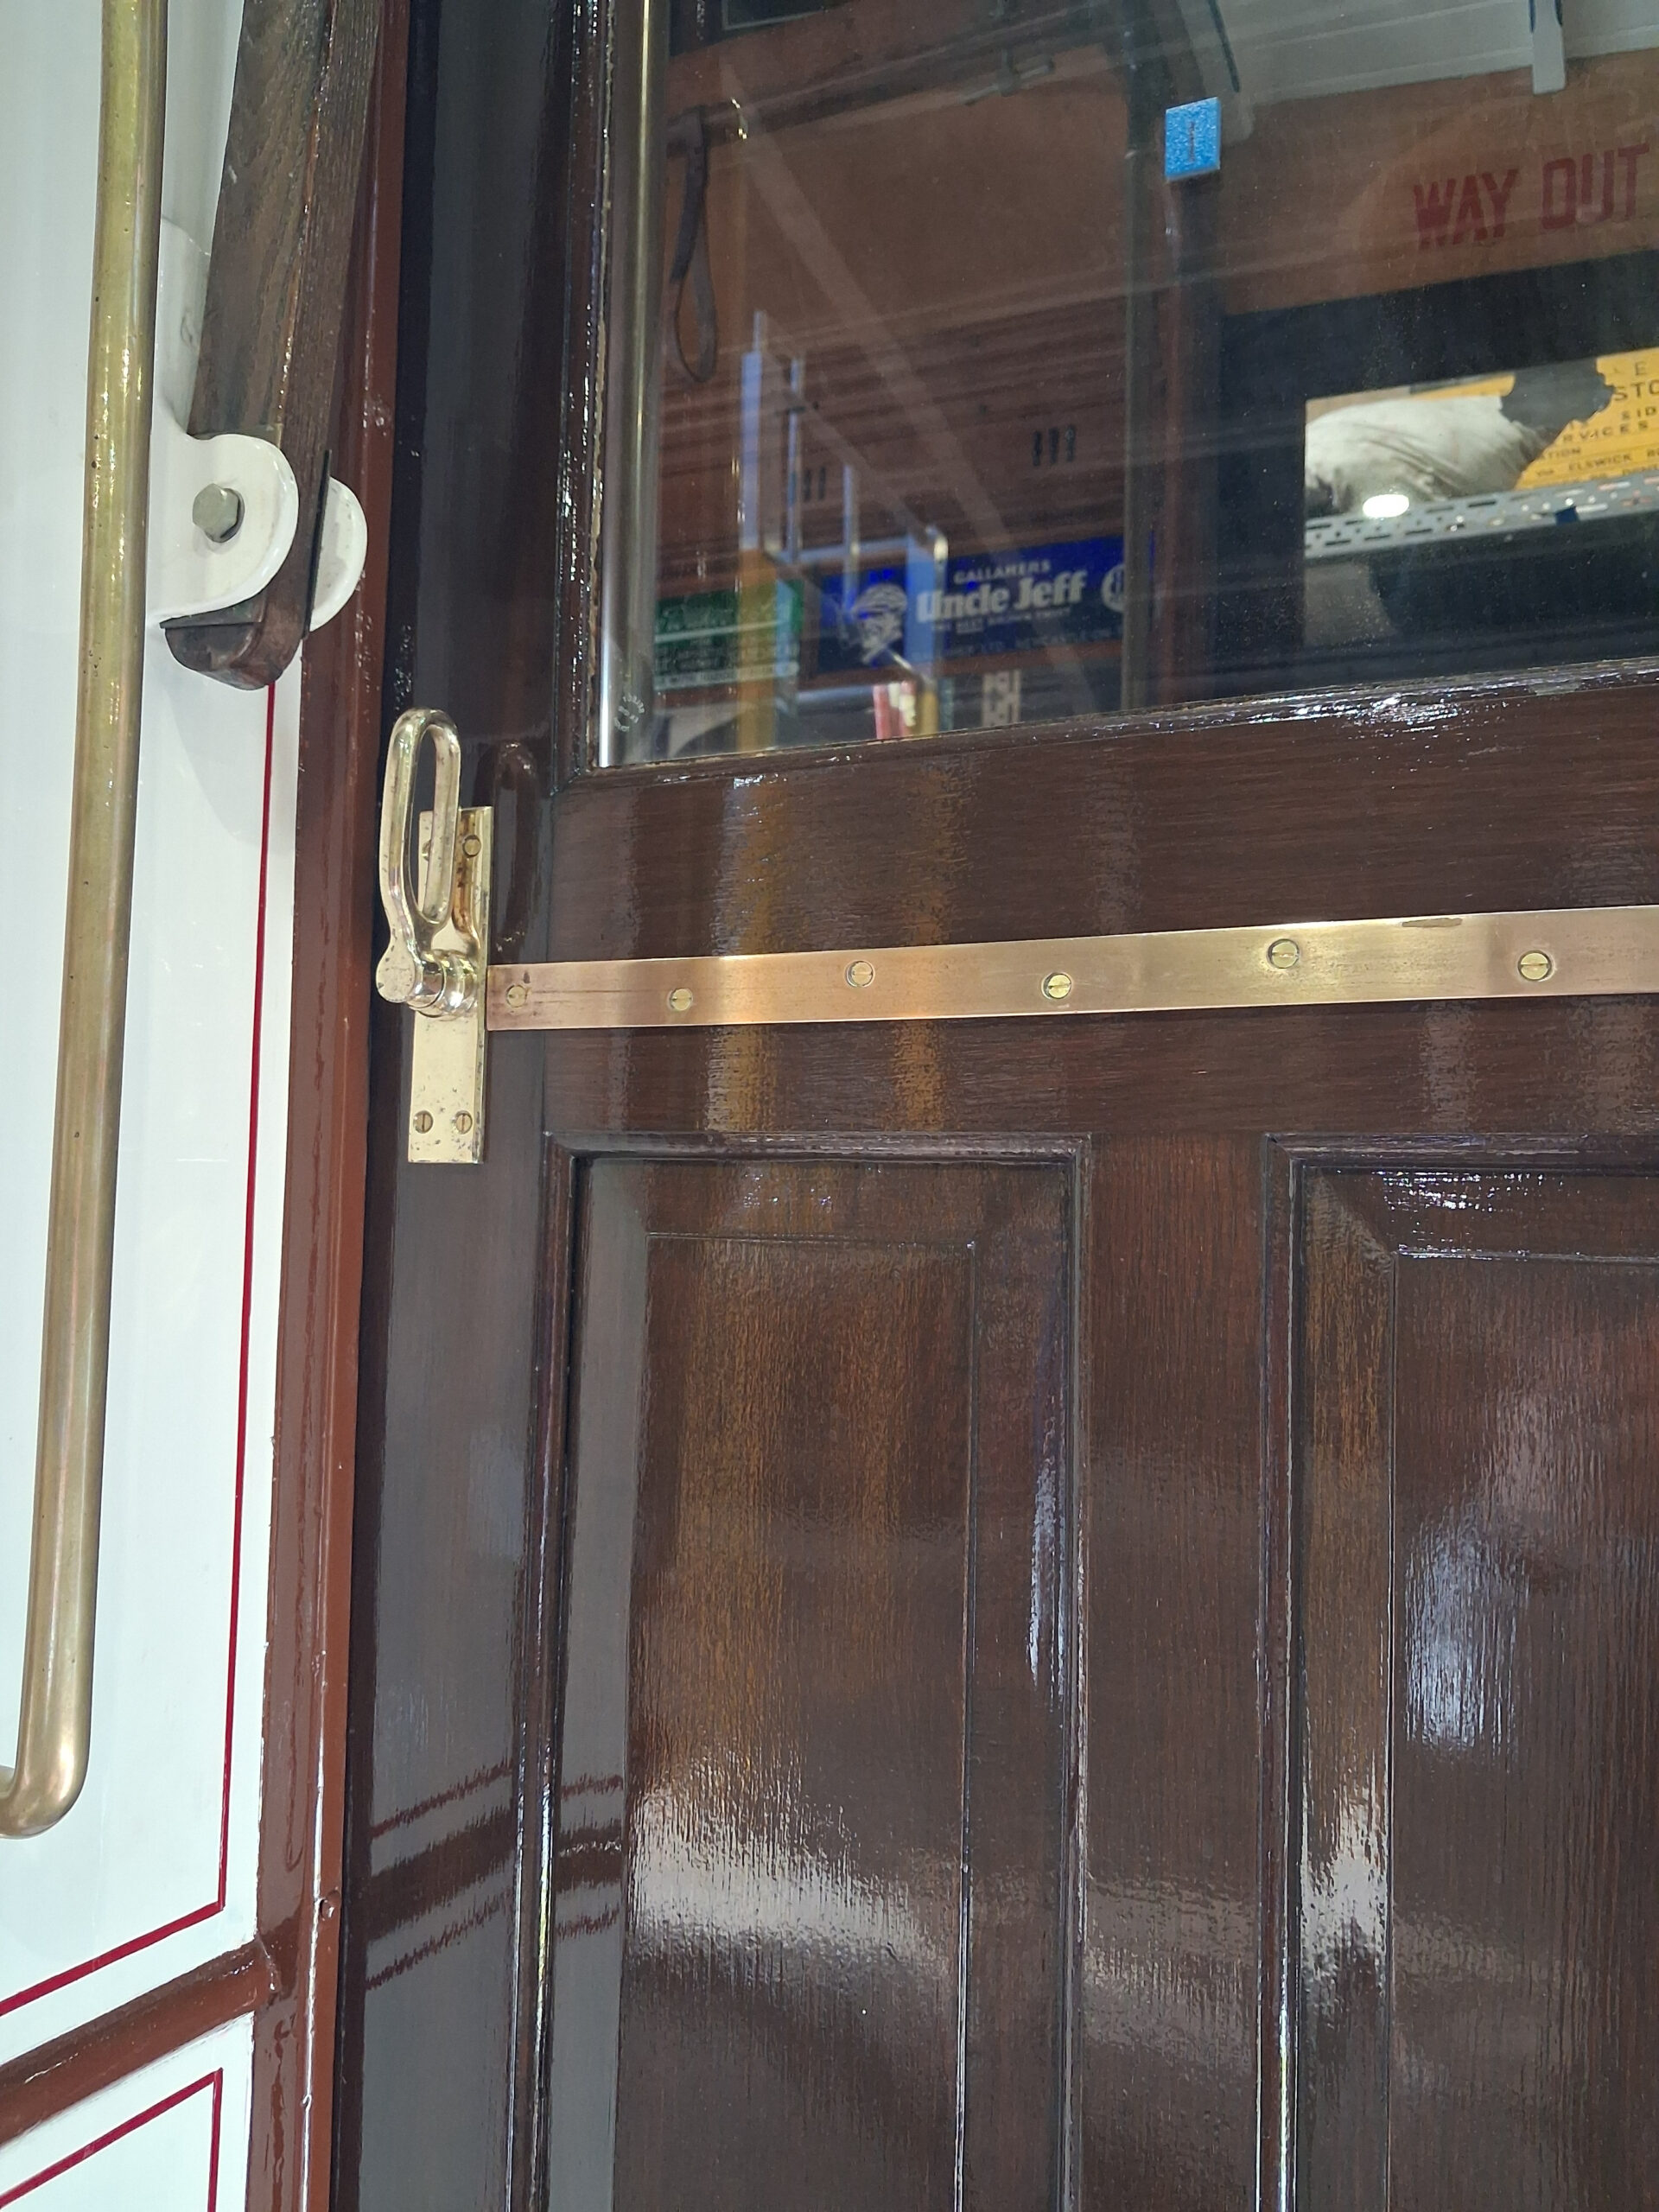
Below: The handles in situ on the doors – ready for the onward polishing by many thousands of hands over the years to come.
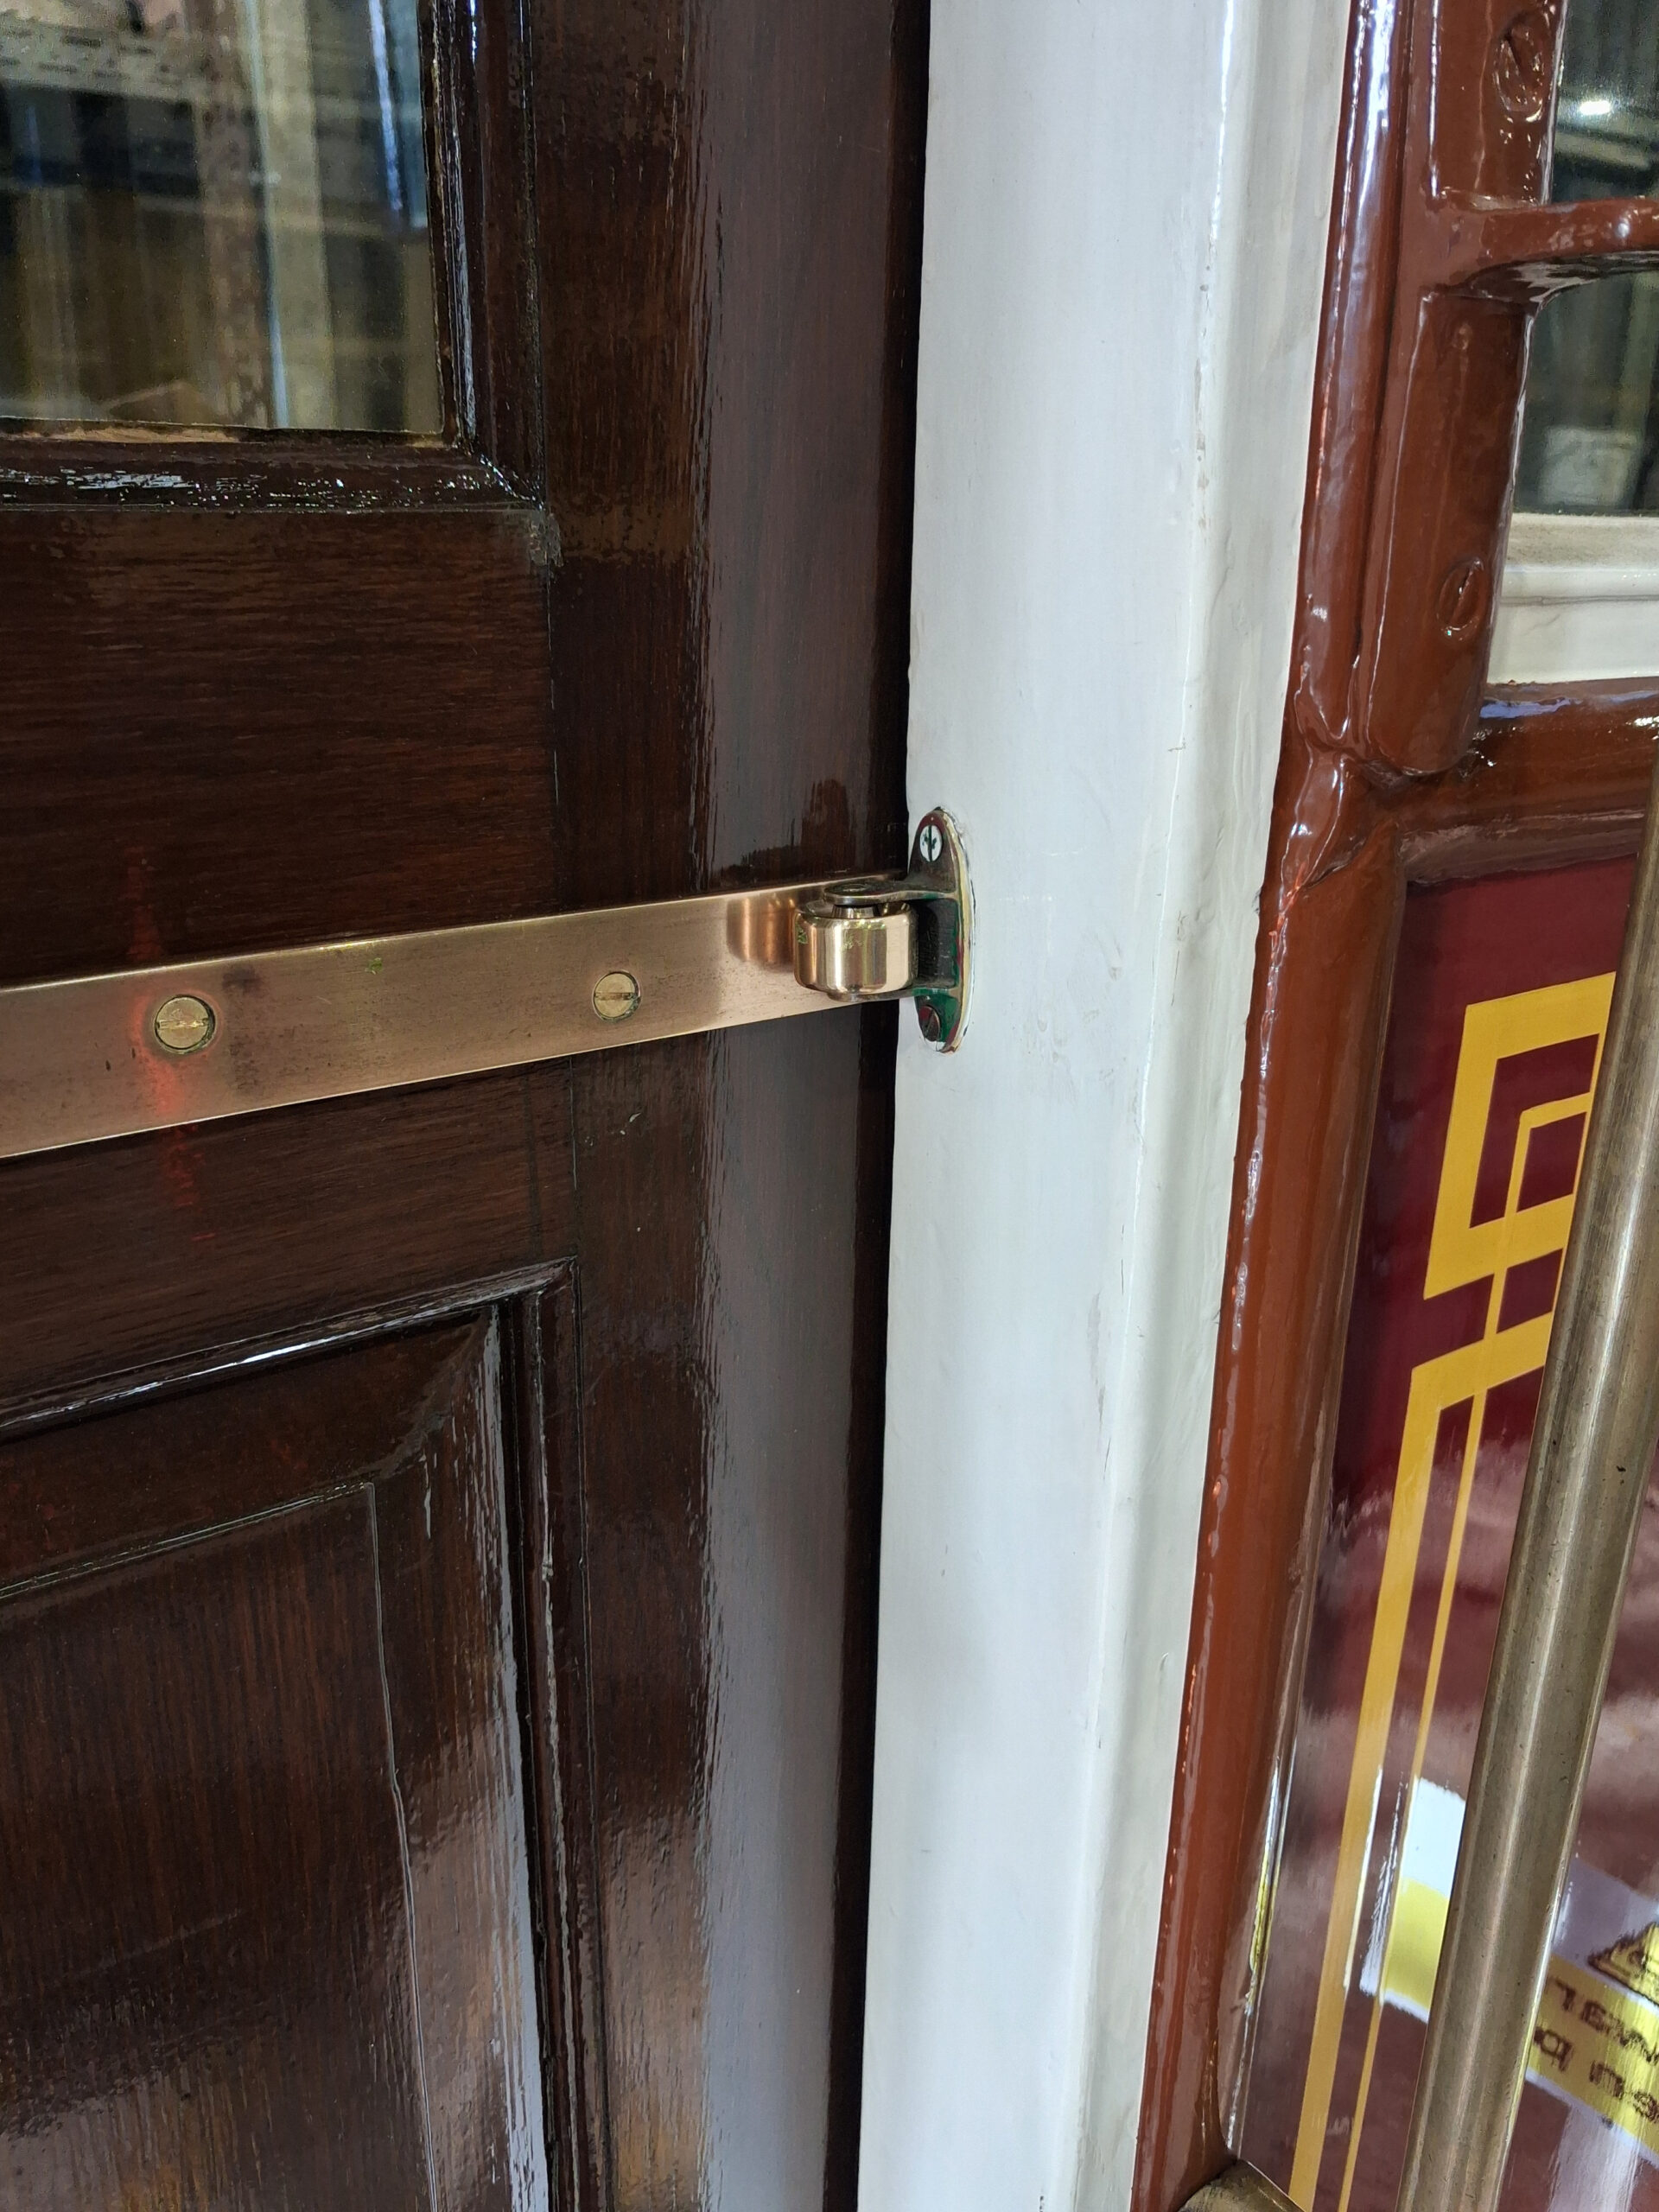
Below: The plates for the guide wheels to run against have been fitted and new guide wheels installed into the original brackets. Along with the newly added brass strip at the base of the door, these should run true and straight within the channels designed for them.
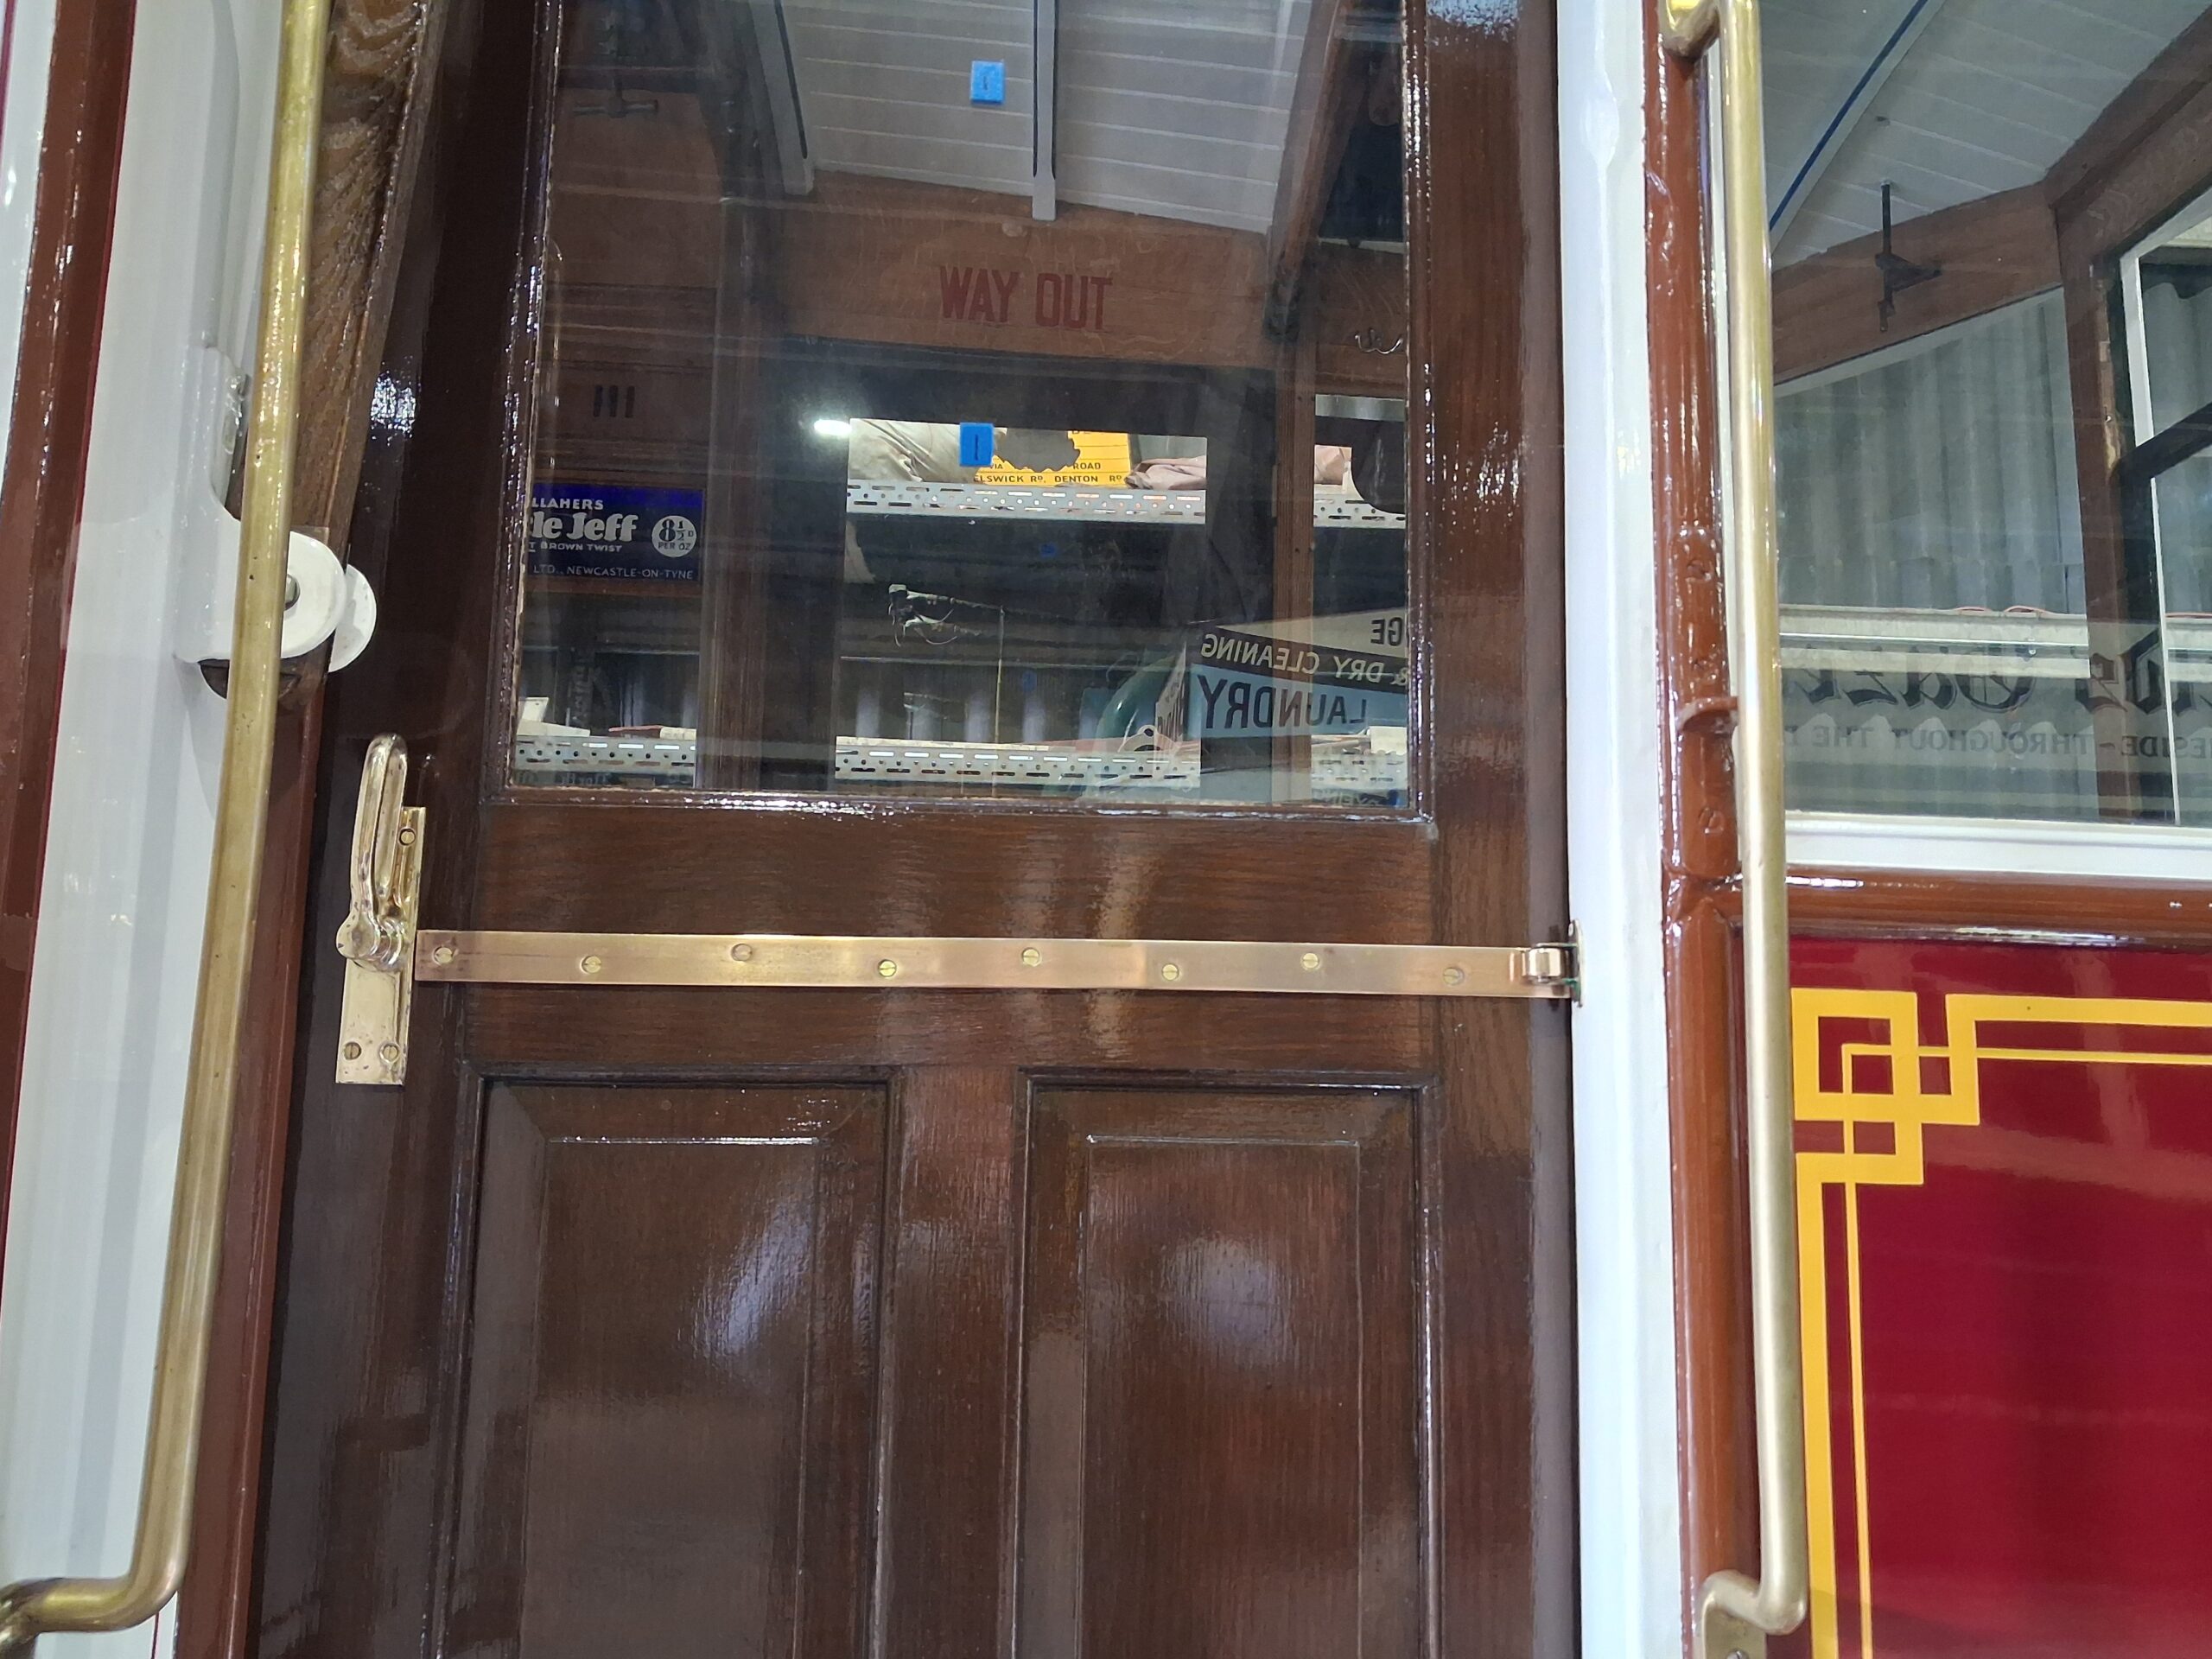
There is still some snagging work to complete, and the challenge of completing the necessary running-in mileage within the constraints of the morning hours before the museum opens, but hopefully 10 will join the working fleet again towards the end of the month – ideally for October half-term week.
Lisbon 730
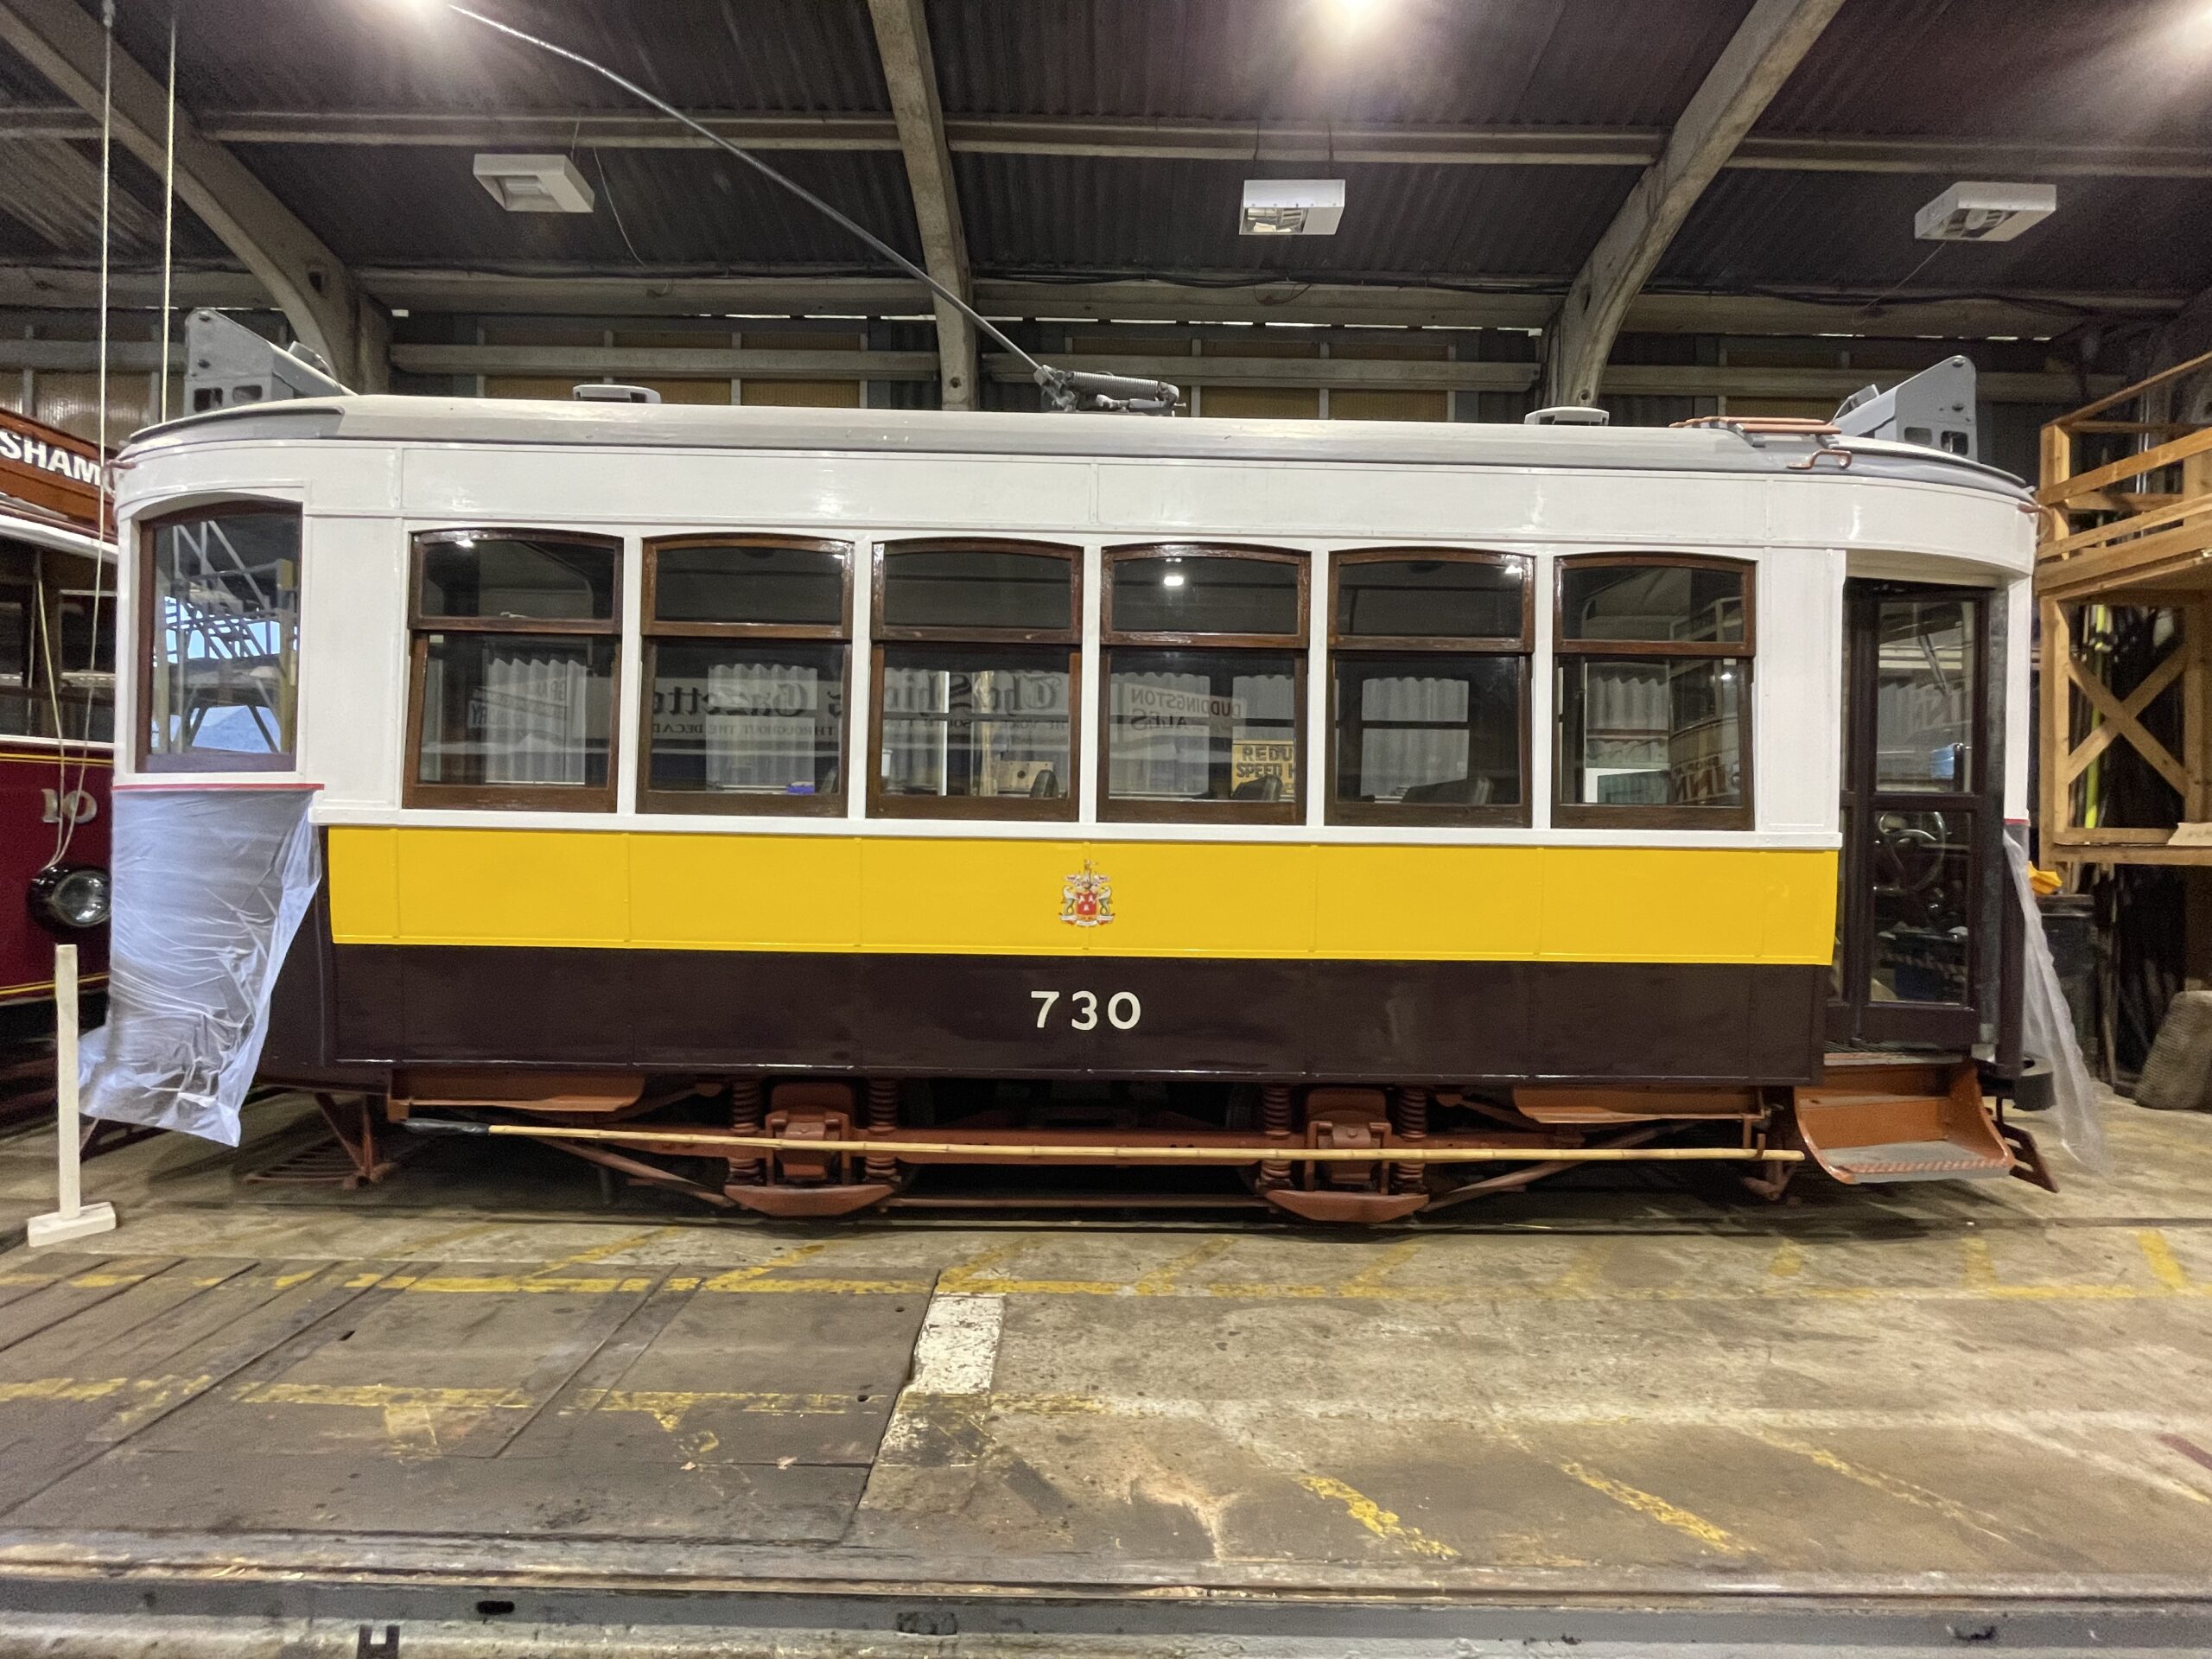
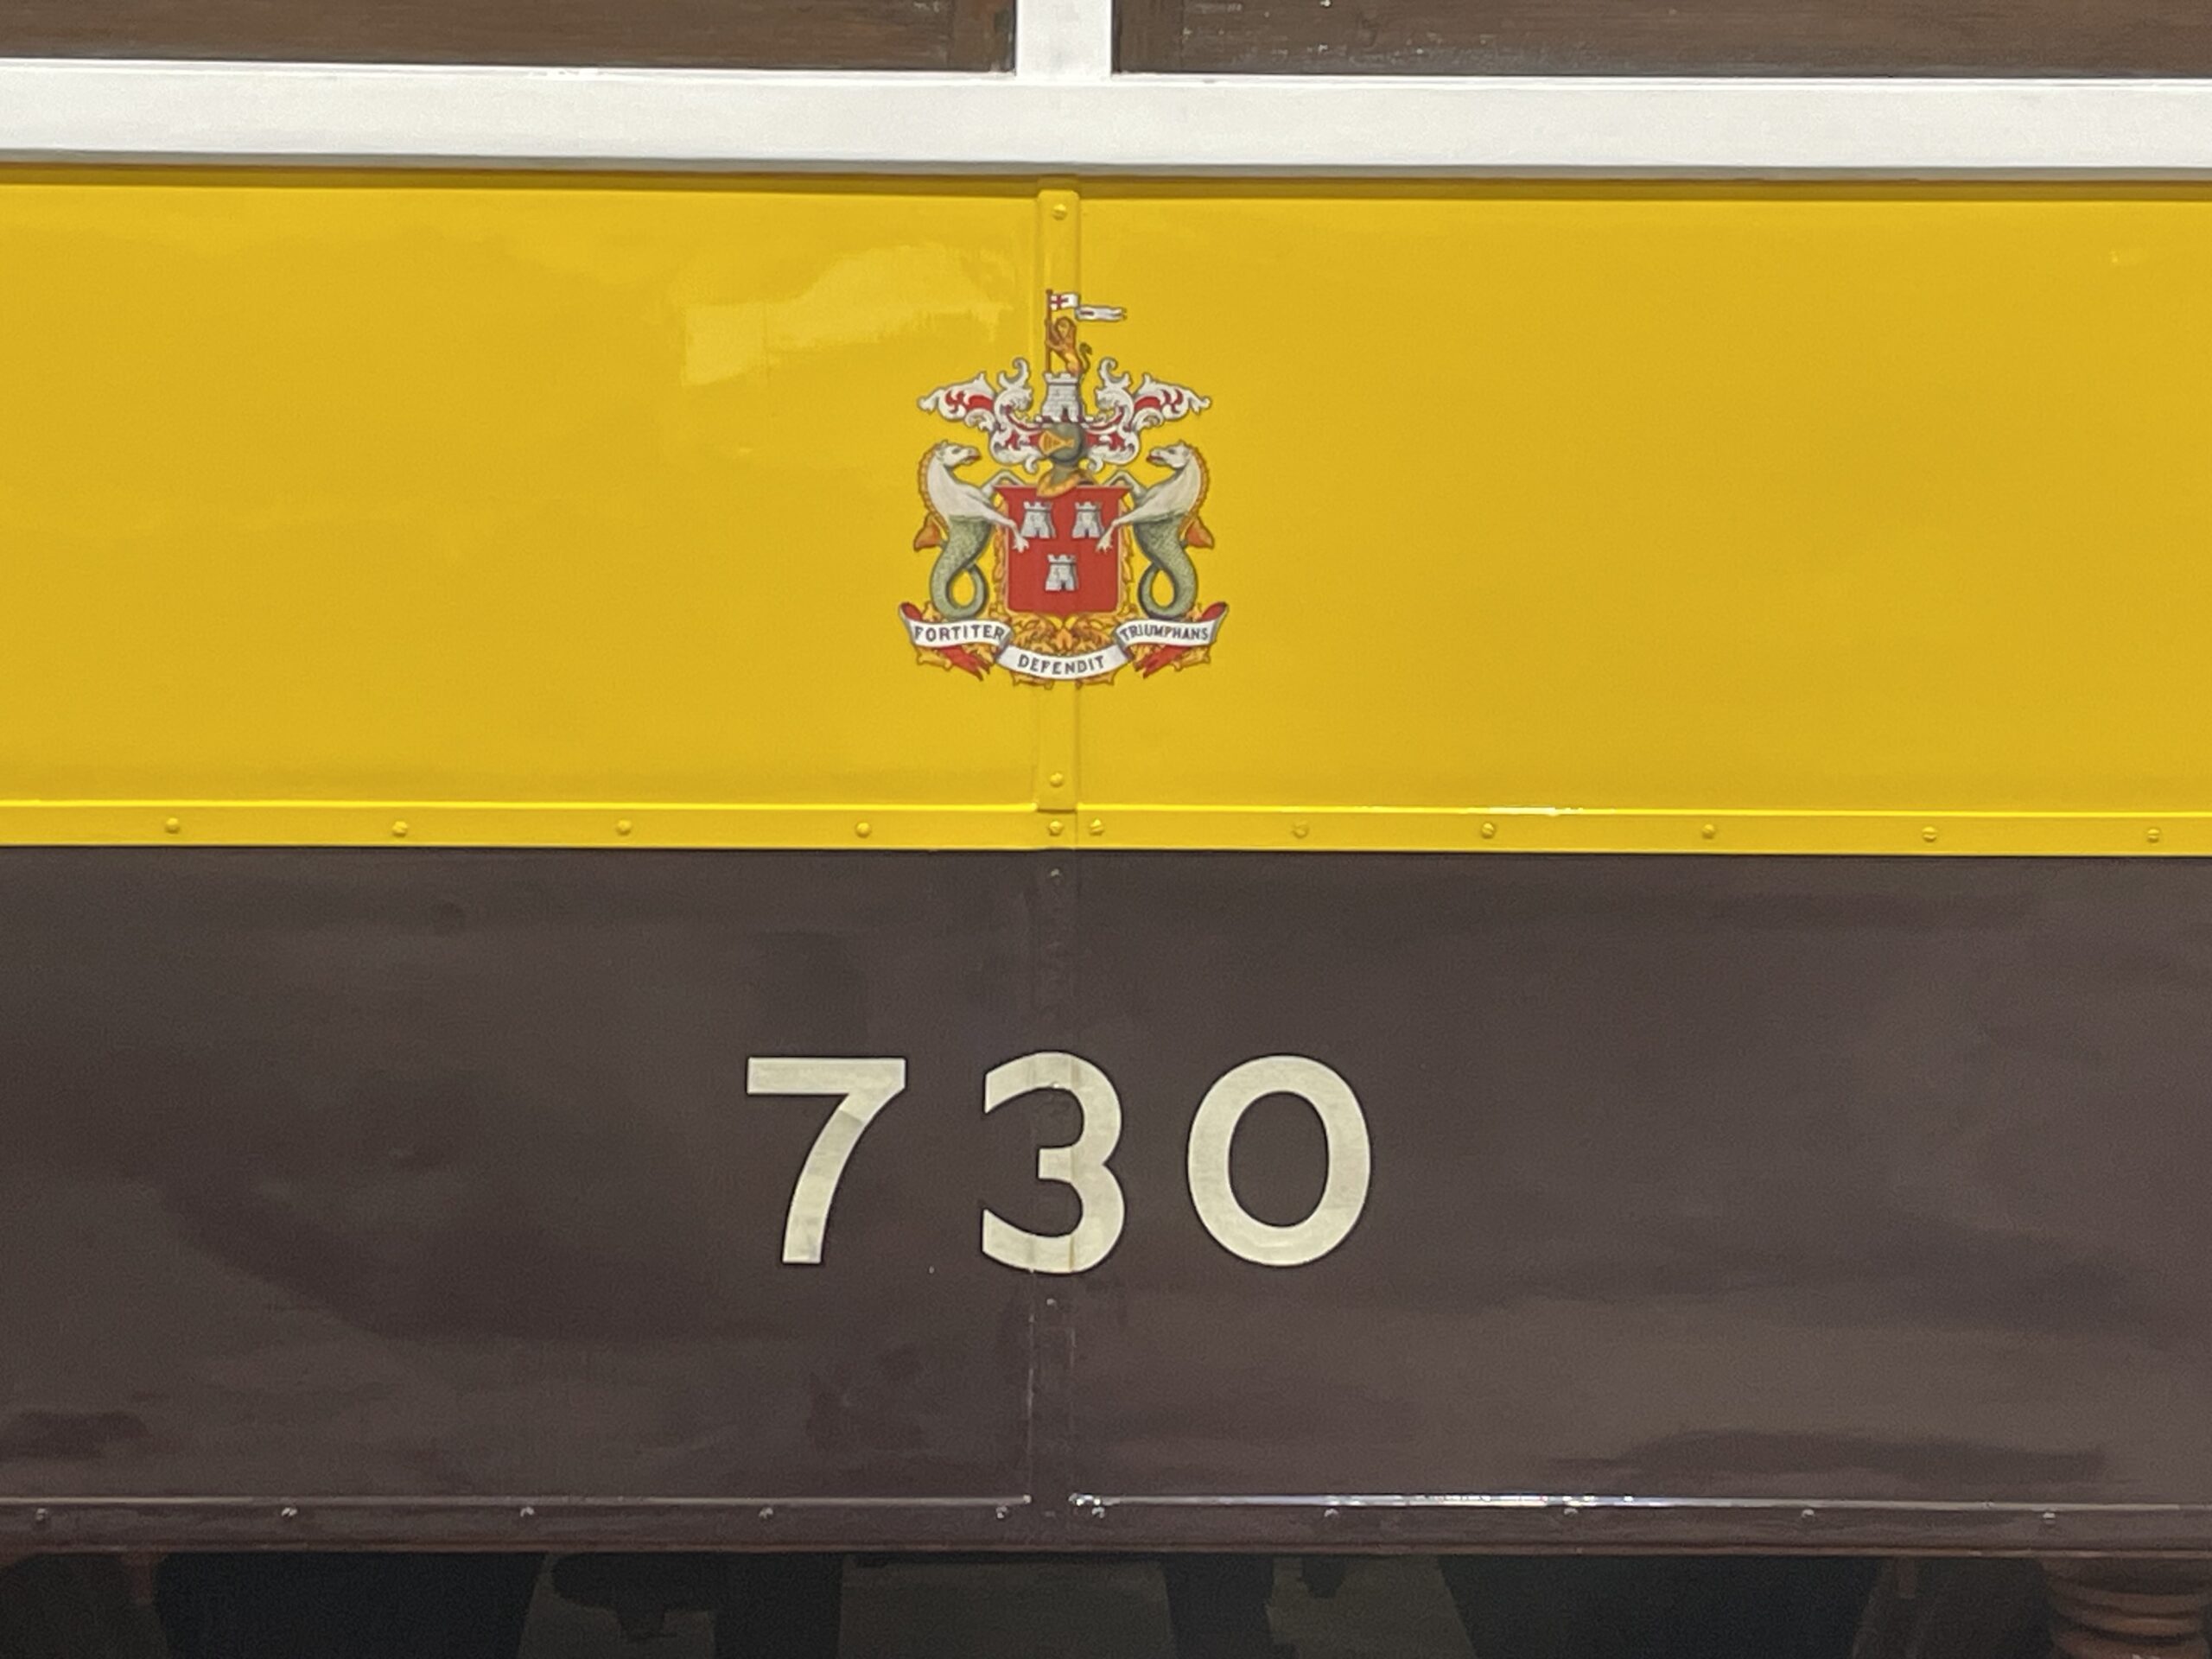
Below: Some progress towards completing 730’s repaint has been made, with the window frames re-varnished, top coat of yellow applied (and crests fitted) and the white upper saloon colour being flatted ready for repainting. The tram is still waiting on mechanical work (motors) and low-voltage electrics renewal, but we don’t want to dismantle it until some of the other projects in the depot have moved towards completion and service. When that time comes, at last we know the paintwork is ready!
Sunderland 16
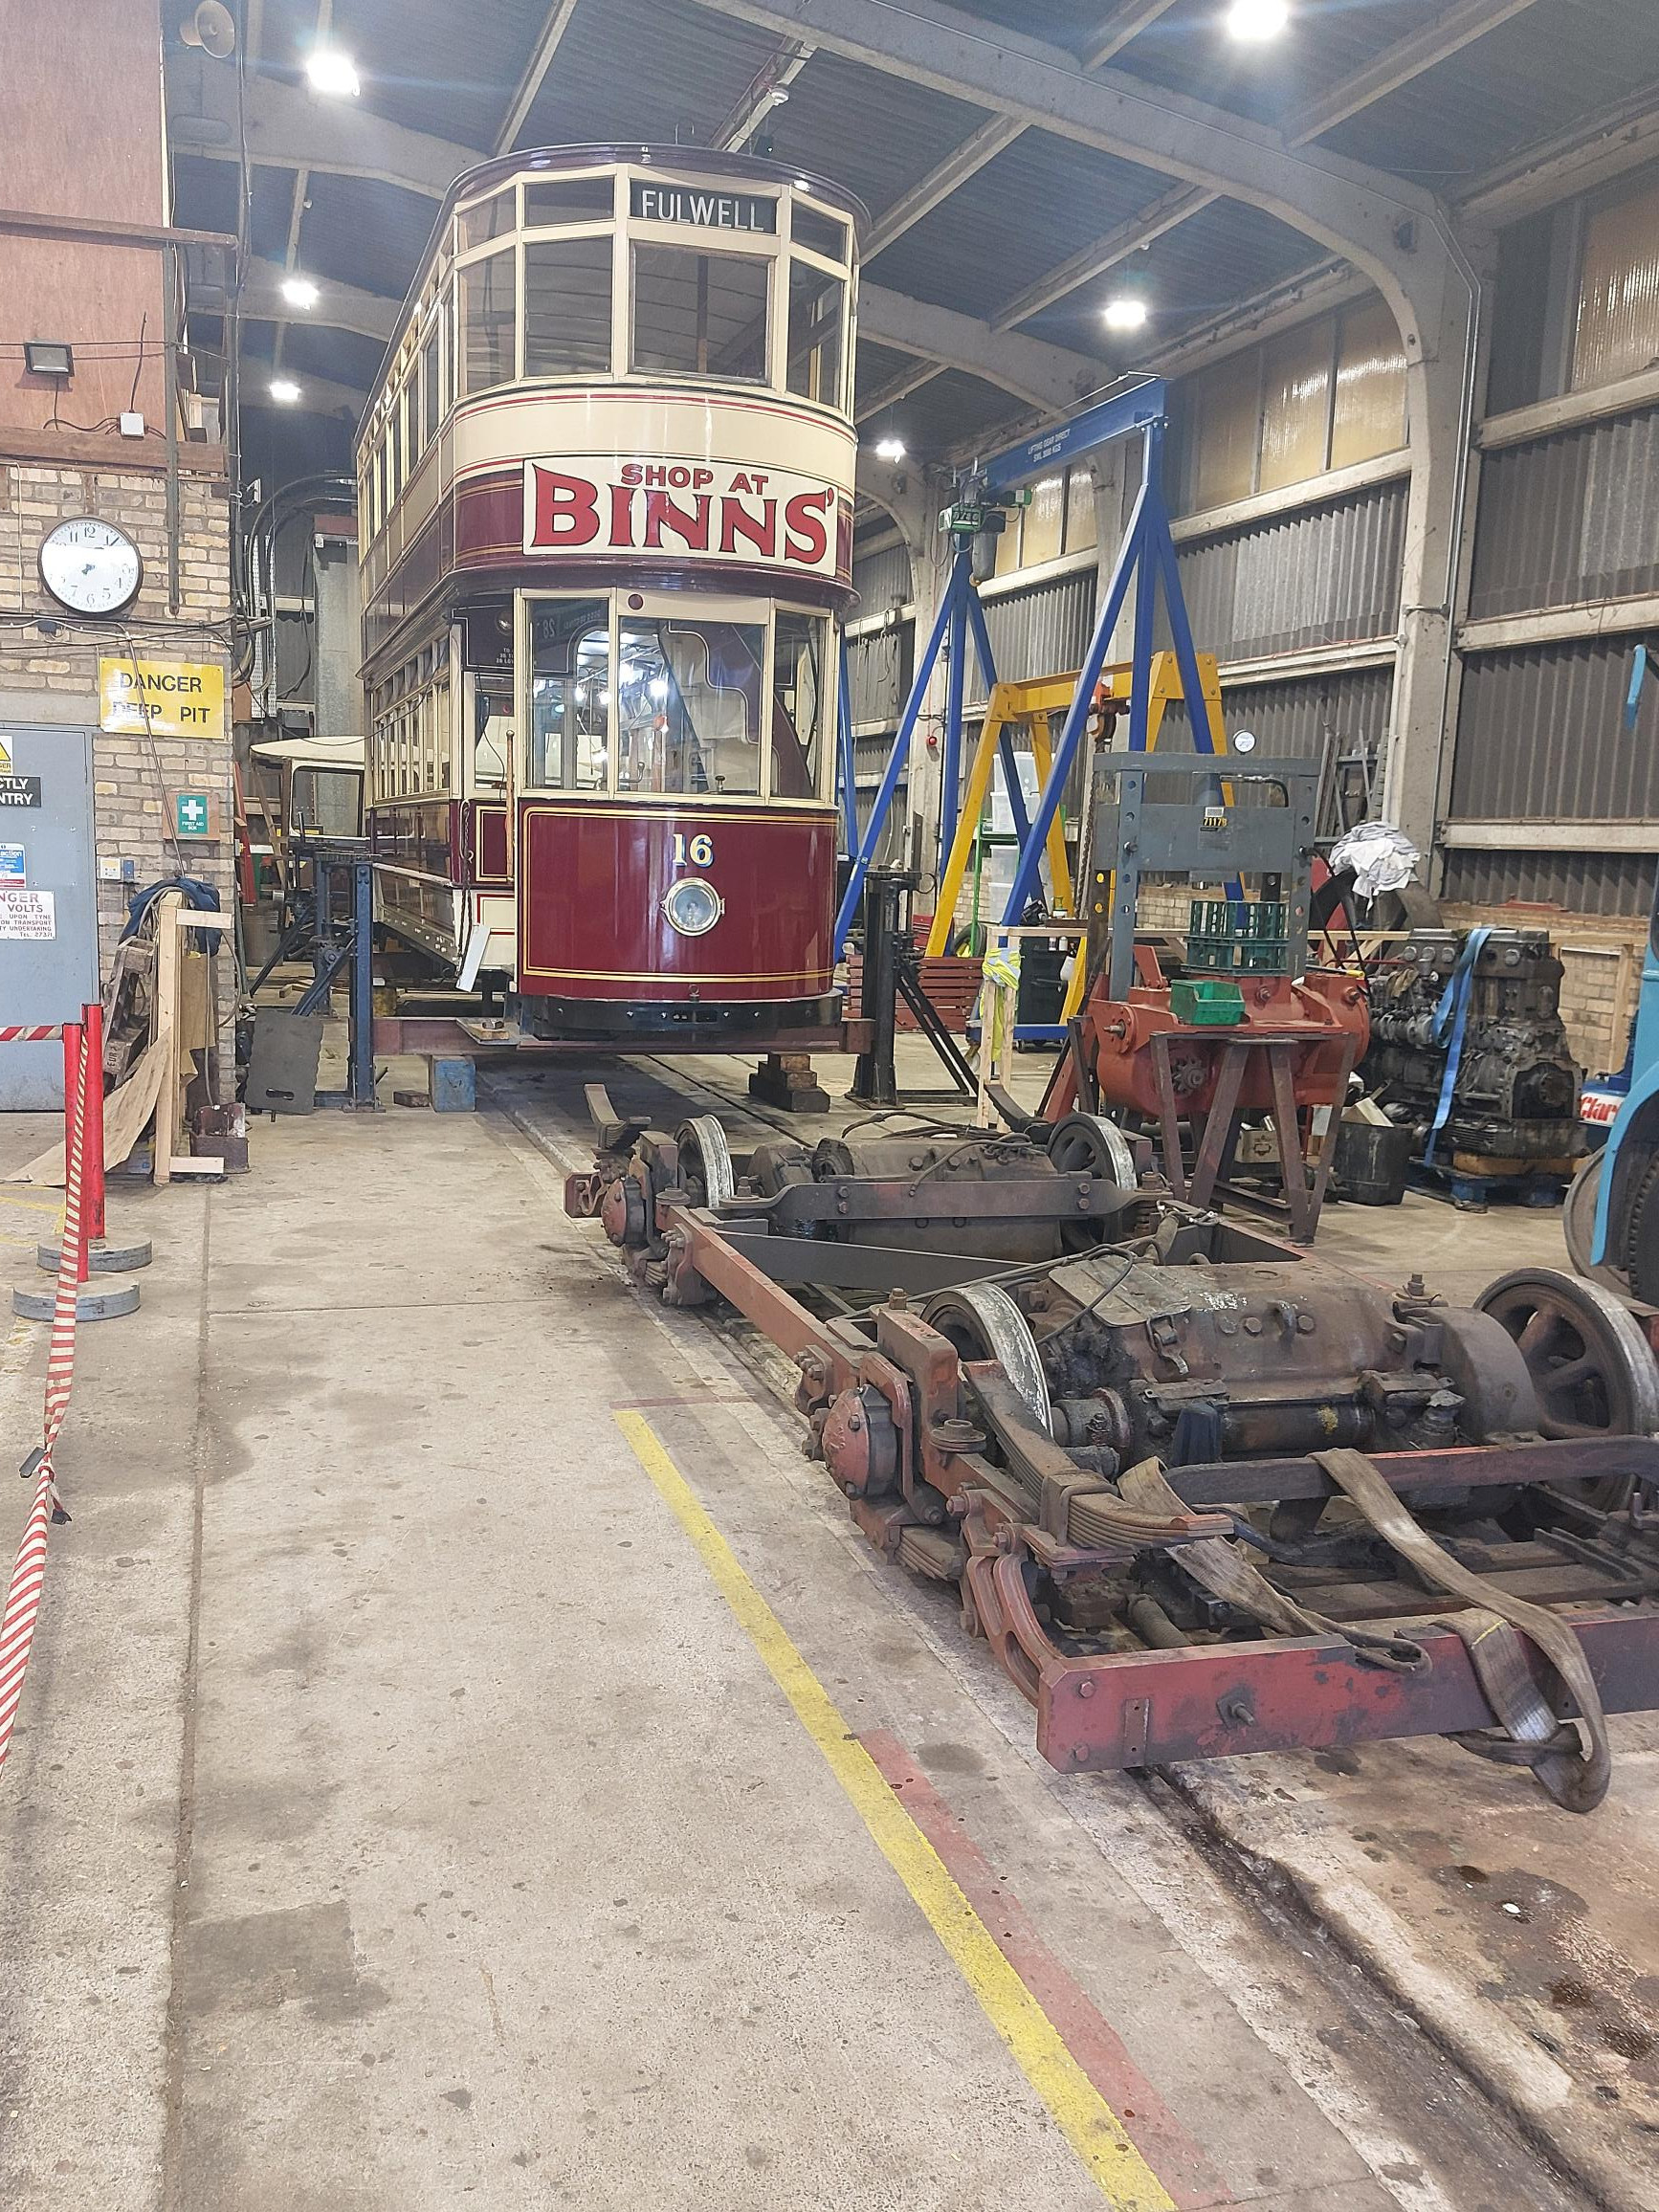
Below: The tram has now been lifted from its truck, in order to release the motors and wheelsets – both will be sent to contractors for attention, whilst a light overhaul of the truck and brake mechanism is undertaken at Beamish.
NER Brakevan No.44842
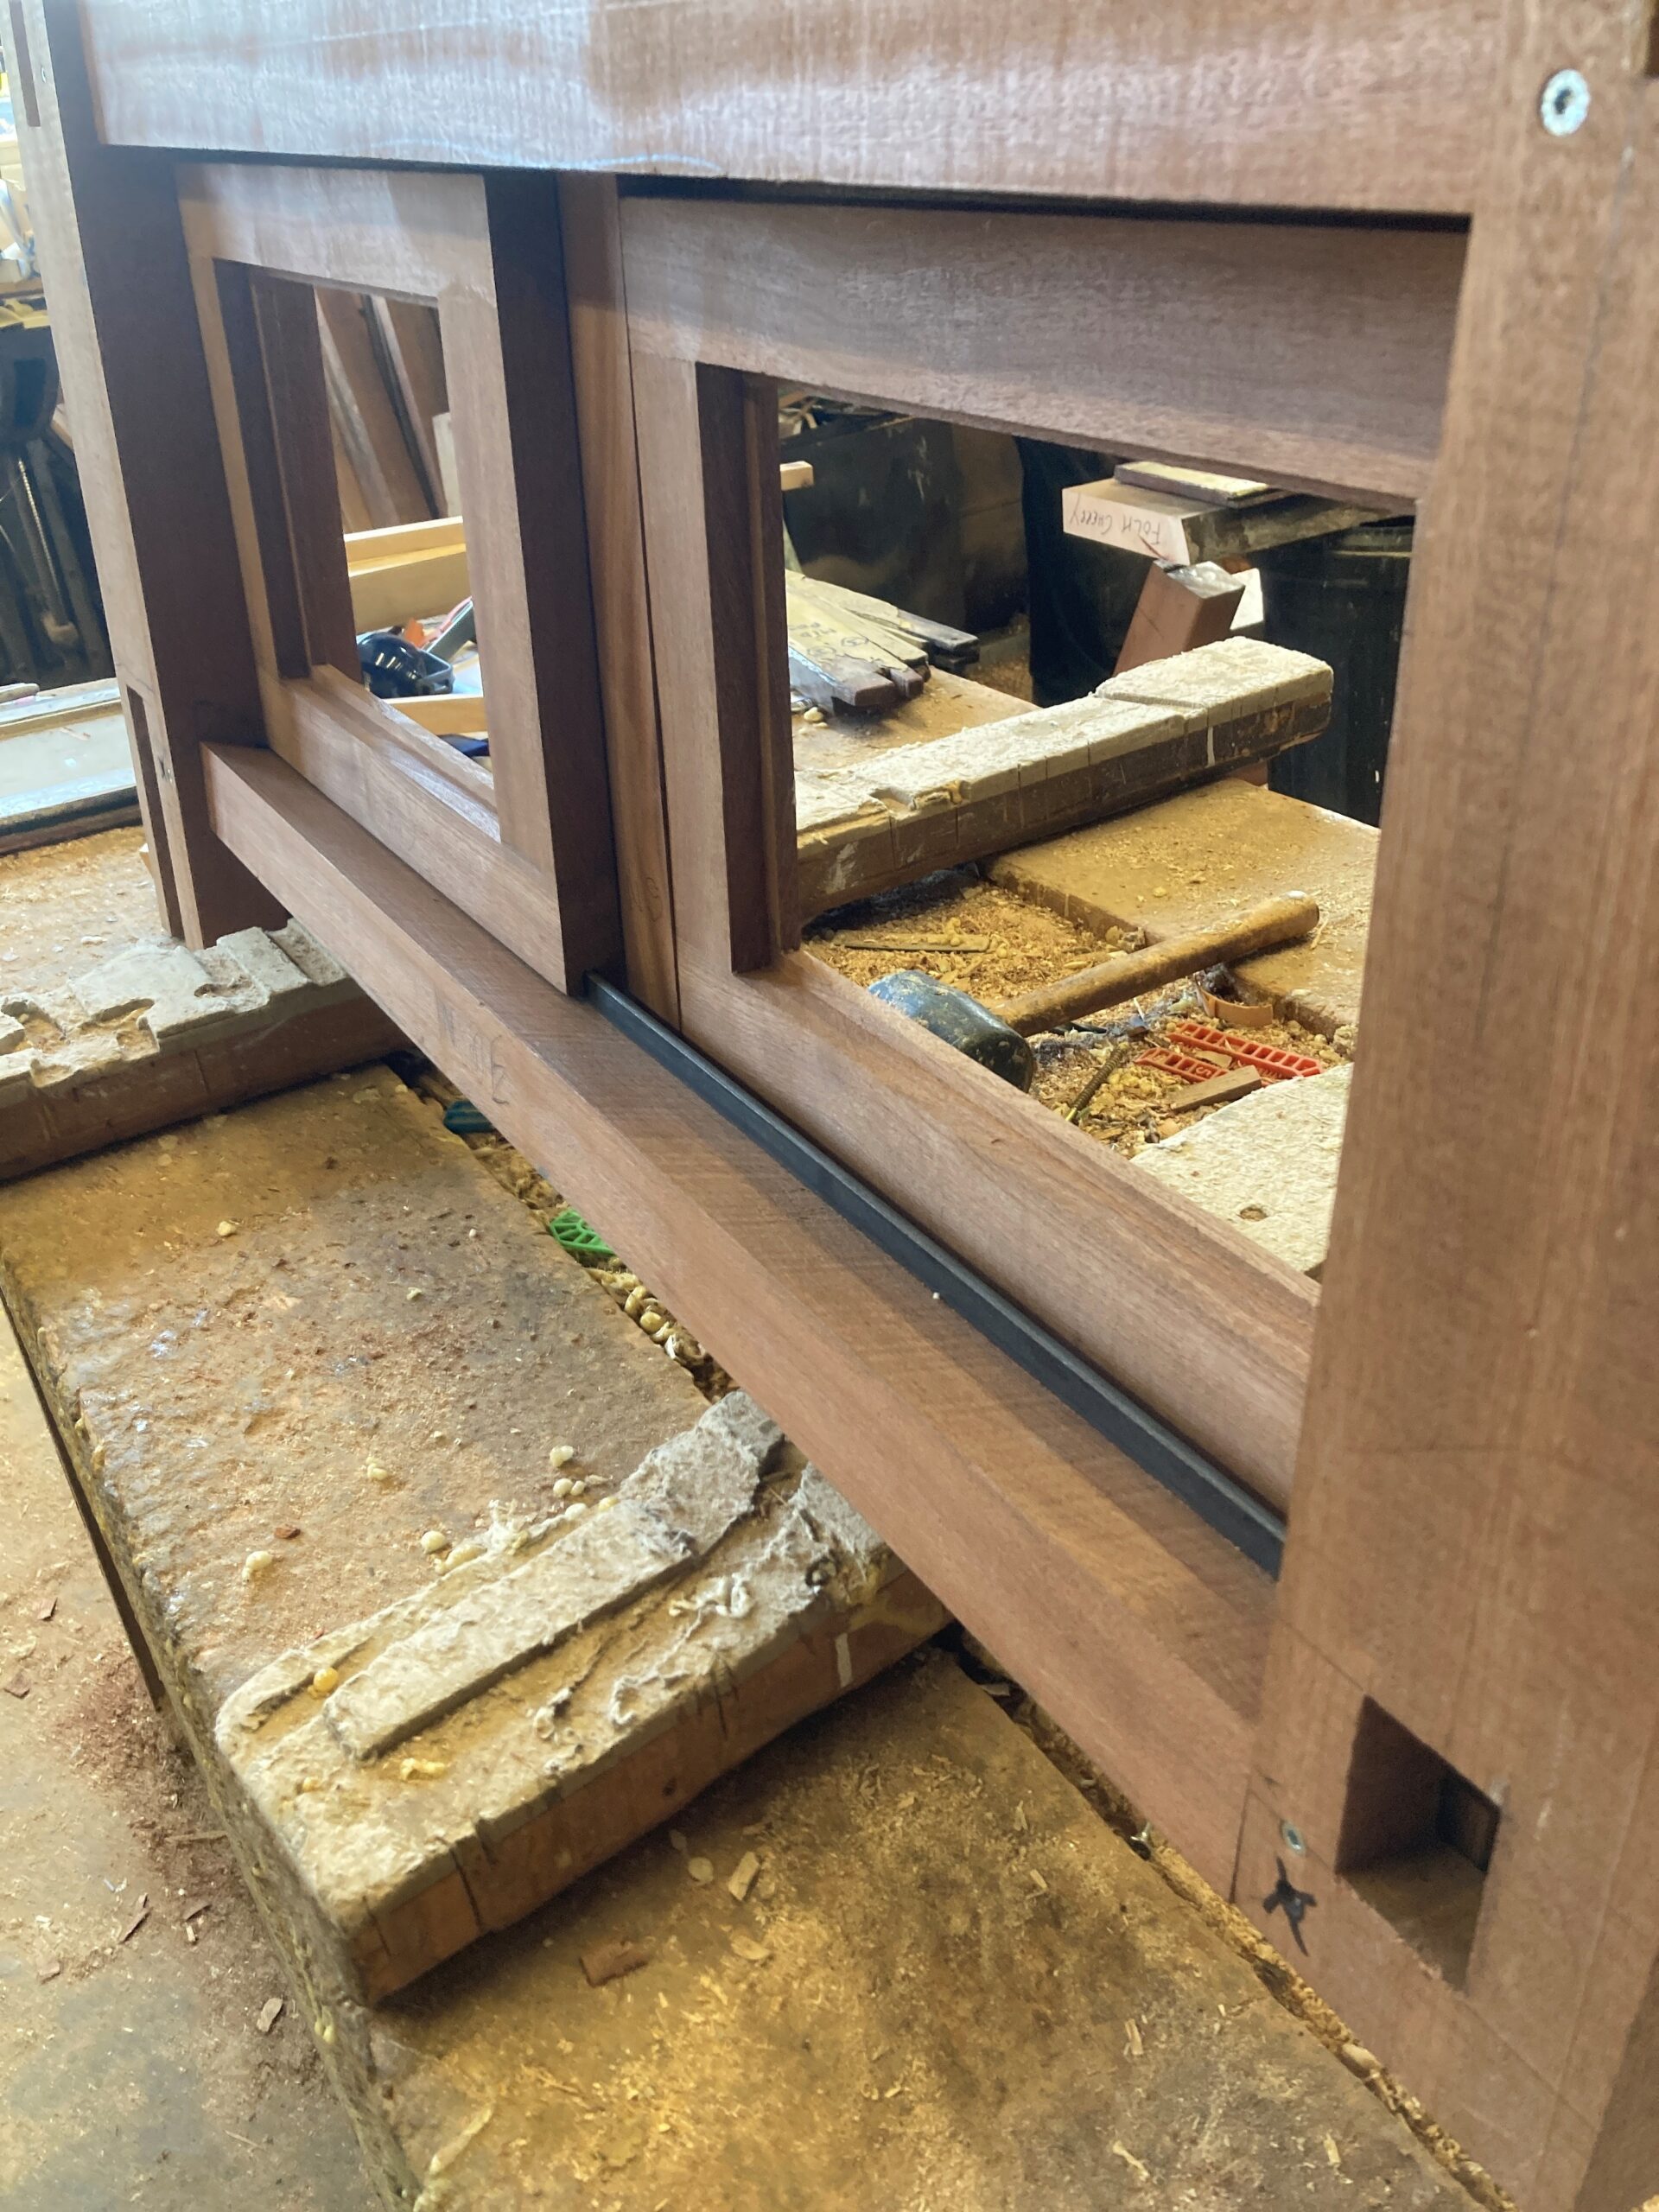
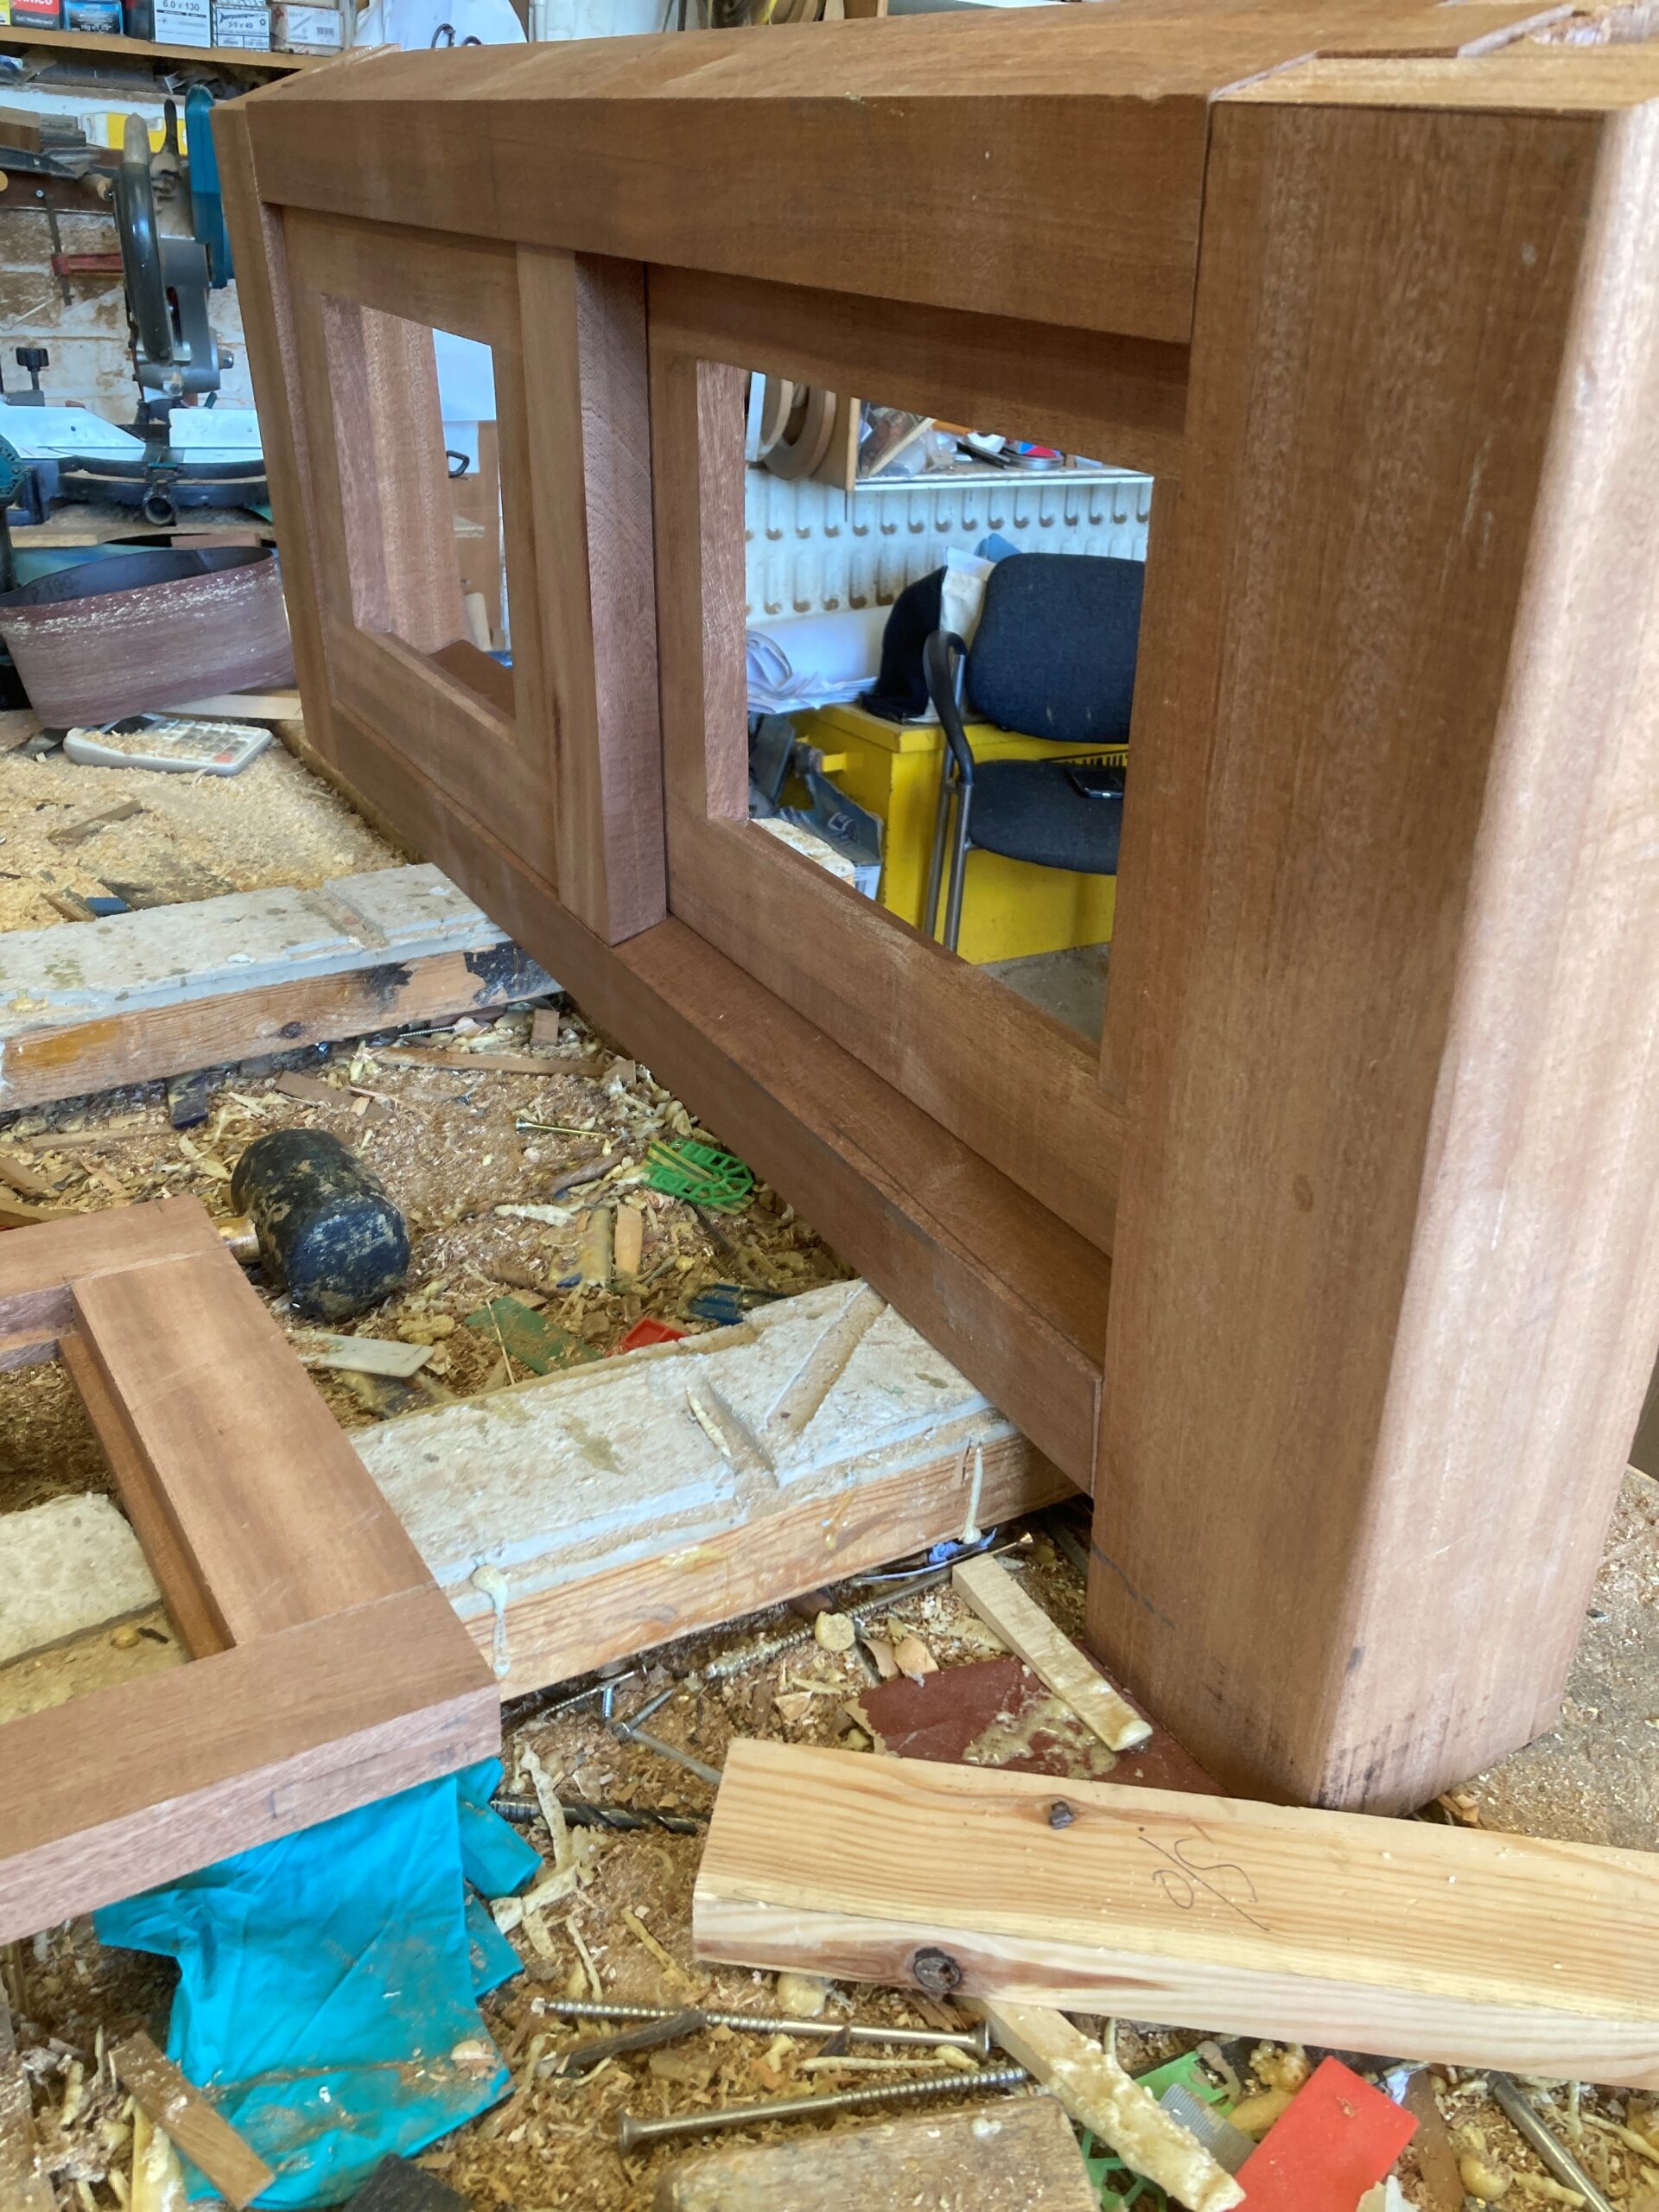
Below: John has been dry-assembling the sliding windows for the brakevan’s new birdcage/topcote. These are being trial fitted before dismantling, painting and glazing.
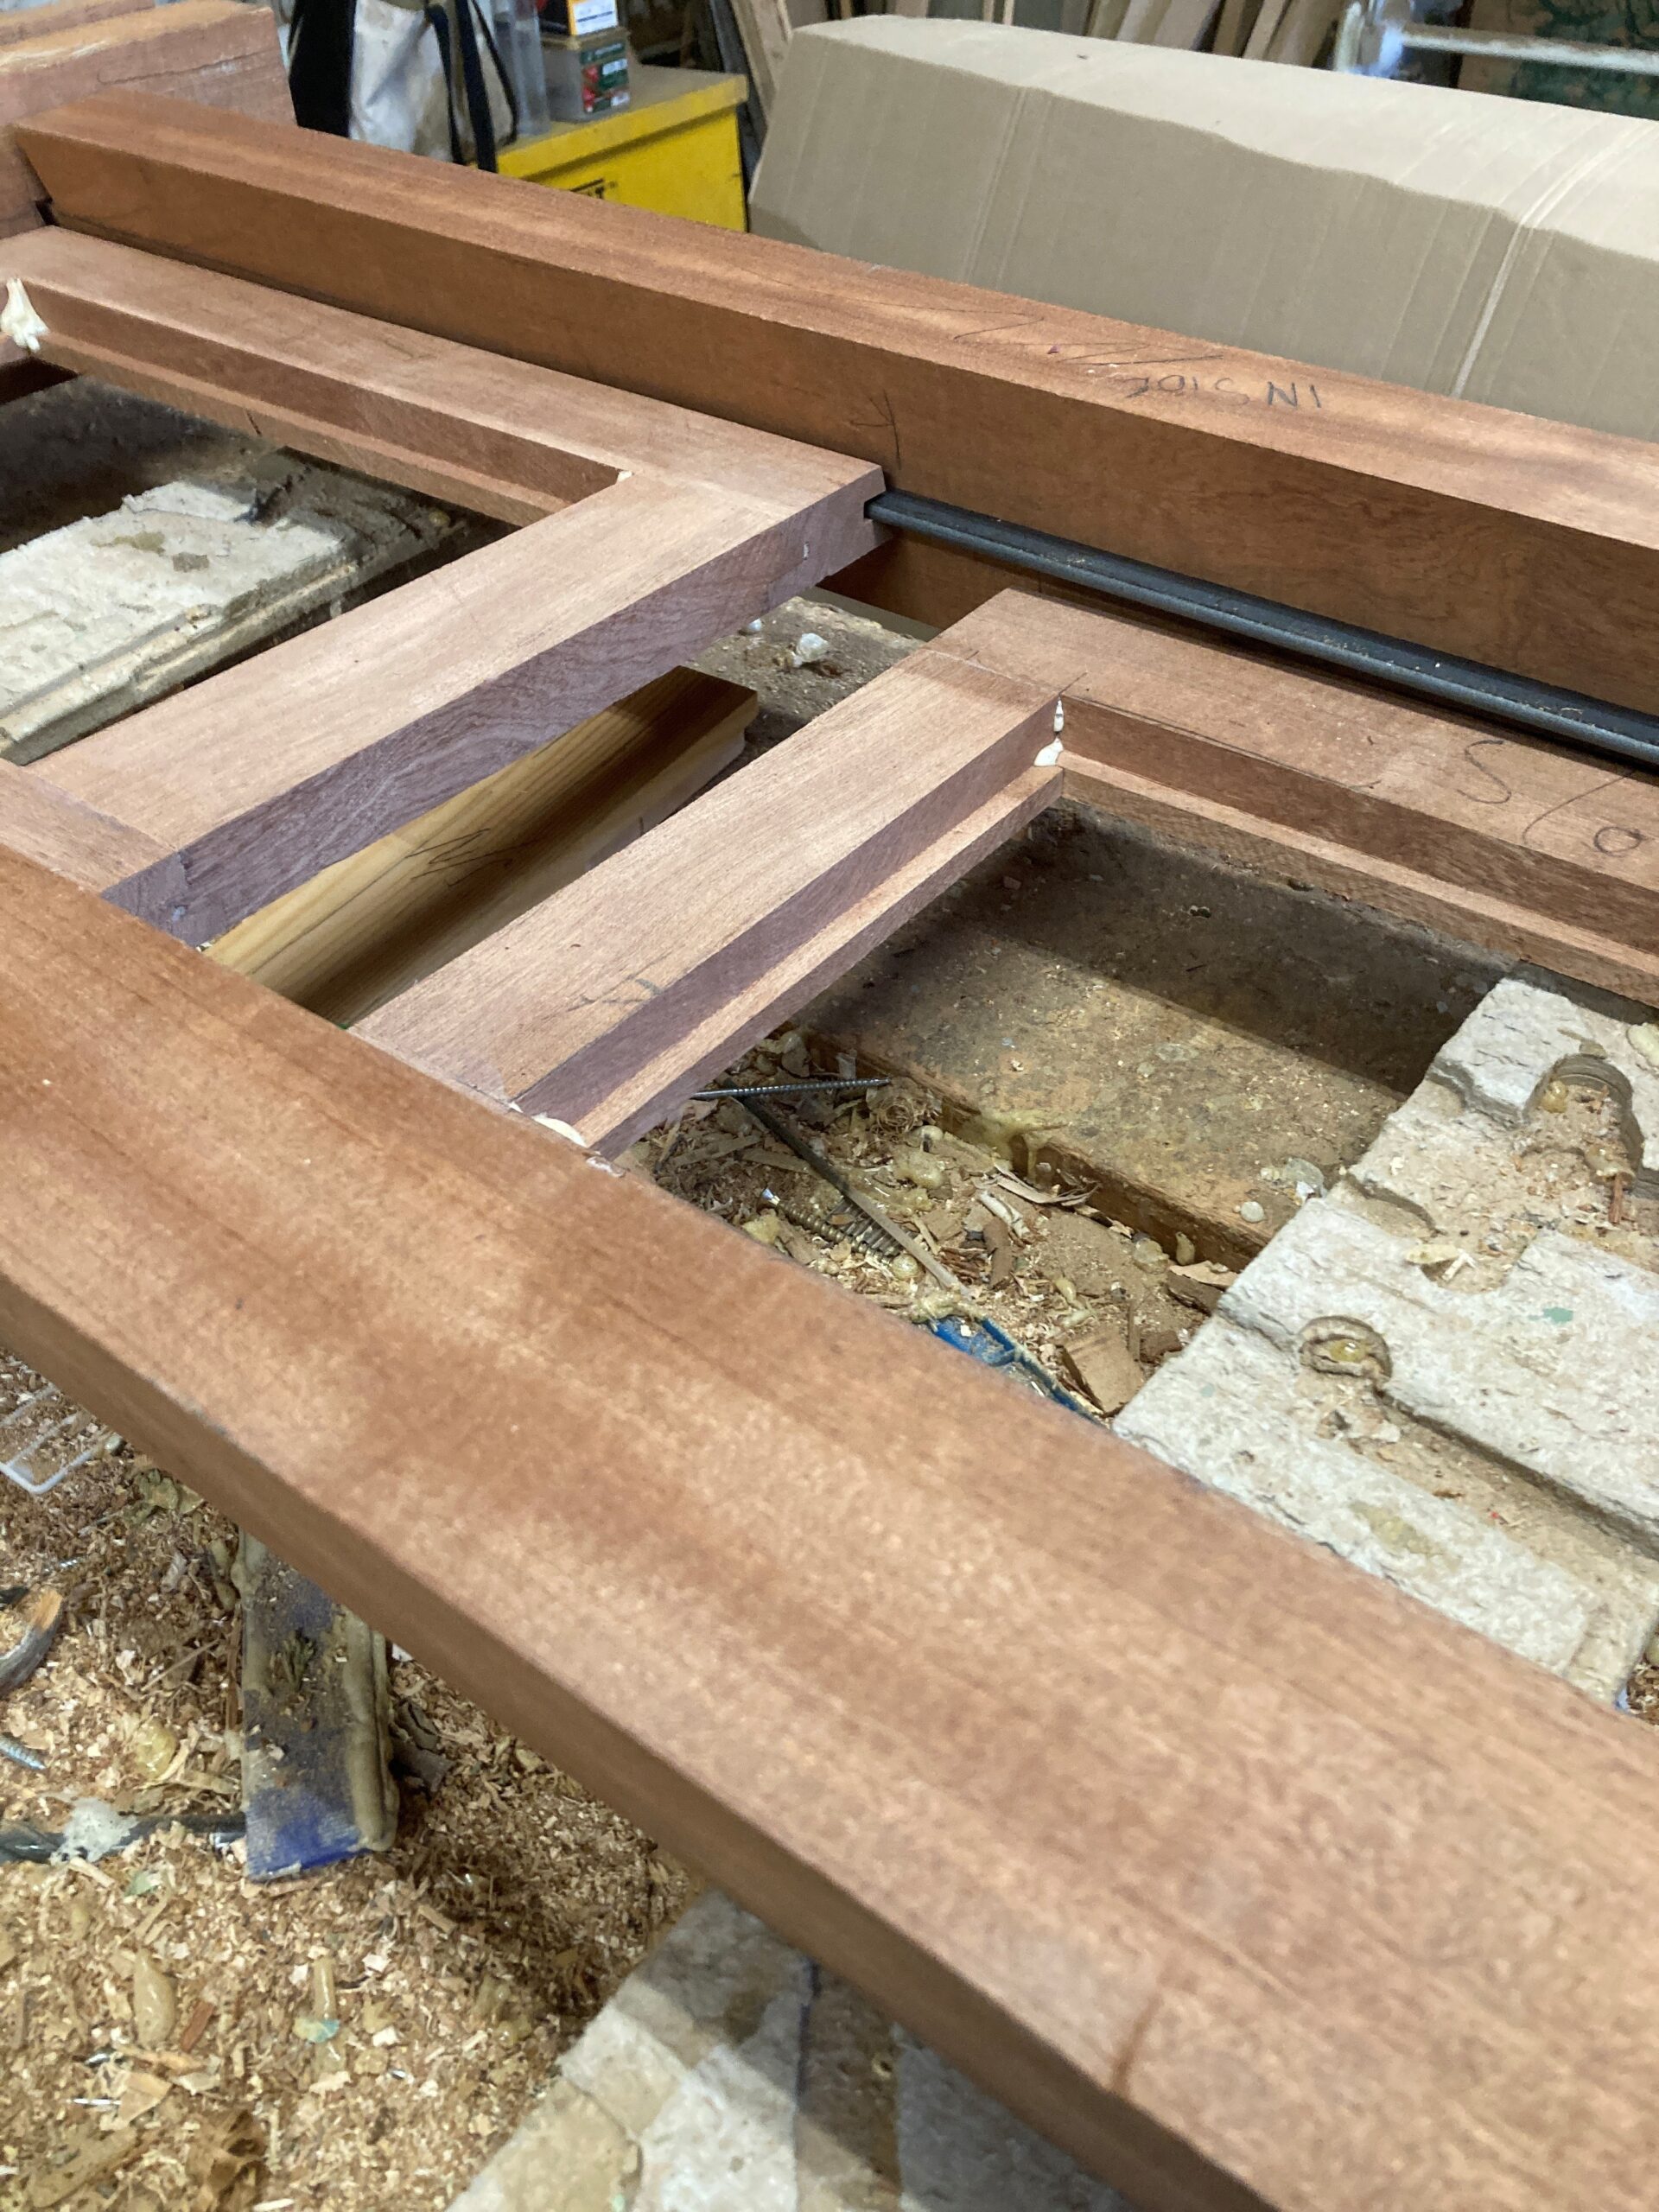
Below: Two more views, showing the window frames and birdcage side structure sitting vertically, as they will when installed onto the brakevan. Once a dry-assembly has been undertaken, the final trimming to size of these components will be undertaken.
Narrow Gauge Engine Shed
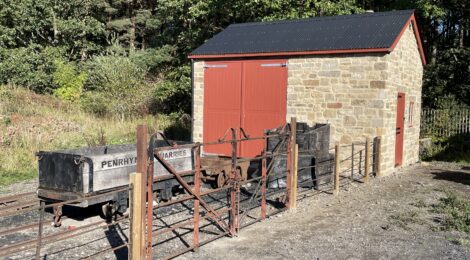
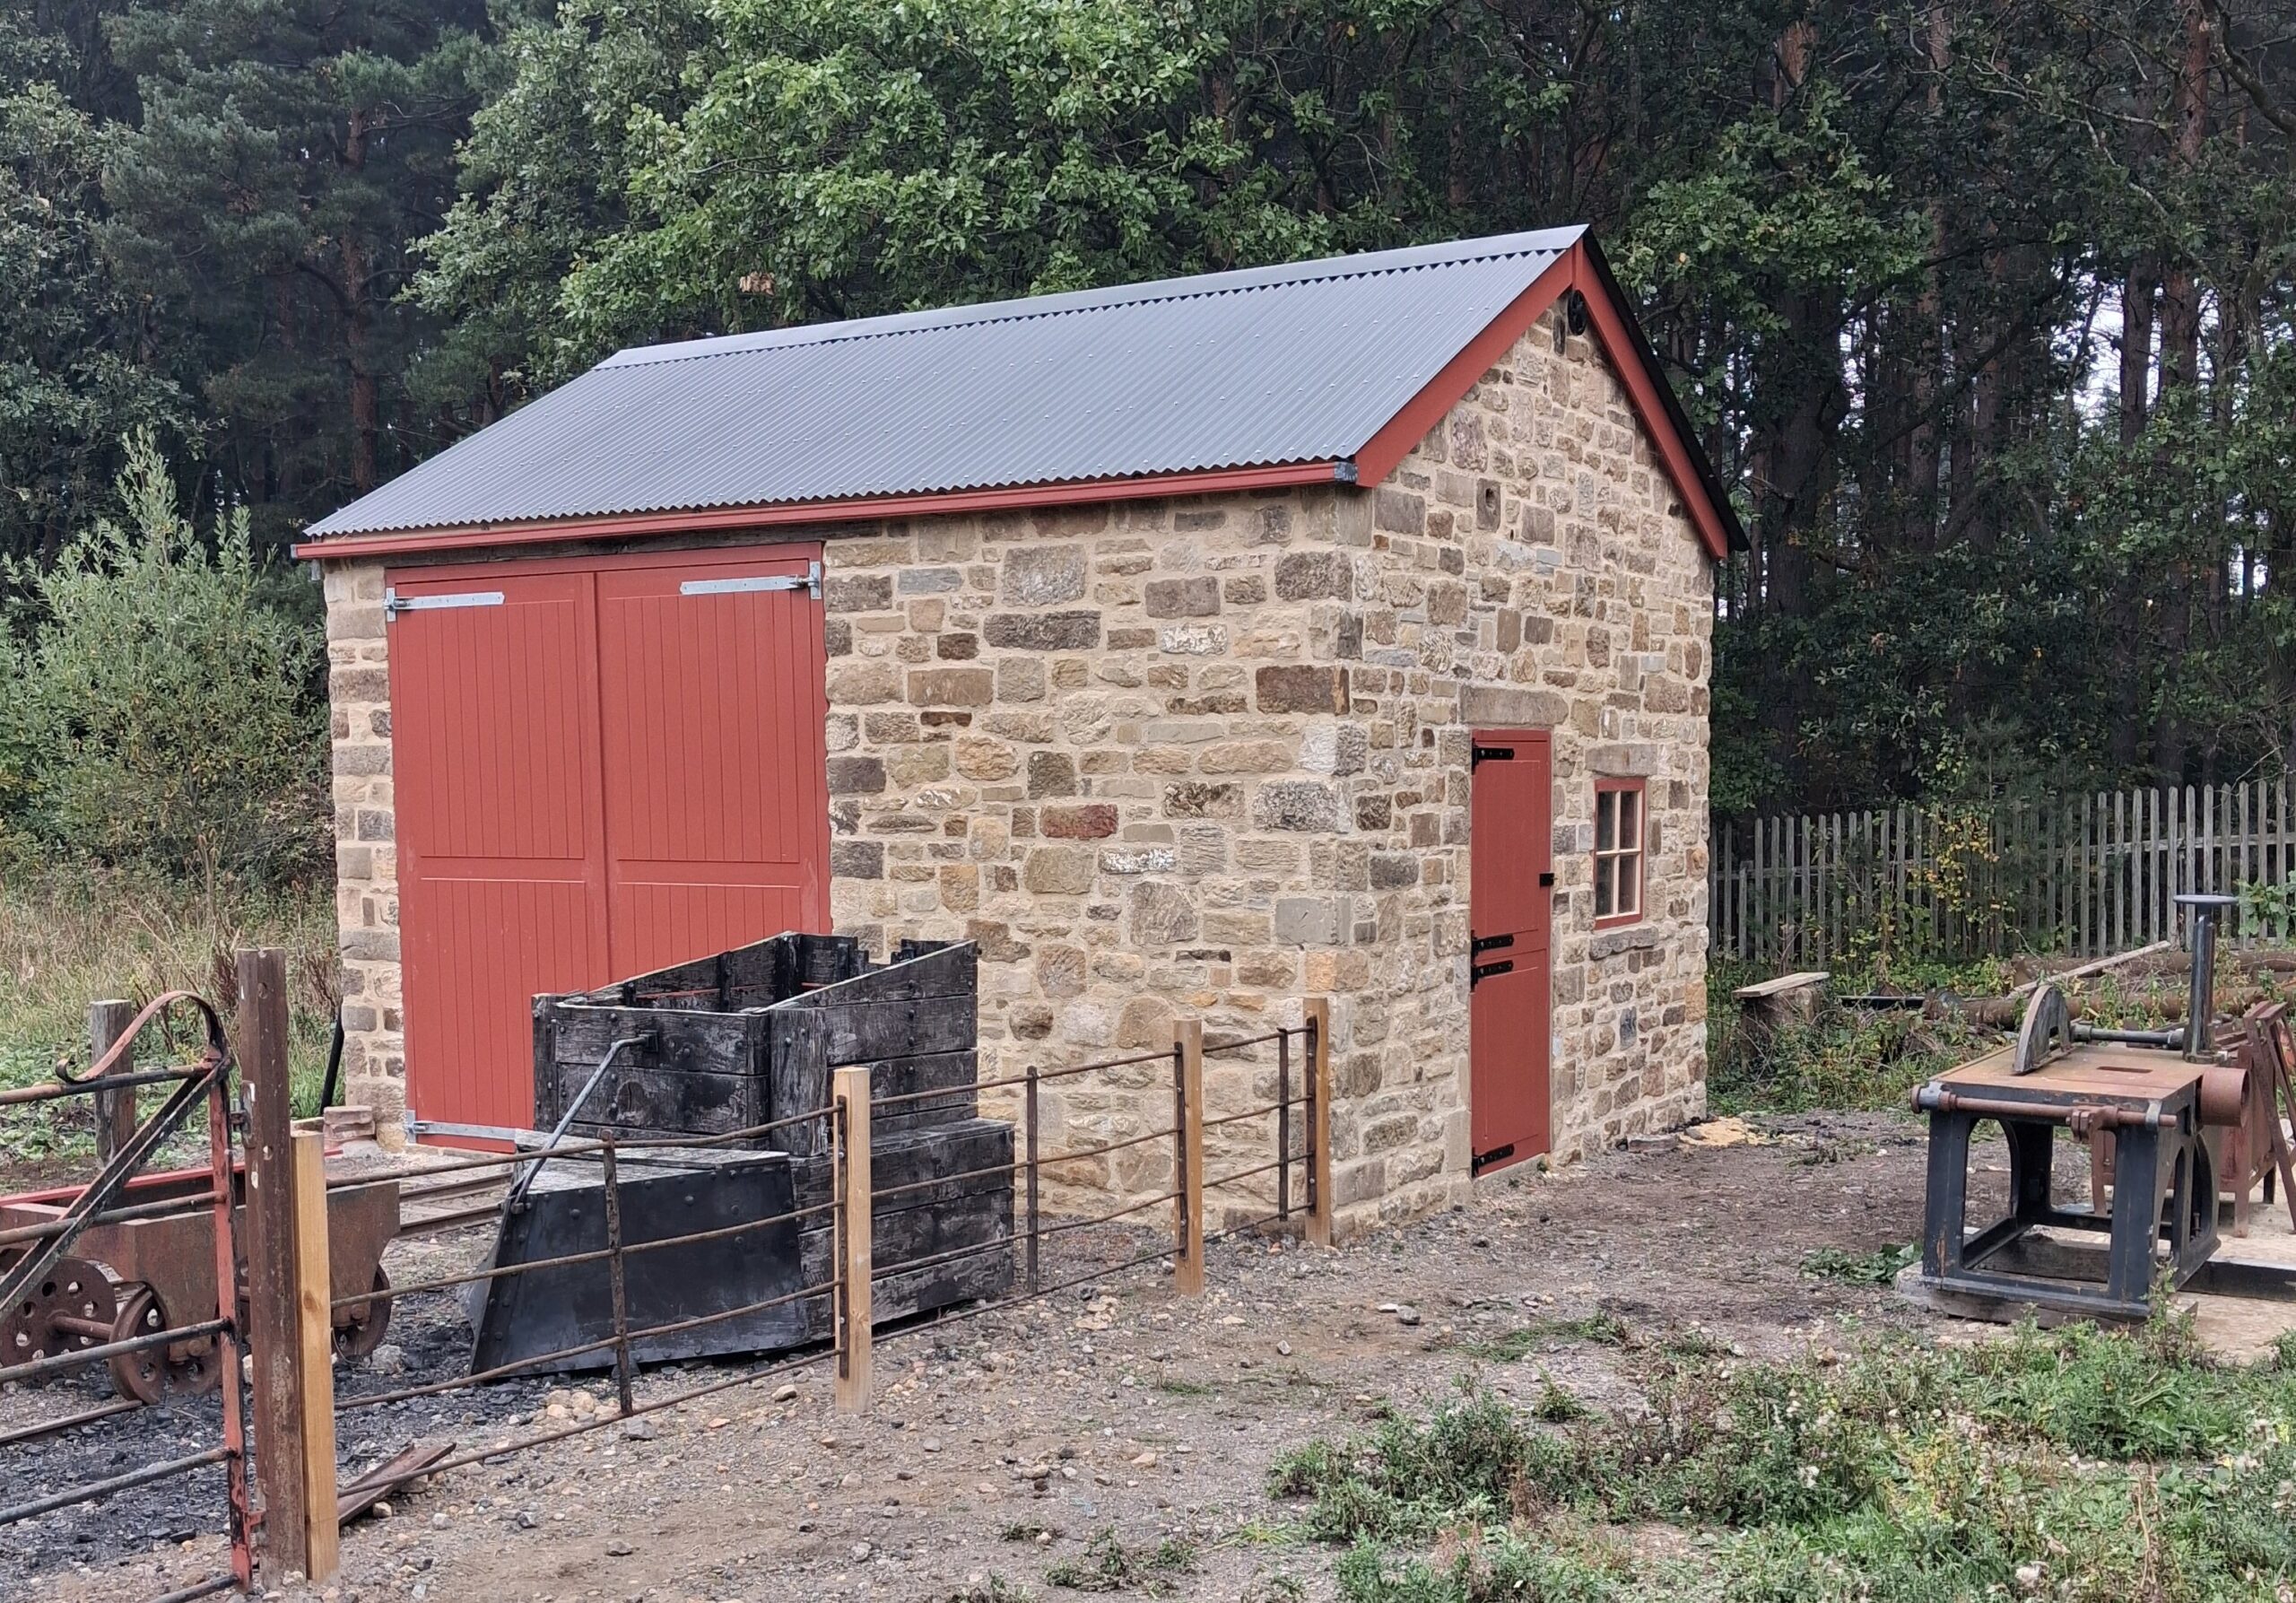
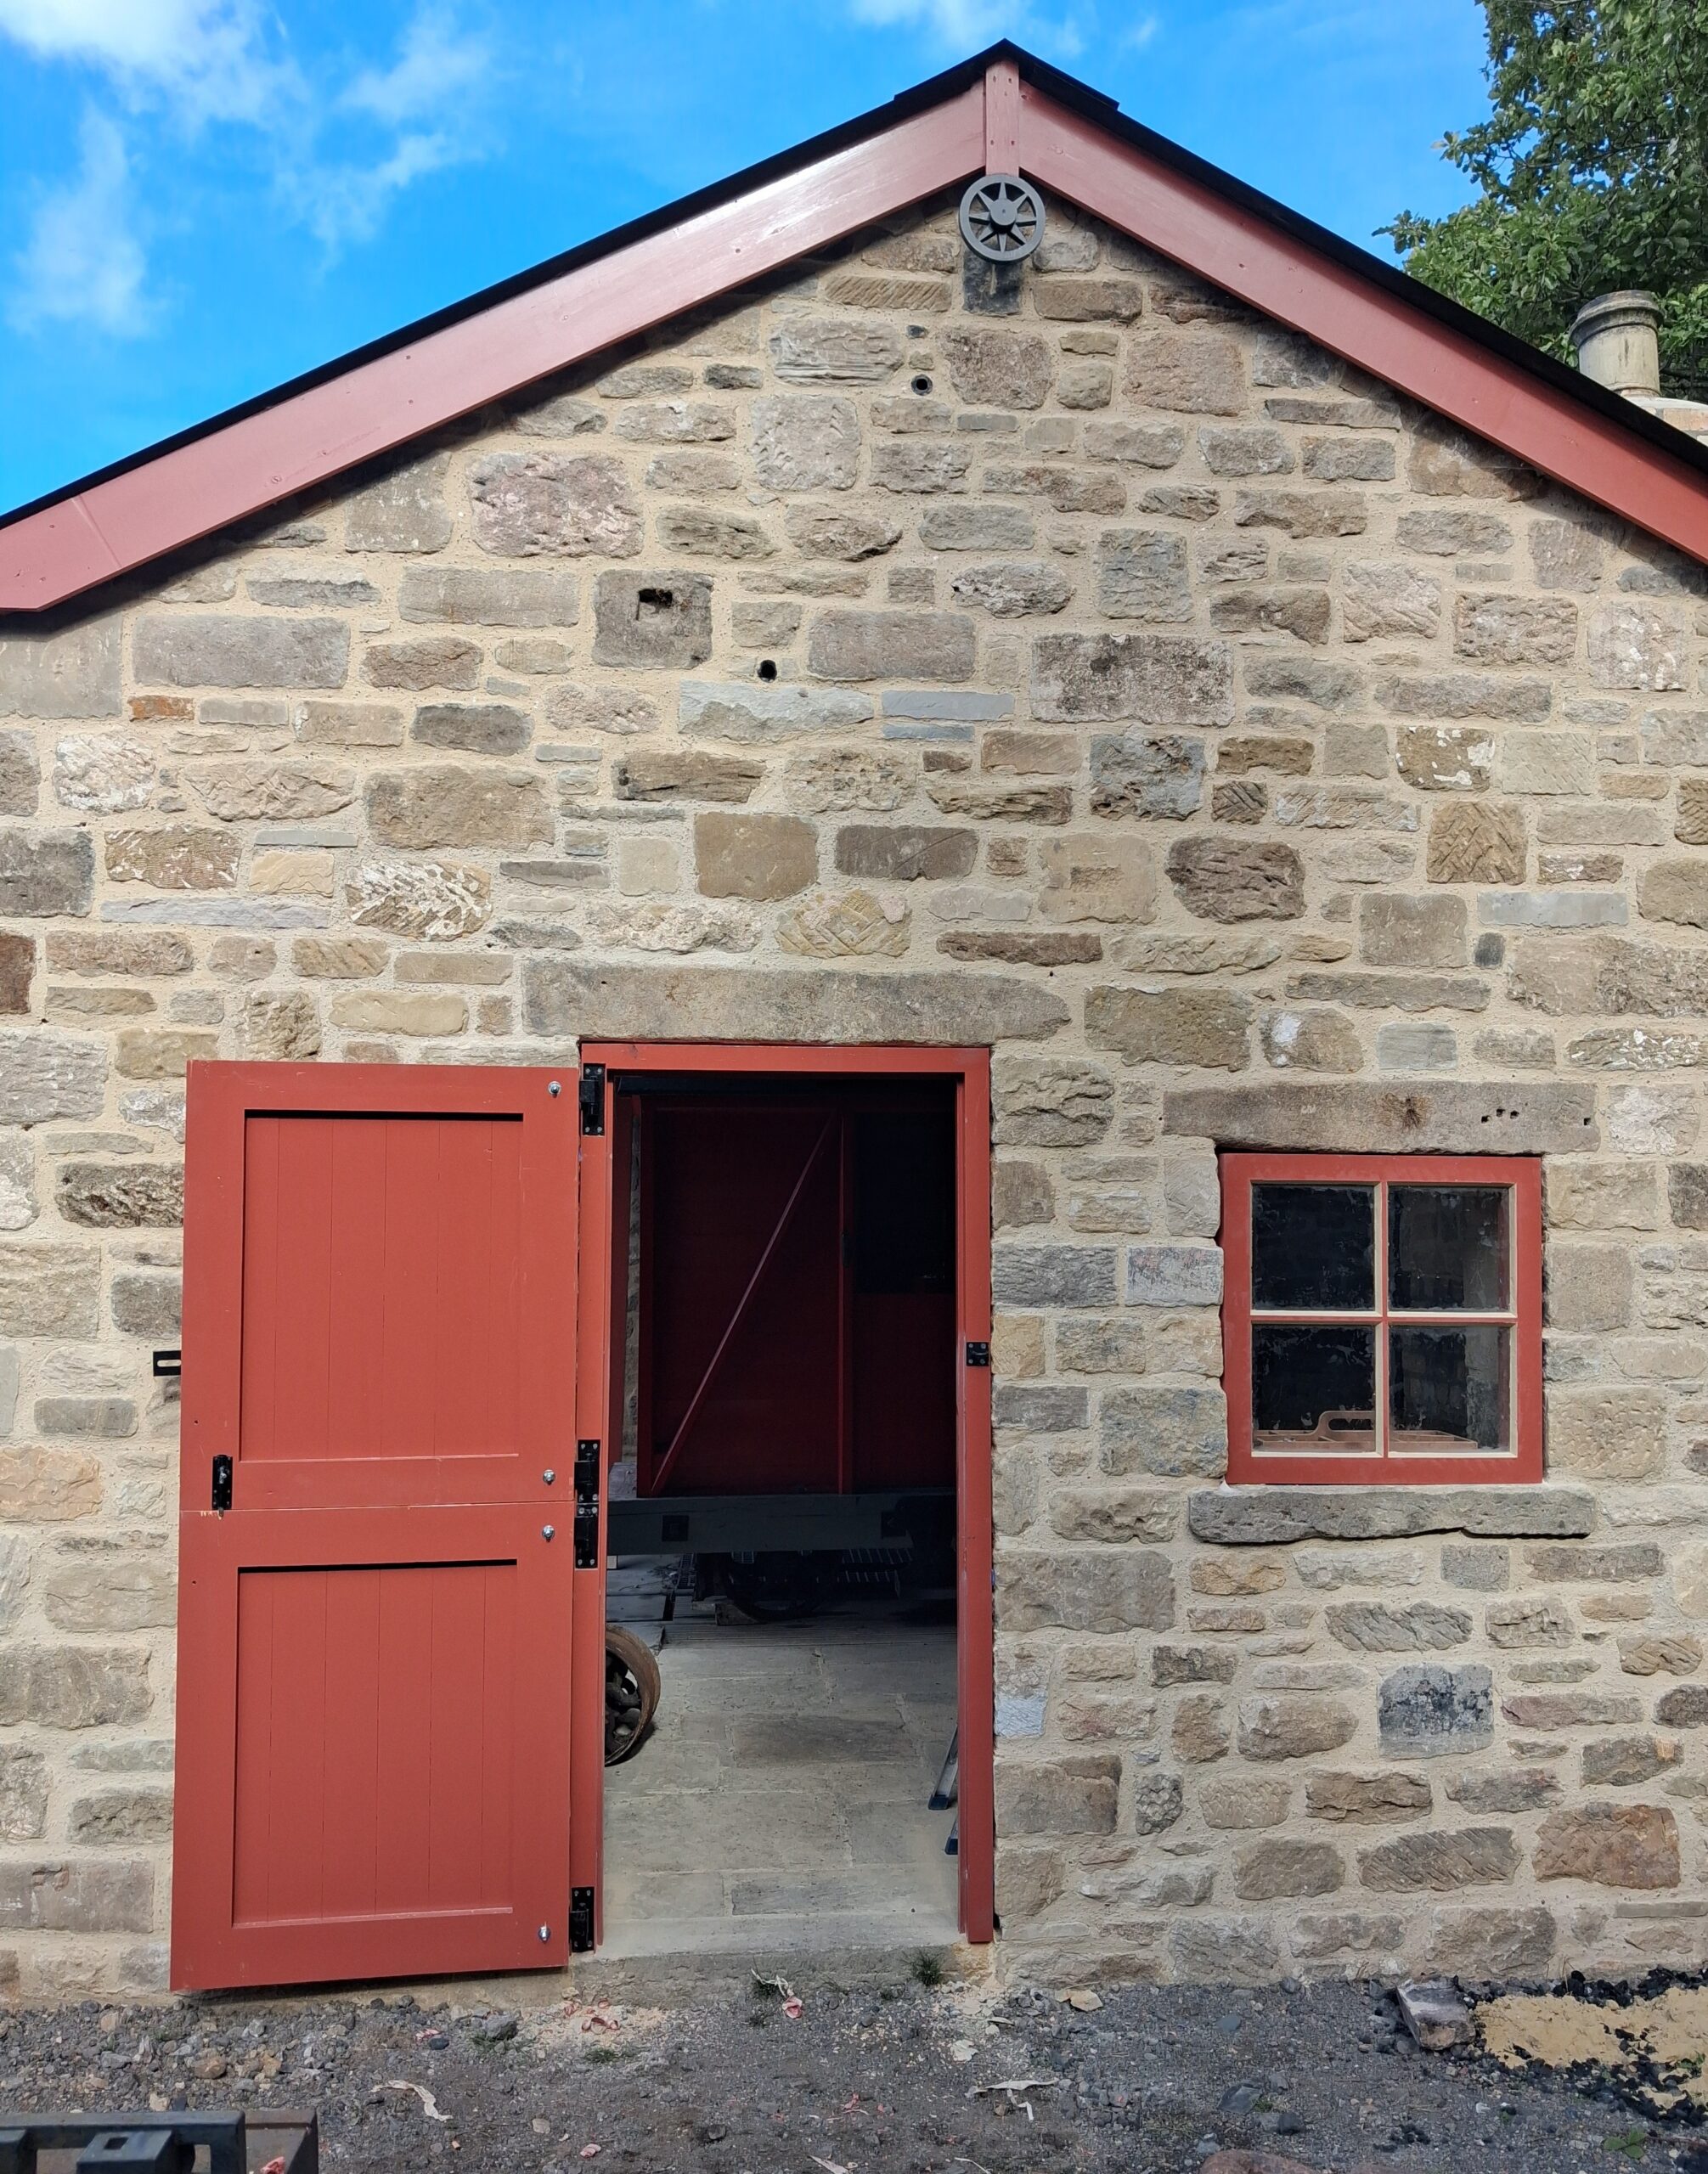
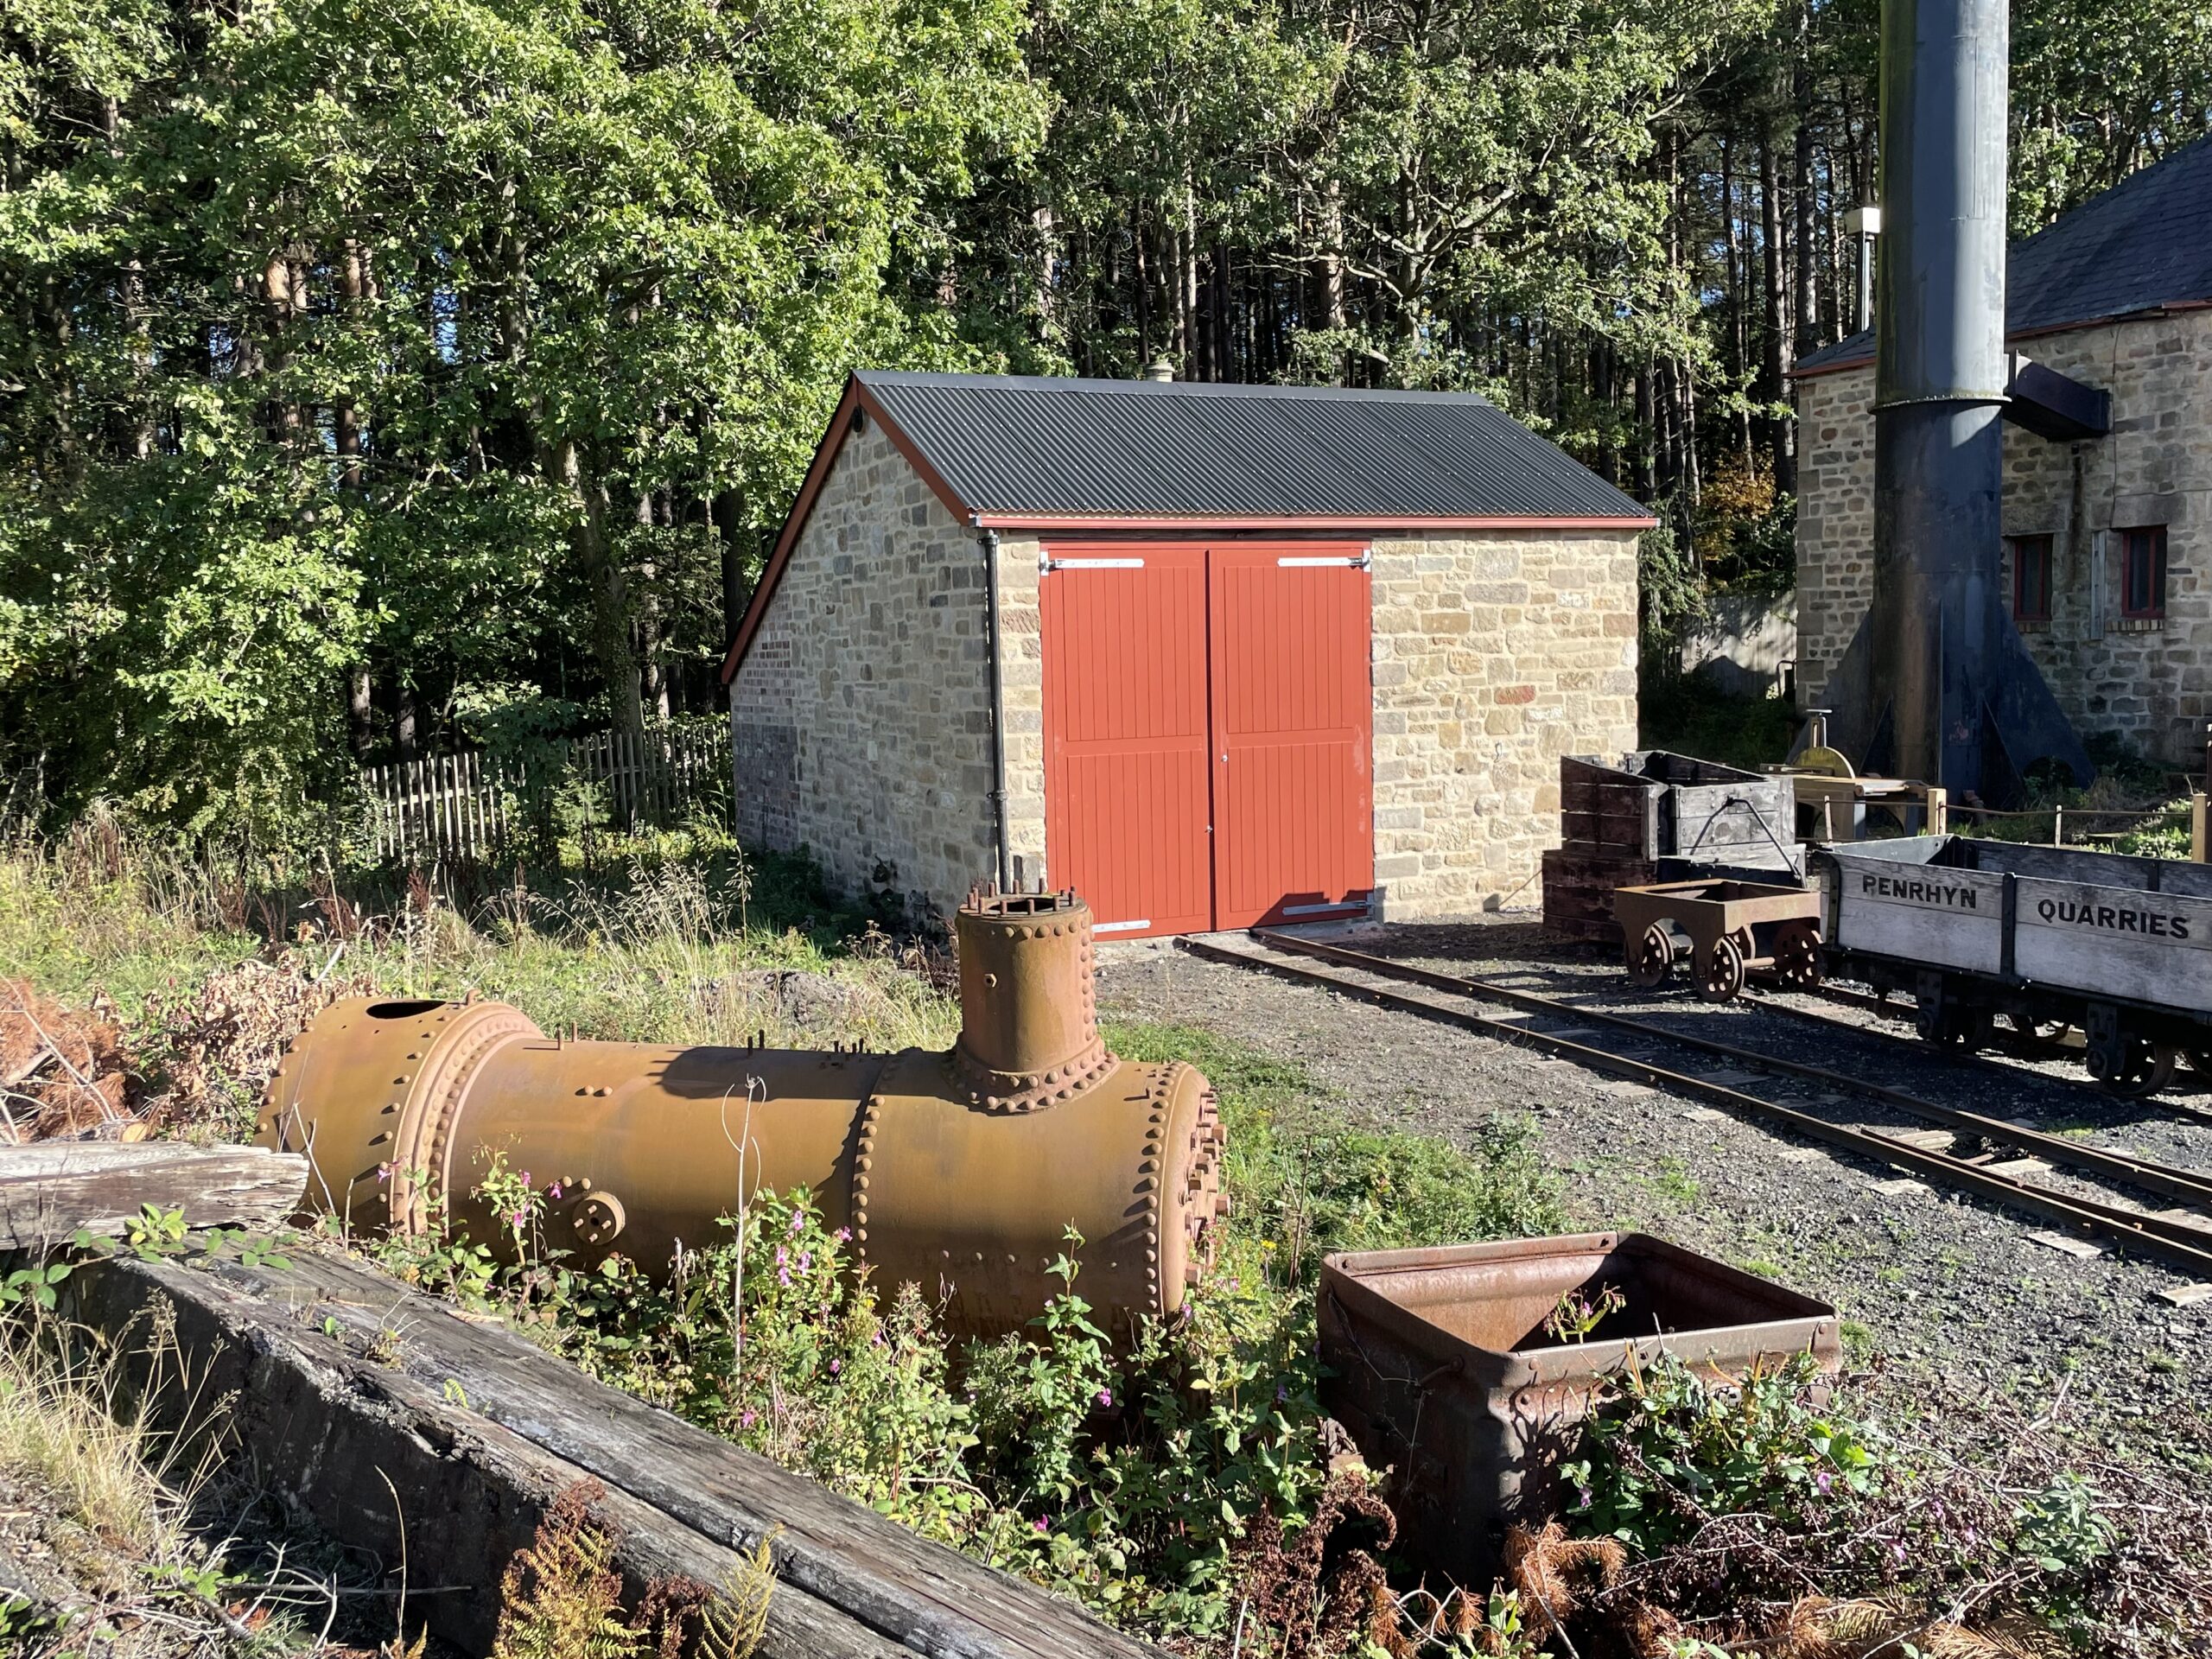
Below: Shaun has completed the doors and window for the narrow gauge engine shed, and fitted these over the last week. These are superb and we now have a very smart building – the side door is a stable type, so the top half will be open for visitors to view Samson inside (or any other locomotive we may have parked there). There are some signs to add to the building and a bit of landscaping and fencing work to complete, but this project is now more or less complete, entirely carried out by the museum’s buildings team with Paul Marron on stonework (and the foundations) and Shaun Kay carrying out all the joinery construction.
Photographs in this post by Michael Caisley, Phil Doran, Shaun Kay, Paul Jarman, John Marshall and Ben Wilson


Recent Comments